Tuesday, March 20, 2012

Monday, March 19, 2012
I'm back...
...sorry for my absence. I've been feeling a little bit under the weather. But I'm finally getting my energy back, so let's make up for lost time, shall we?
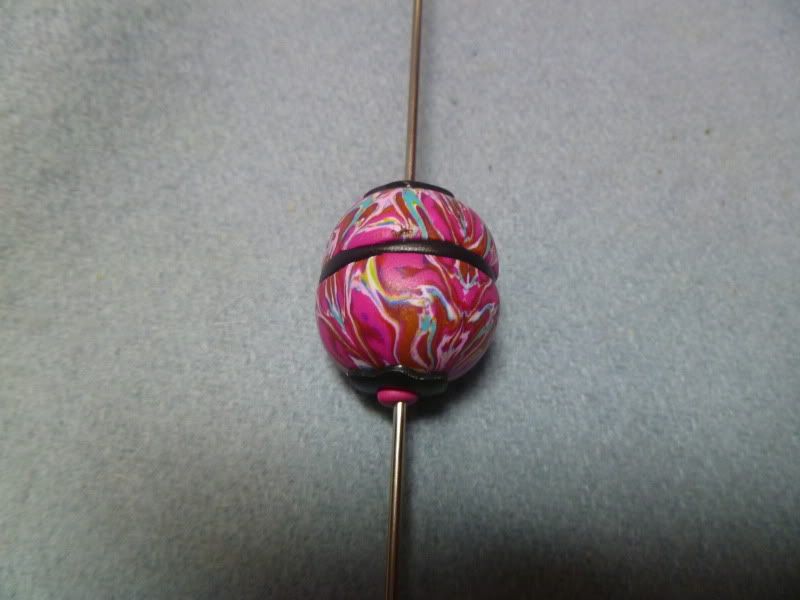
You don't always have to leave your Natasha bead intact. Sometimes I like to cut them apart and reassemble slightly. Like this one:

You don't always have to leave your Natasha bead intact. Sometimes I like to cut them apart and reassemble slightly. Like this one:
Tuesday, March 13, 2012
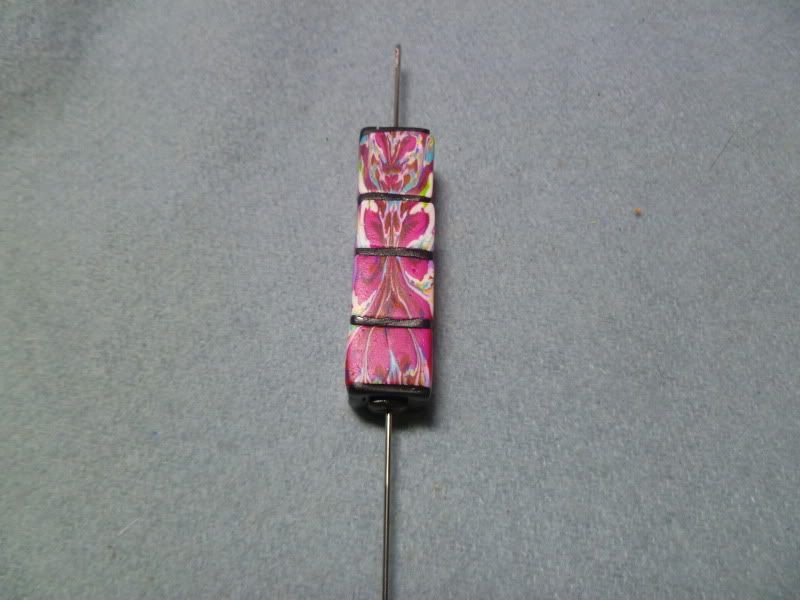
more embellishing...
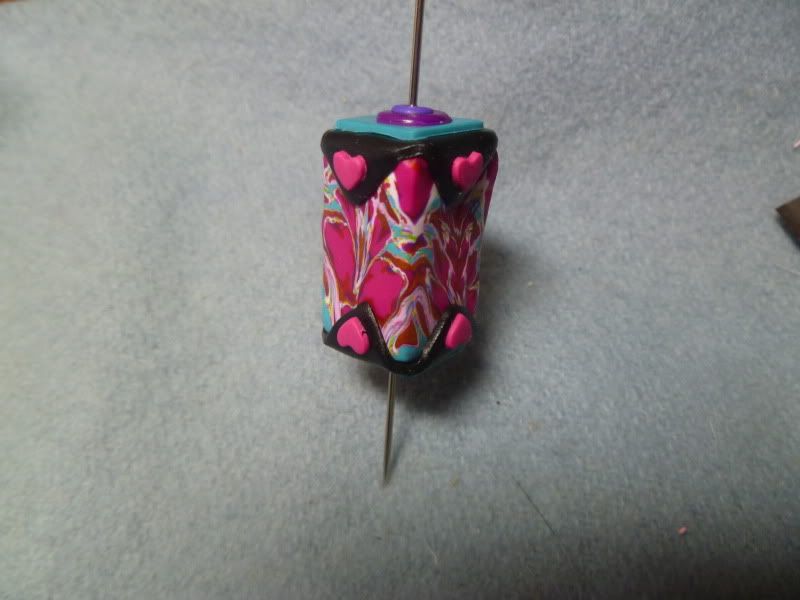
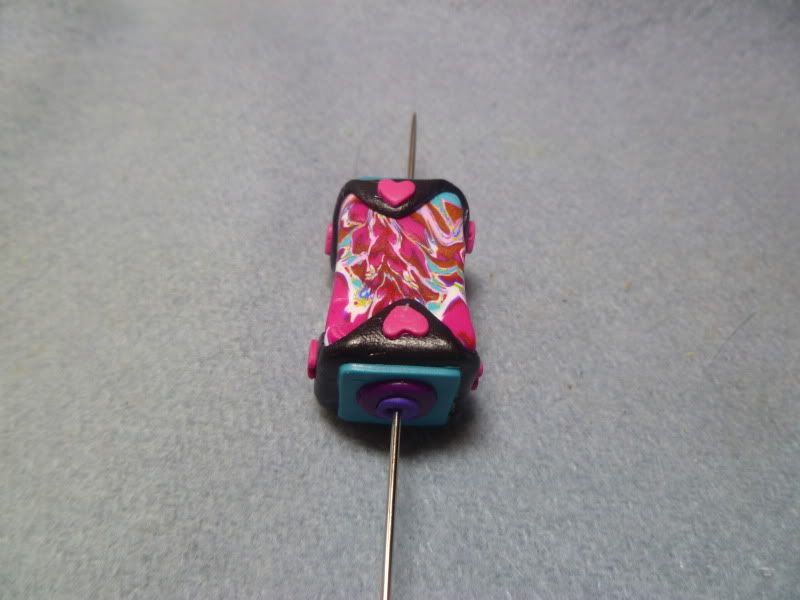
Having a bunch of tiny cookie cutters really helps with the embellishment process. Another view:
Monday, March 12, 2012
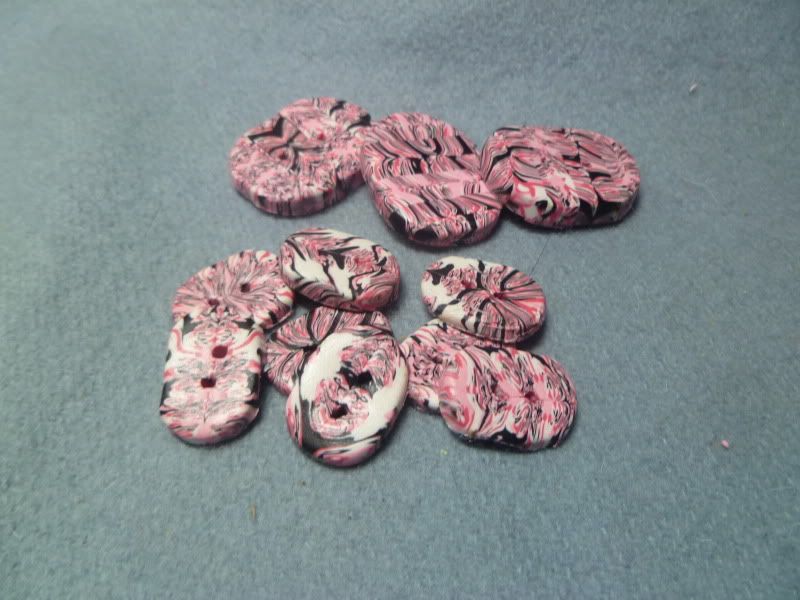
Natasha beads...not just for beads!
If you take a slice off of one (or two!) sides of a Natasha bead, you have a thin enough slice to make some buttons! I guess you could run it through the pasta machine as well. Ah, experimenting...

Sunday, March 11, 2012
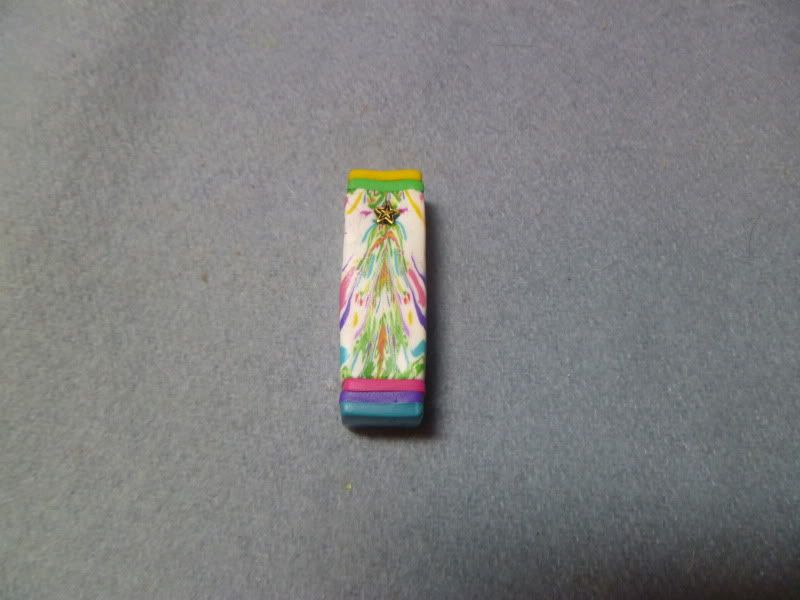
There's a reason they're also known as Rorschach beads...
This one looked like a Christmas Tree to me...so I added a star.

Saturday, March 10, 2012
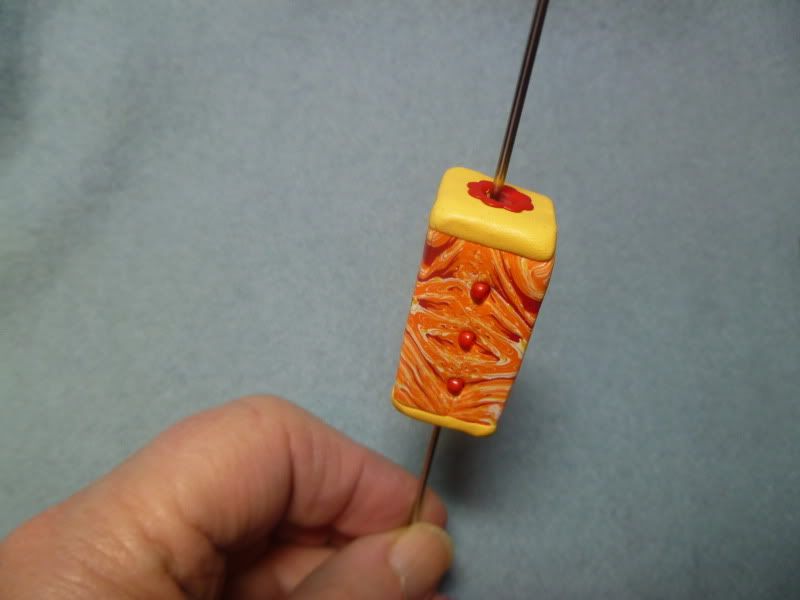
Not just clay...
Embellishments are not limited to clay. You can use beads and other bakeable items to embellish your Natasha bead:

Friday, March 9, 2012
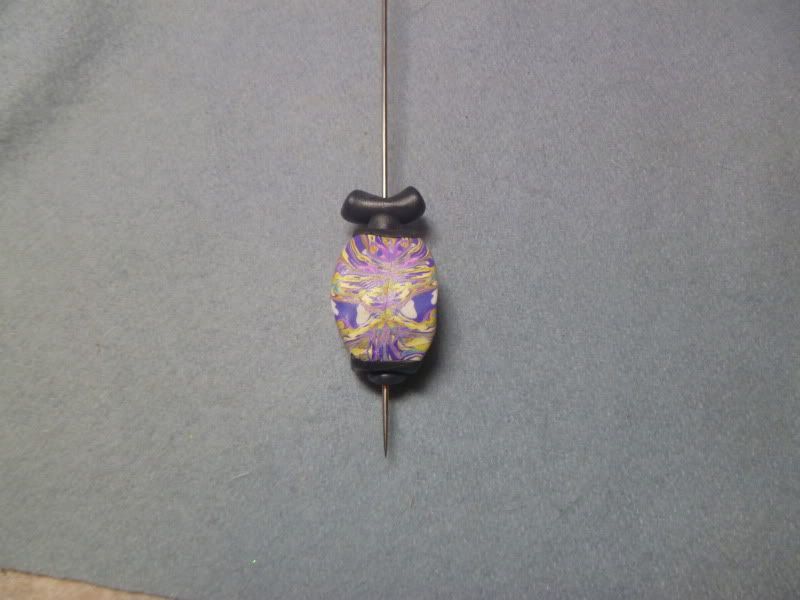
Natasha bead - Asian style...
I took a Natasha bead and reshaped it into a squat, rounded shape and added some embellishments to come up with this bead. I've made several of these and it's one of my favorite things to do with Natasha beads--especially if one face or side is especially interesting.

Thursday, March 8, 2012
Another embellished bead...
This is a relatively simple embellished bead...

Another view:

You can keep it simple, or get pretty elaborate. I'll give a few more examples over the next couple of days.
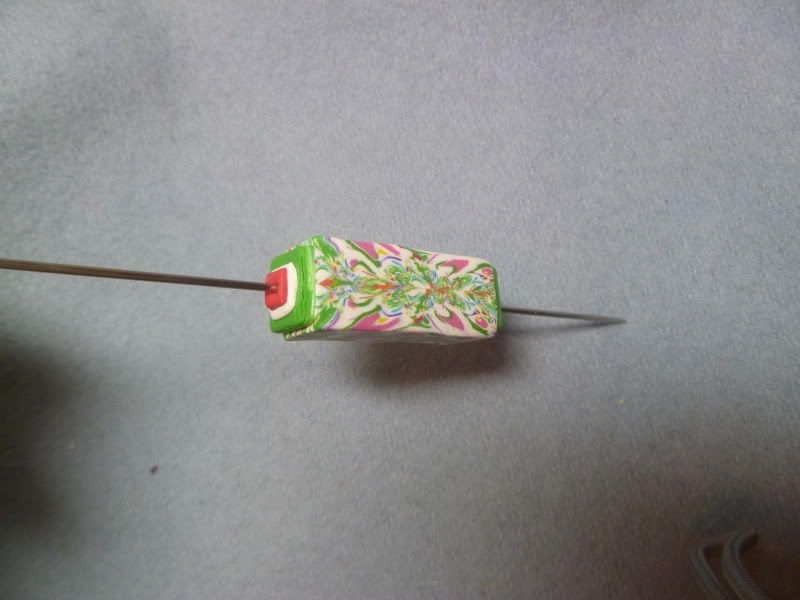
Another view:
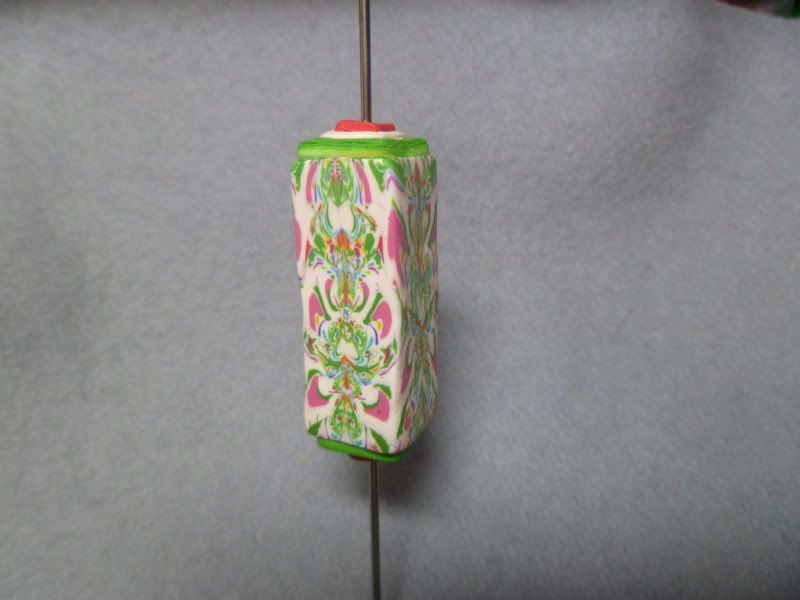
You can keep it simple, or get pretty elaborate. I'll give a few more examples over the next couple of days.
Wednesday, March 7, 2012
Embellished Natasha beads...
I've been embellishing Natasha beads for a while now. It's a great way to add interest and make unique looking beads...


Heh. It's handy to have all those cutters and paper punches.
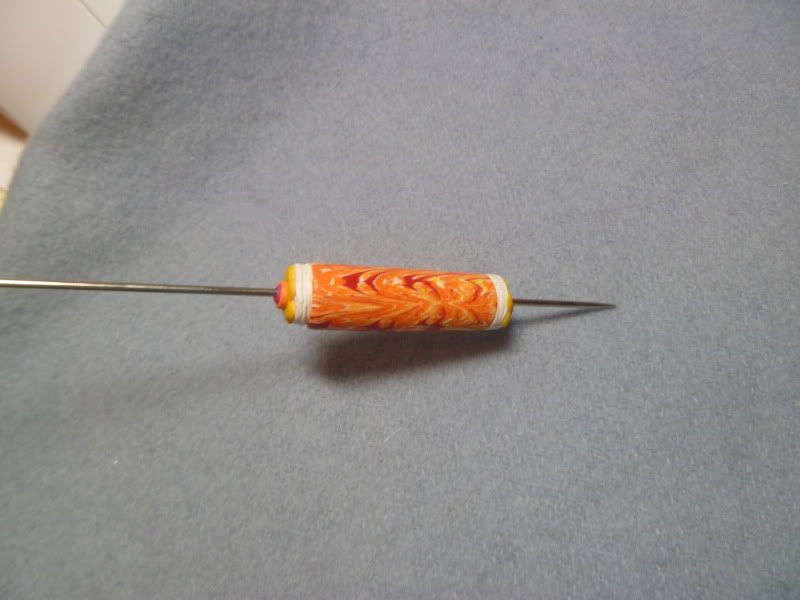
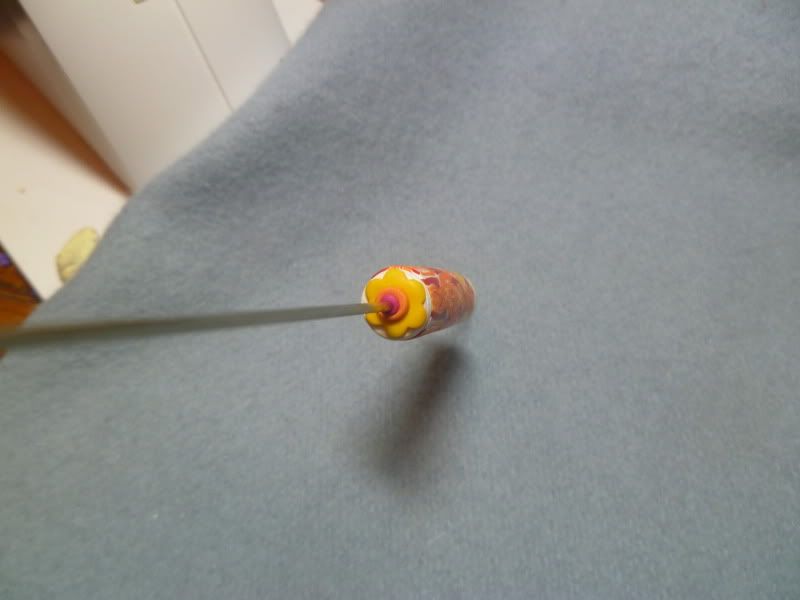
Heh. It's handy to have all those cutters and paper punches.
Tuesday, March 6, 2012
Another twist...
I took a Natasha bead and pinched all four edges so it flared out a bit:

Then I gave it a twist:

There's a lot more definition than with a regular twist--I think I like this version better....

Then I gave it a twist:

There's a lot more definition than with a regular twist--I think I like this version better....
Monday, March 5, 2012
Round Natasha beads...
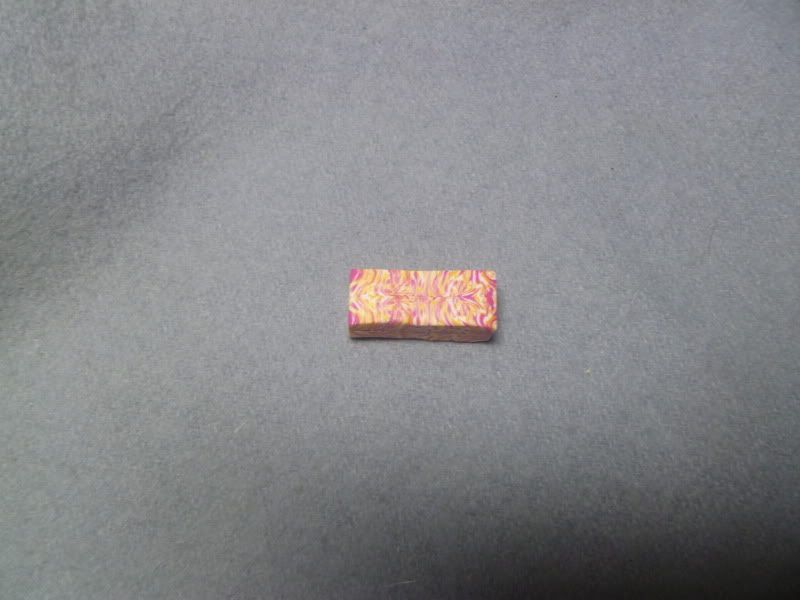
...slice it into smaller pieces (cube-like pieces)...
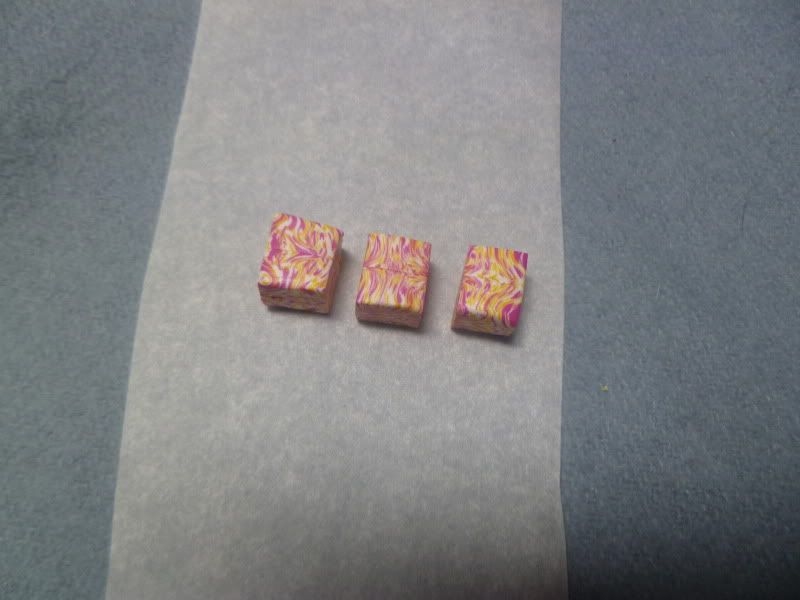
...pinch the ends...
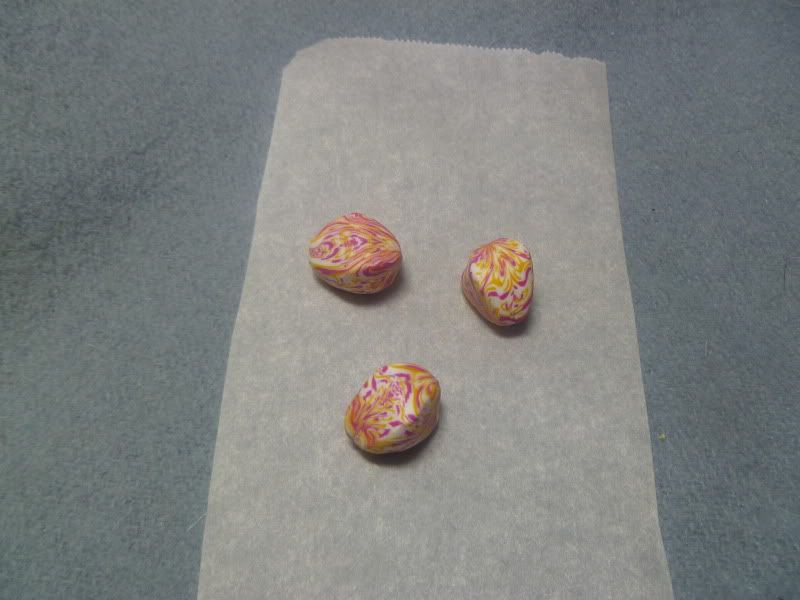
...and roll them into round beads....
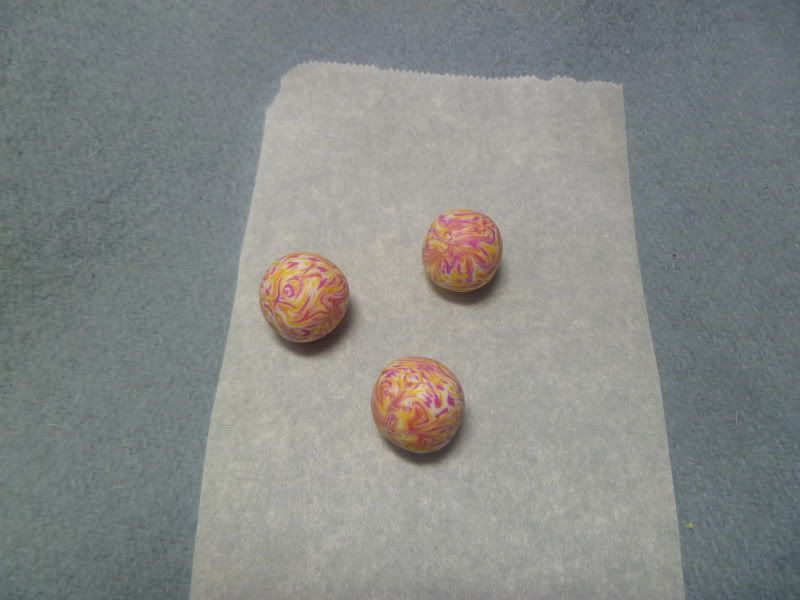
They make great accent beads!
Sunday, March 4, 2012
Natasha bead - day 4
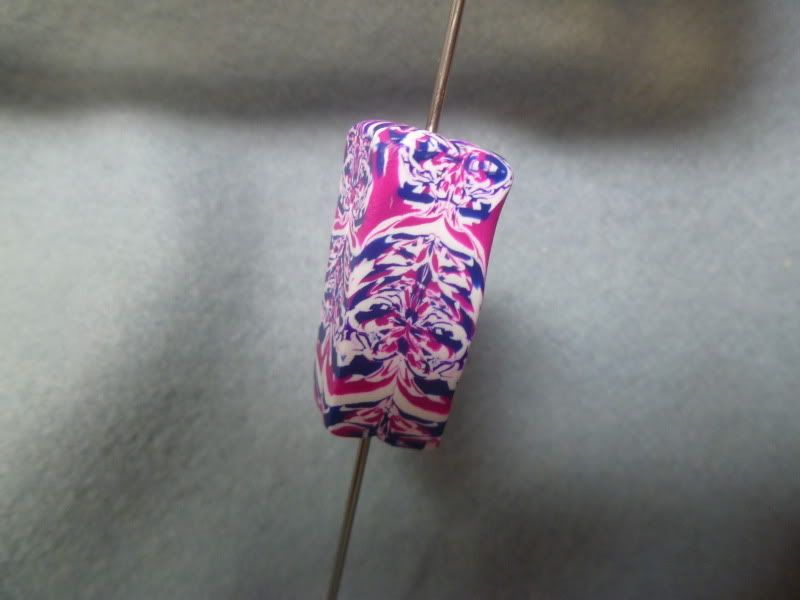
...and go from square to round:
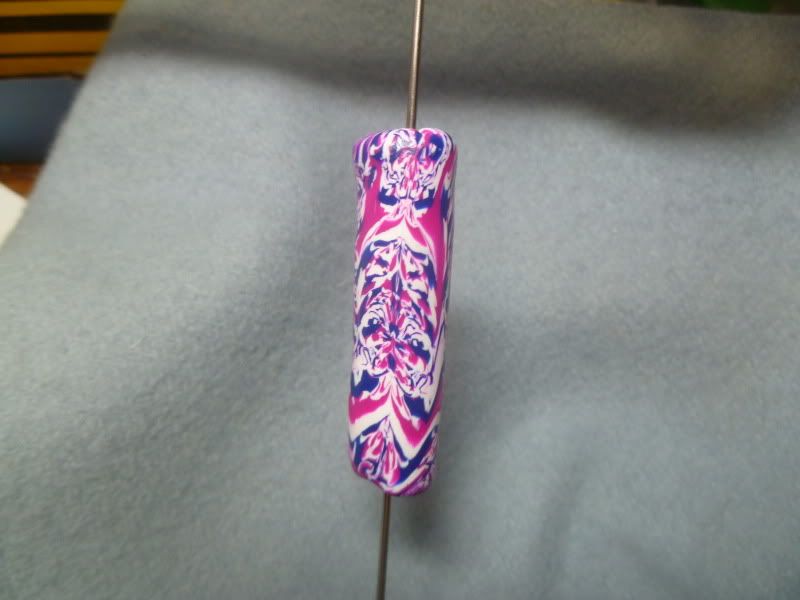
I squeeze opposite corners gently to get the rounding started, and then roll it on a flat surface to get a nice, even finish. If I'm not going to embellish the bead, I usually round the ends to make it look a little nicer:
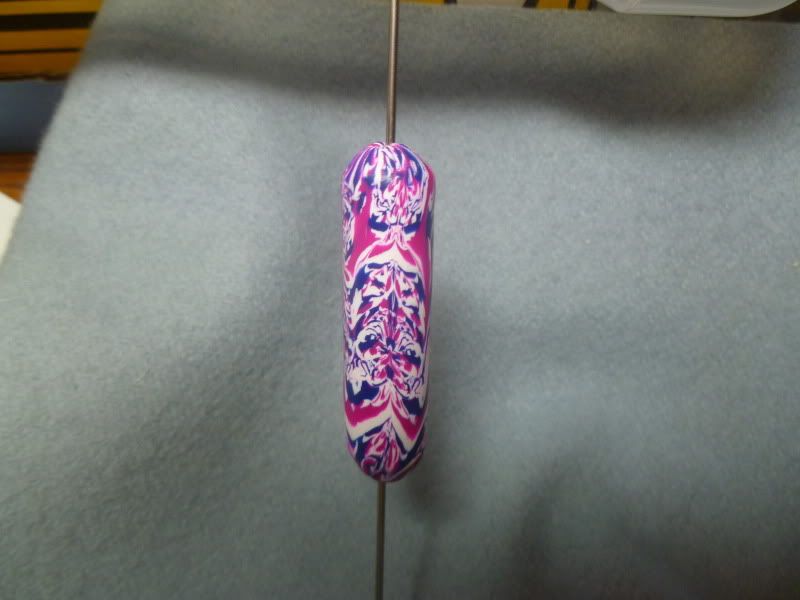
Saturday, March 3, 2012
A twist on the Natasha bead...
So here's a bead like the one we finished up yesterday:

It's still on the needle, which is important for the next variation of Natasha bead. While the bead on on the needle, gently grasp both rounded ends and twist in opposite directions. You may need to rotate the needle and twist from a slightly different direction to get it twisted nicely. You can twist as tight or loose as you want. You should wind up with something like this:

Pretty different, huh? A longer, thinner bead can be twisted more than a shorter, fatter bead, but interesting results will happen either way....
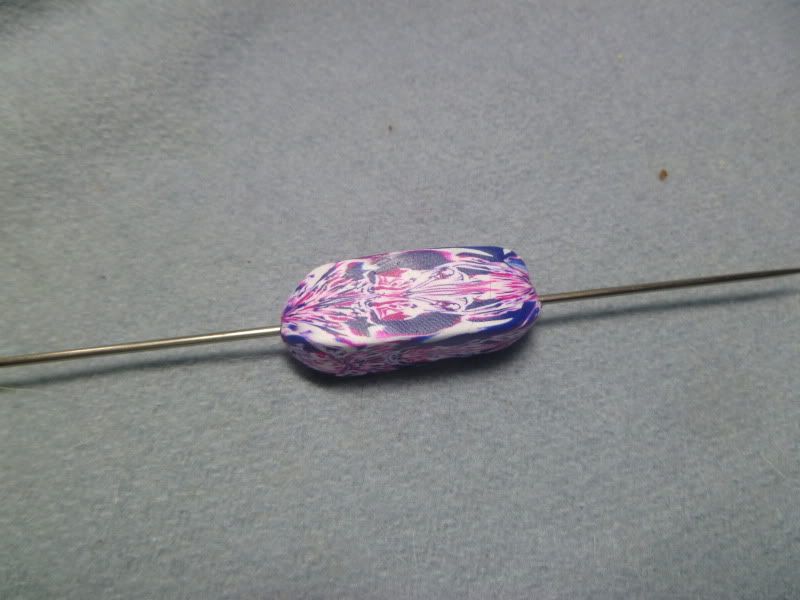
It's still on the needle, which is important for the next variation of Natasha bead. While the bead on on the needle, gently grasp both rounded ends and twist in opposite directions. You may need to rotate the needle and twist from a slightly different direction to get it twisted nicely. You can twist as tight or loose as you want. You should wind up with something like this:
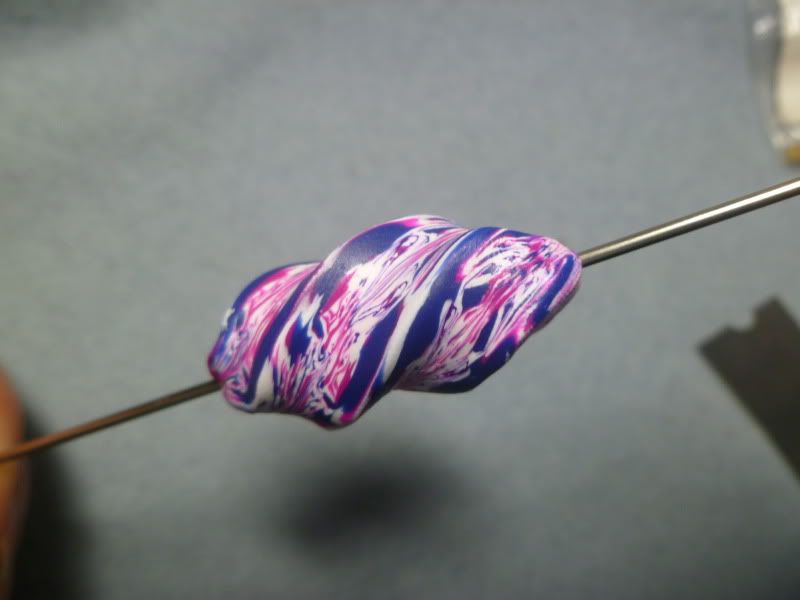
Pretty different, huh? A longer, thinner bead can be twisted more than a shorter, fatter bead, but interesting results will happen either way....
Friday, March 2, 2012
Natasha Bead - next step!

It's a little sloppy looking, so why don't we cut the ends off to even it up a bit. There--a nice bead you can put on a necklace and be proud of.

But...maybe we can change it up a bit. Sometimes, when I'm tweaking a Natasha bead, I'll put it on a needle to make it easier to shape without losing the bead hole. Press gently on opposite sides of the end of the bead, then rotate and do the same on the other two sides.
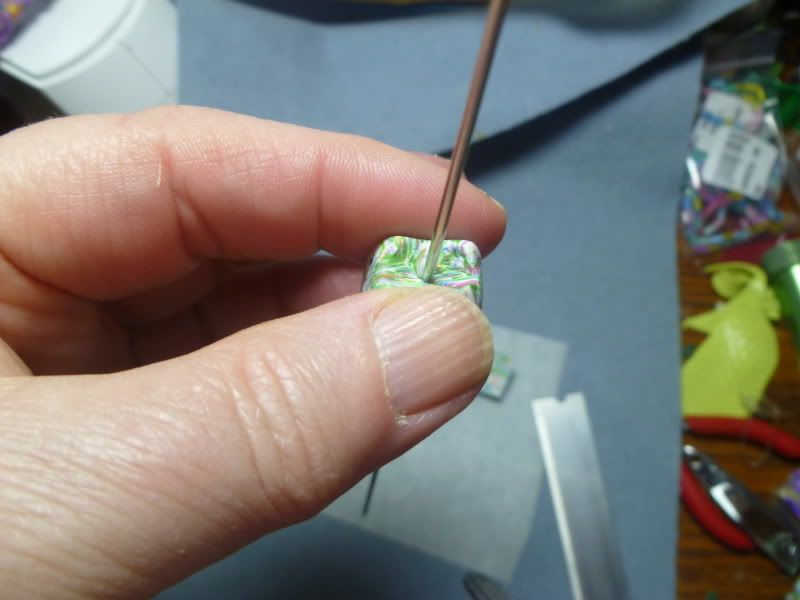
Keep pressing and rotating until the corners reach up and touch each other and the needle. You don't need to slam it into position--if you press it slowly and gently, there is less distortion and it looks a bit better.
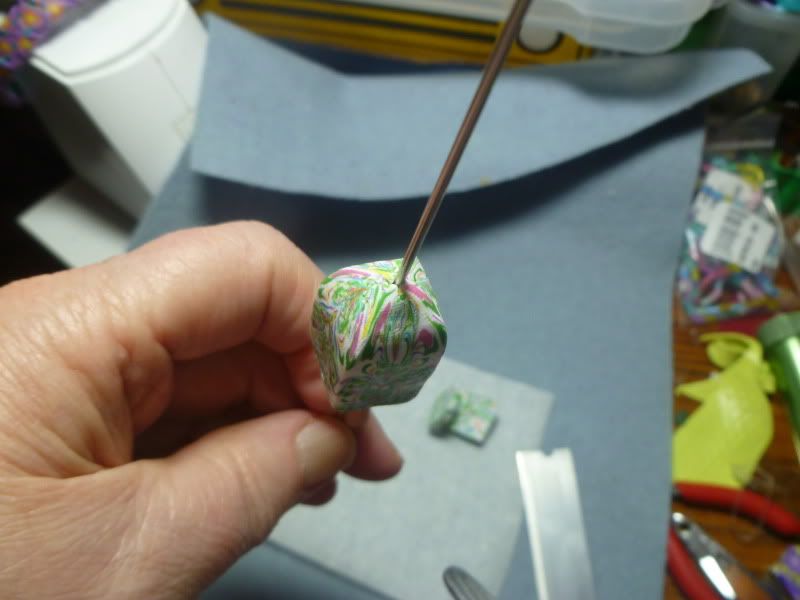
The finished bead...
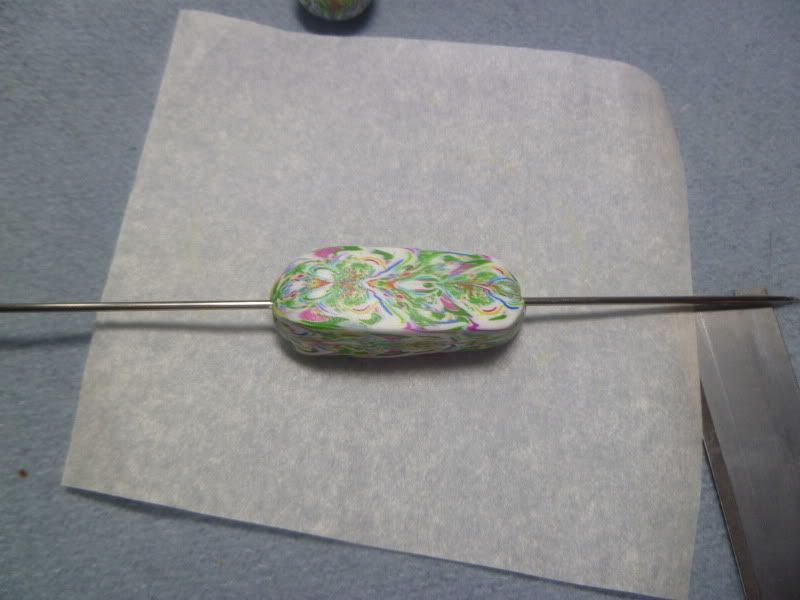
I stretched the bead out a bit. Now at this point, you can bake your bead. But there are a couple of other things you can do with it before that. I'll post about them over the next few days....
Thursday, March 1, 2012
Welcome to March - the Natasha Bead
First, grab some scrap clay--any color, any number of colors (well, at least two), cane ends, mokume scraps, fresh colors--whatever you want. Here's three scrap piles for example.
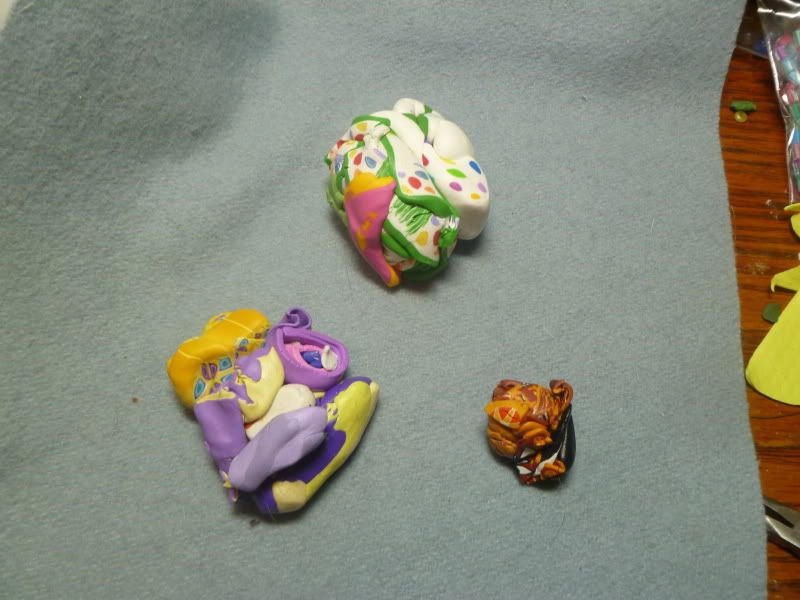
I kind of like coordinating colors, but you'd be surprised at the coolest beads you can make with colors that you'd never think would go together. So go ahead and experiment--you can always use the ones that don't turn out for bead guts or whatever you use scrap clay for.
Roll the scraps together and fold over a couple of times and then roll into a smooth log. Twist the log, and twist, twist, twist. Sometimes the clay cracks and breaks apart--just roll it back together and twist a little more.
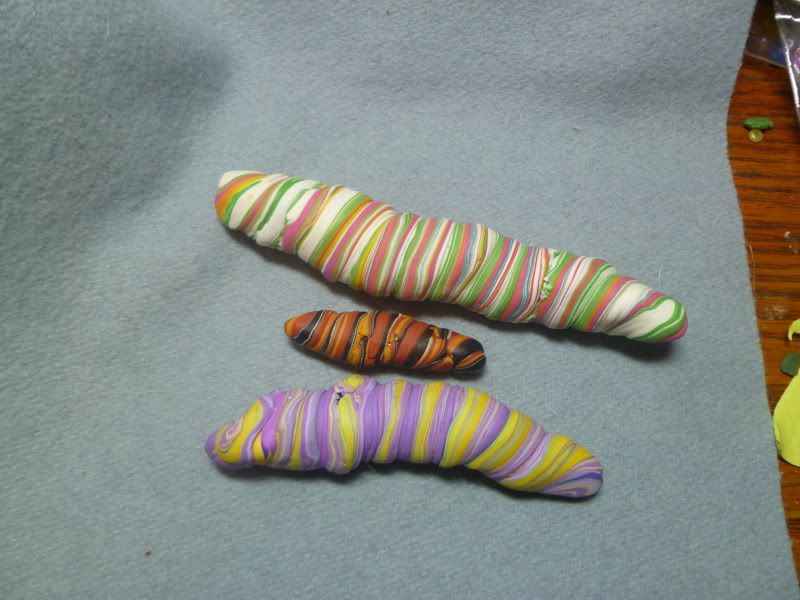
Roll the log smooth and then form into a square bar.
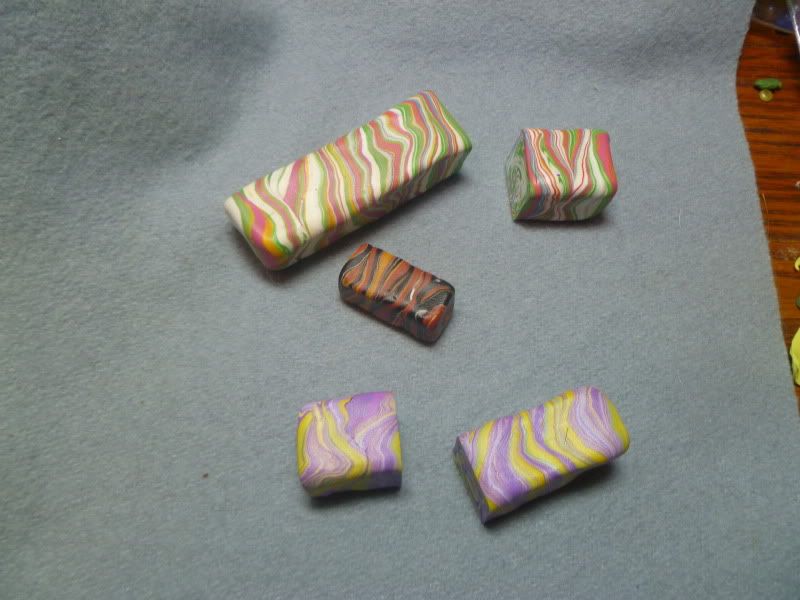
I tend to make my beads a little differently than most of the tutorials I've seen--it just seems to work for me. Set your piece on end; I find that a squat little piece works better than a taller, thinner piece--it can always be stretched out later.
Cut down through the piece, cutting it in half (but don't move the resulting pieces just yet). Rotate the piece (it helps if it's set on a piece of parchment paper, or something that can be rotated) 90 degrees and cut through the piece again. You'll have four pieces still together.

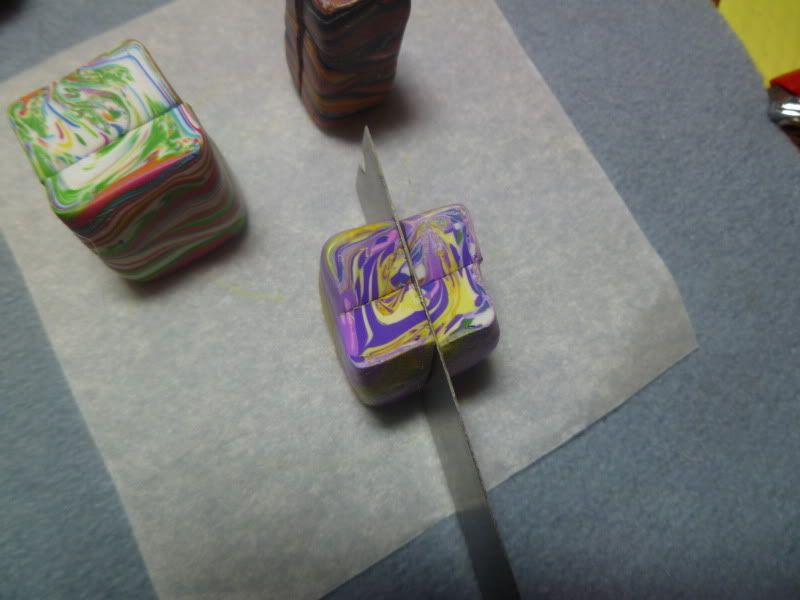
Now for the reveal! Place your piece on its side and open it up.
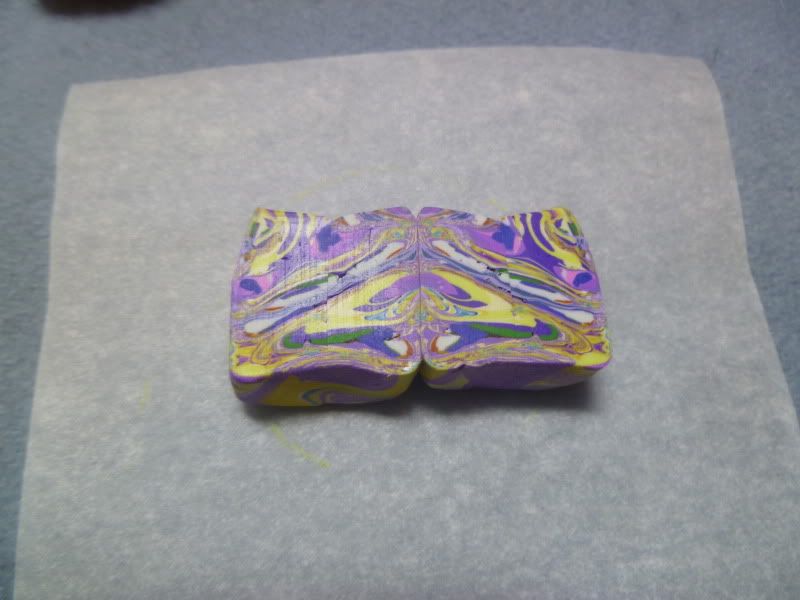
Cool, huh? Now rotate the other two sides around to the back and compress the four pieces together and smooth the joins. Stretch the bead to your desired length.
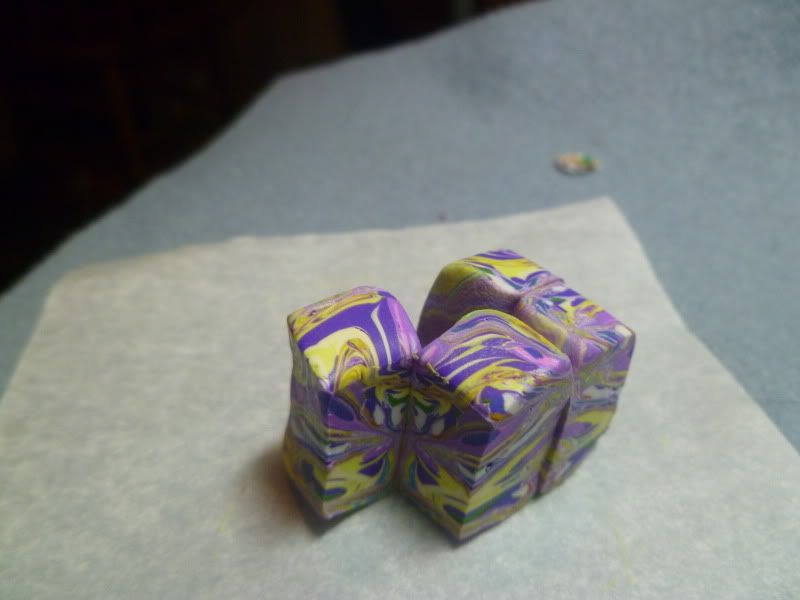
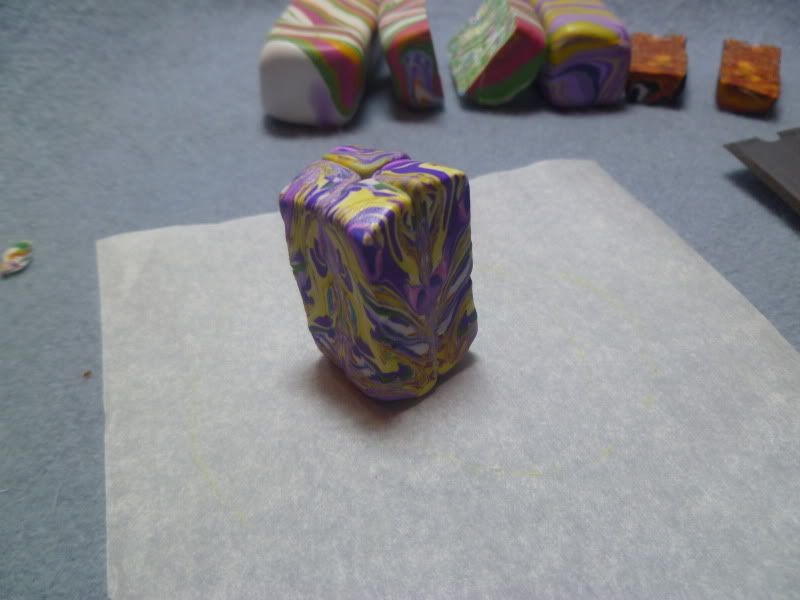
At this point you've got a cool looking bead. Poke a hole in it...but wait! There are all kinds of things you can do with the bead at this point. Stay tuned for future posts!
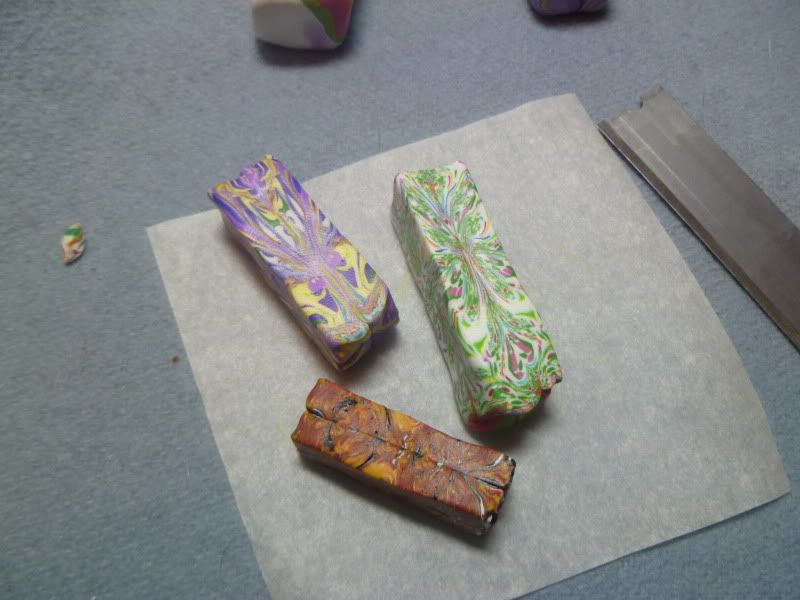
*Natasha beads are also known as kaleidoscope beads, magic beads, inside-out beads, Rorschach beads, mirror-image beads, and who knows what else beads. I learned it as a Natasha bead, so I'm sticking with that....
Subscribe to:
Posts (Atom)