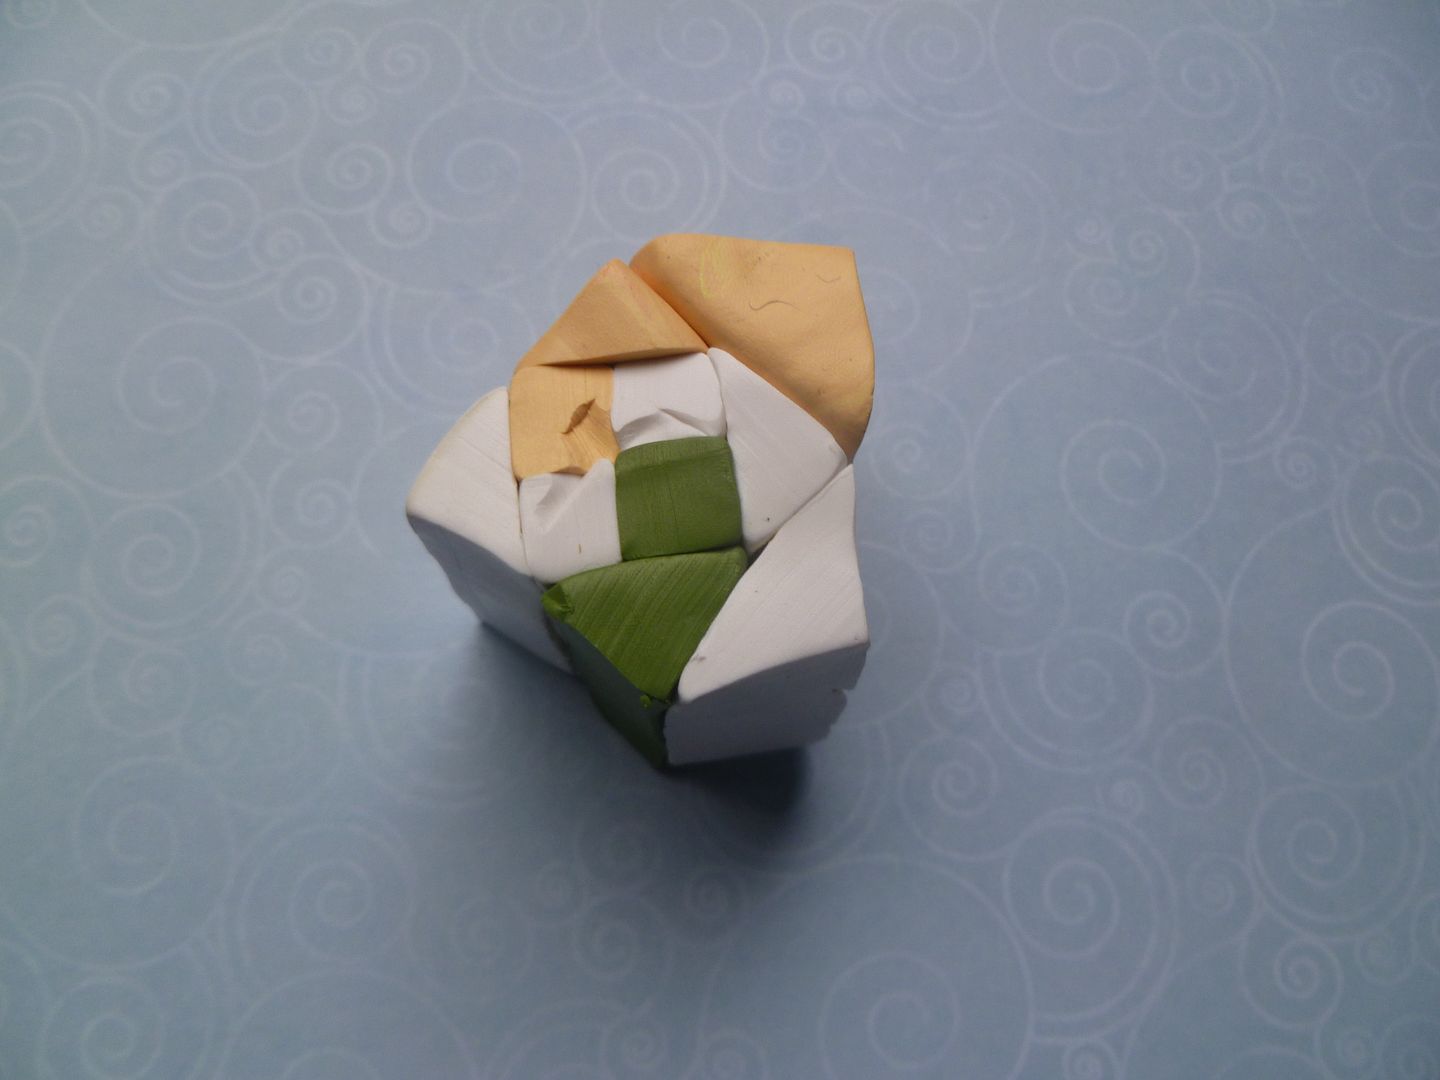
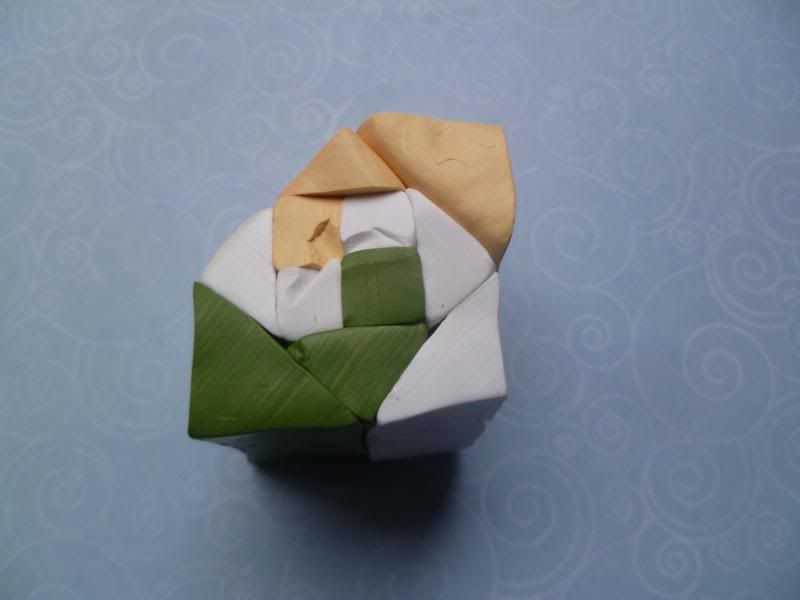
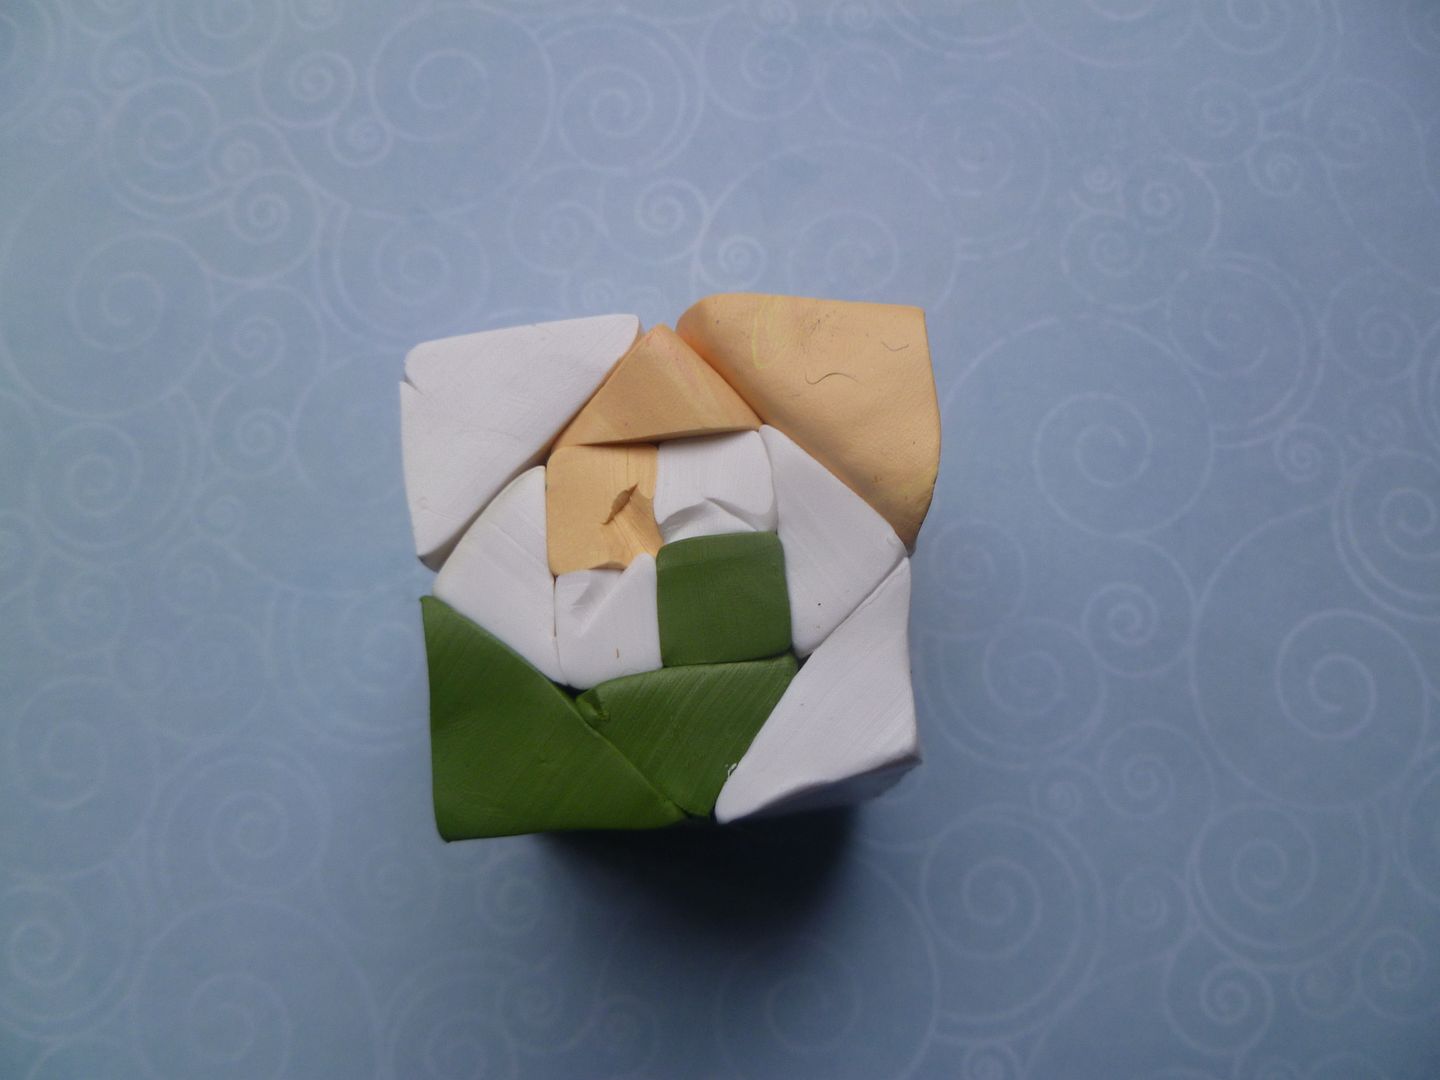
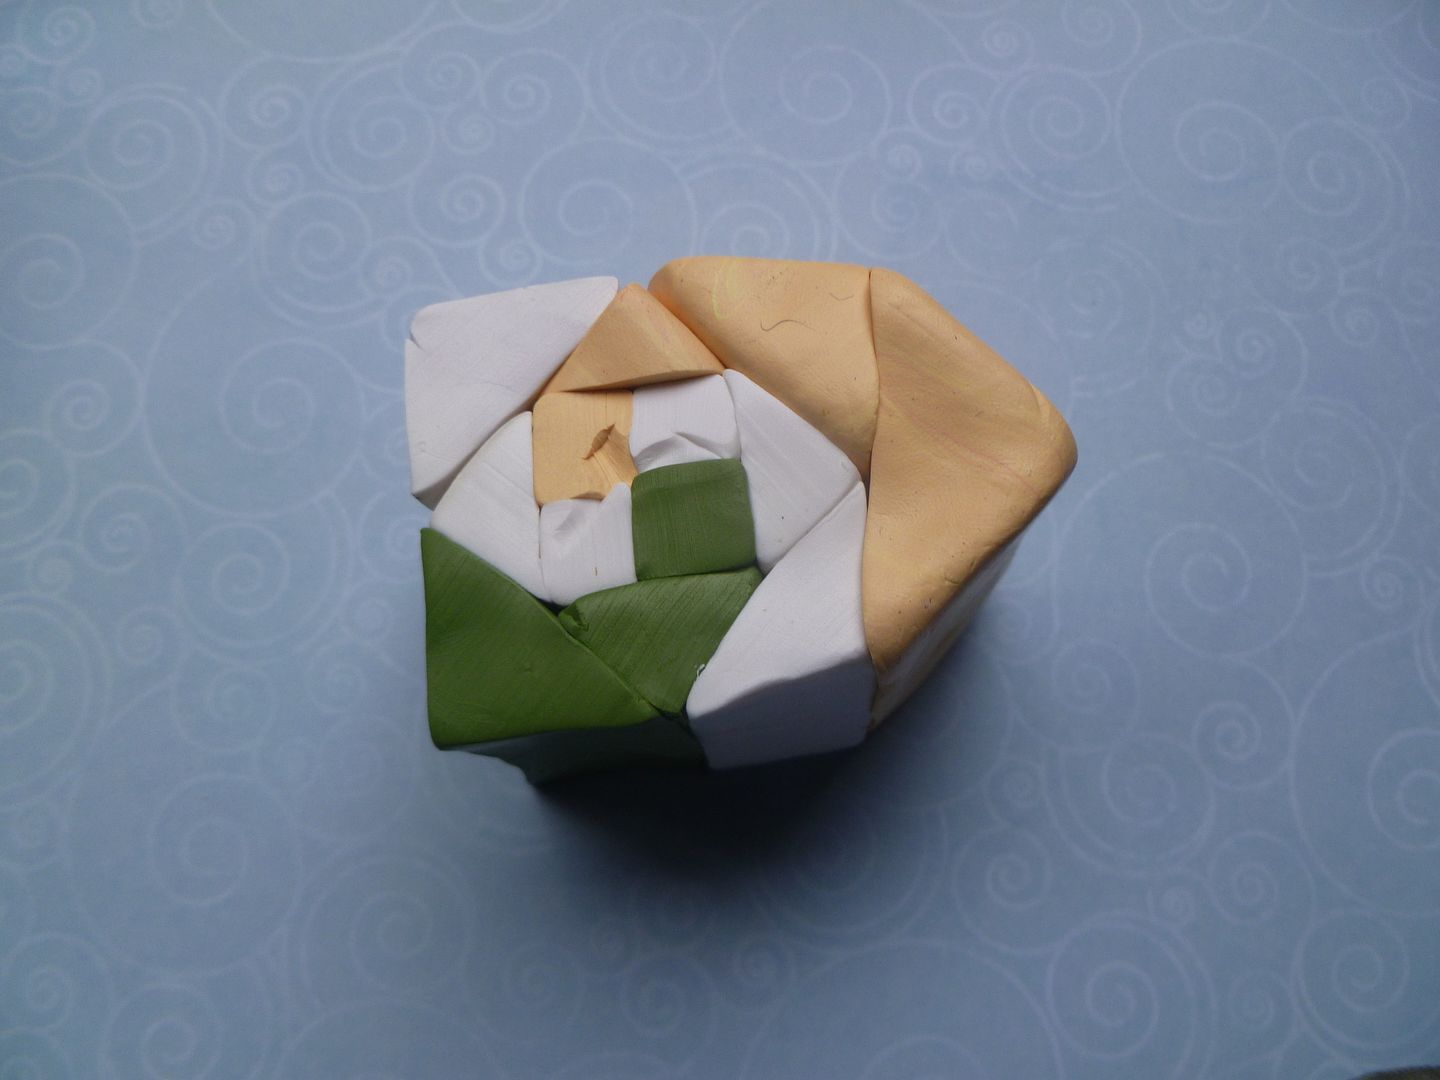
Ready for part two? Here we go...
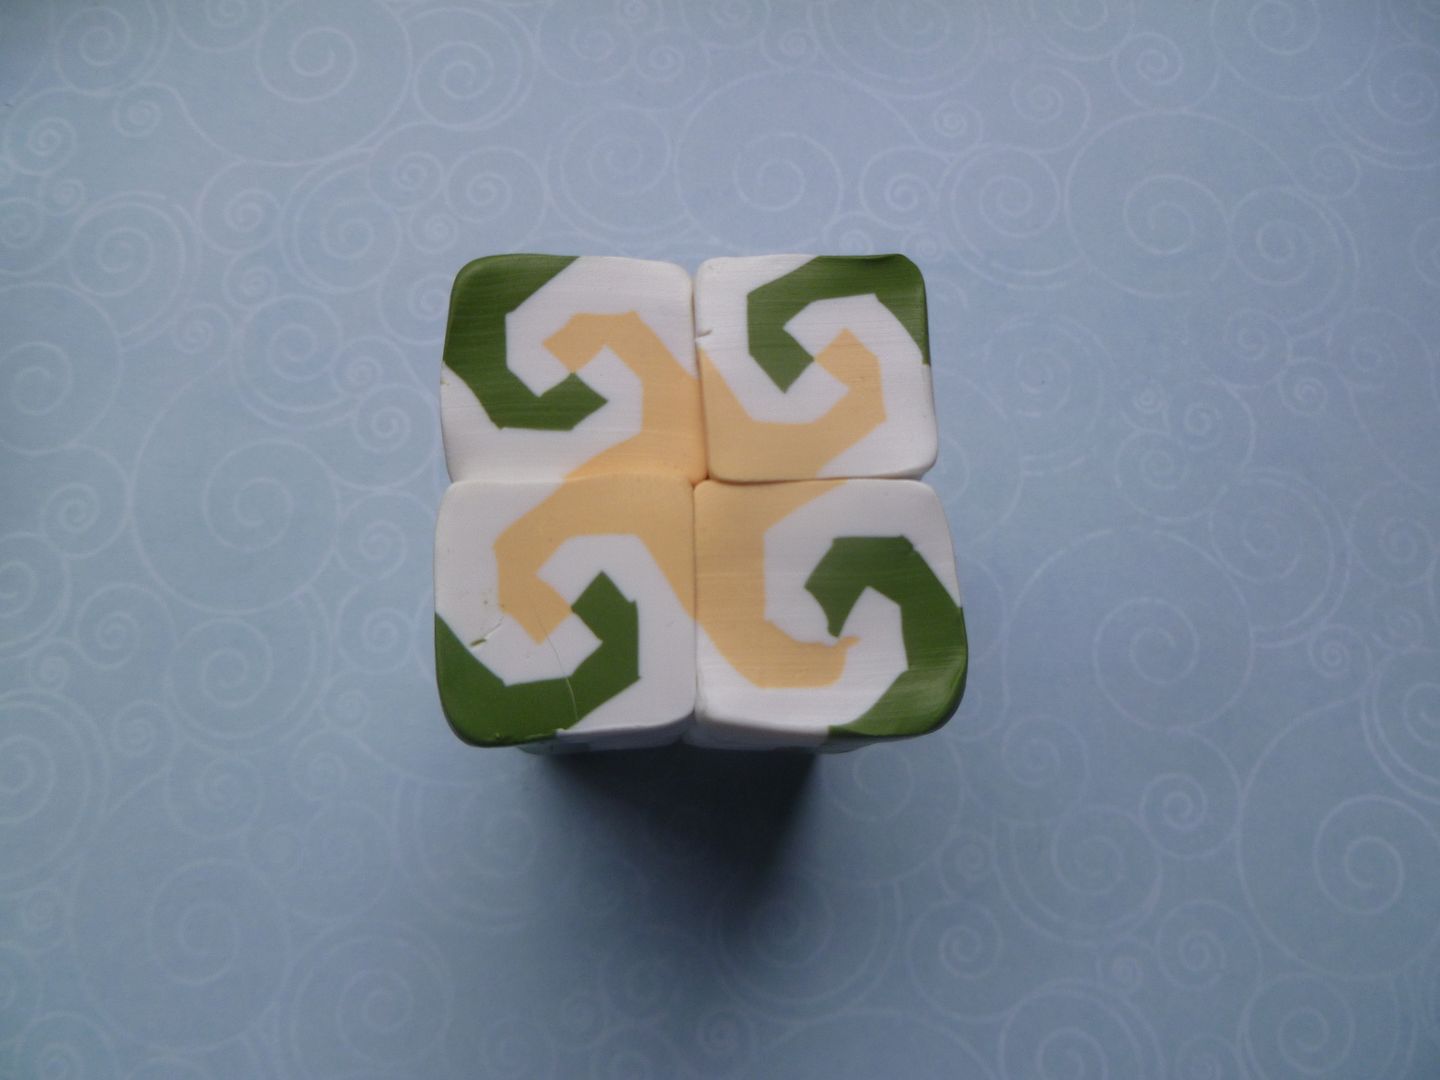
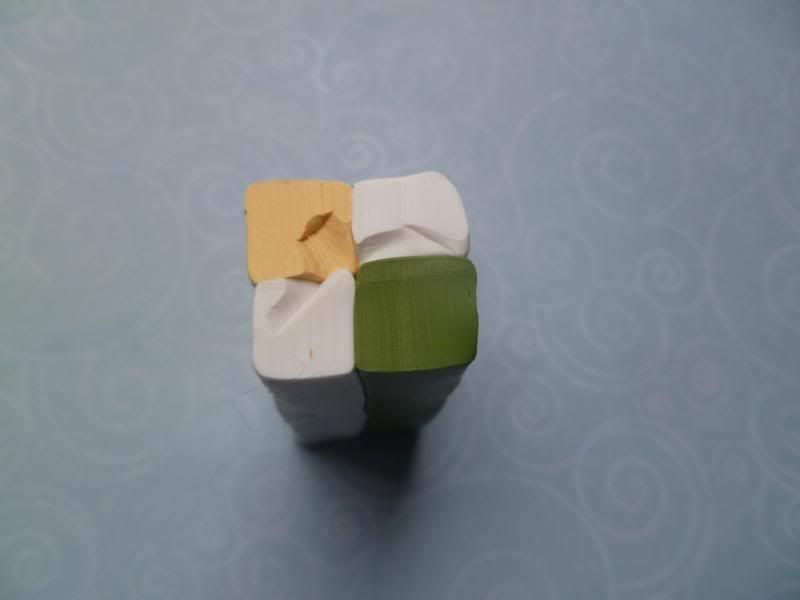
Take your cane from the first part and reduce it down until it's 3/4" or 1" square. Cut into four equal (more or less--I know how hard it can be) pieces and orient as below:
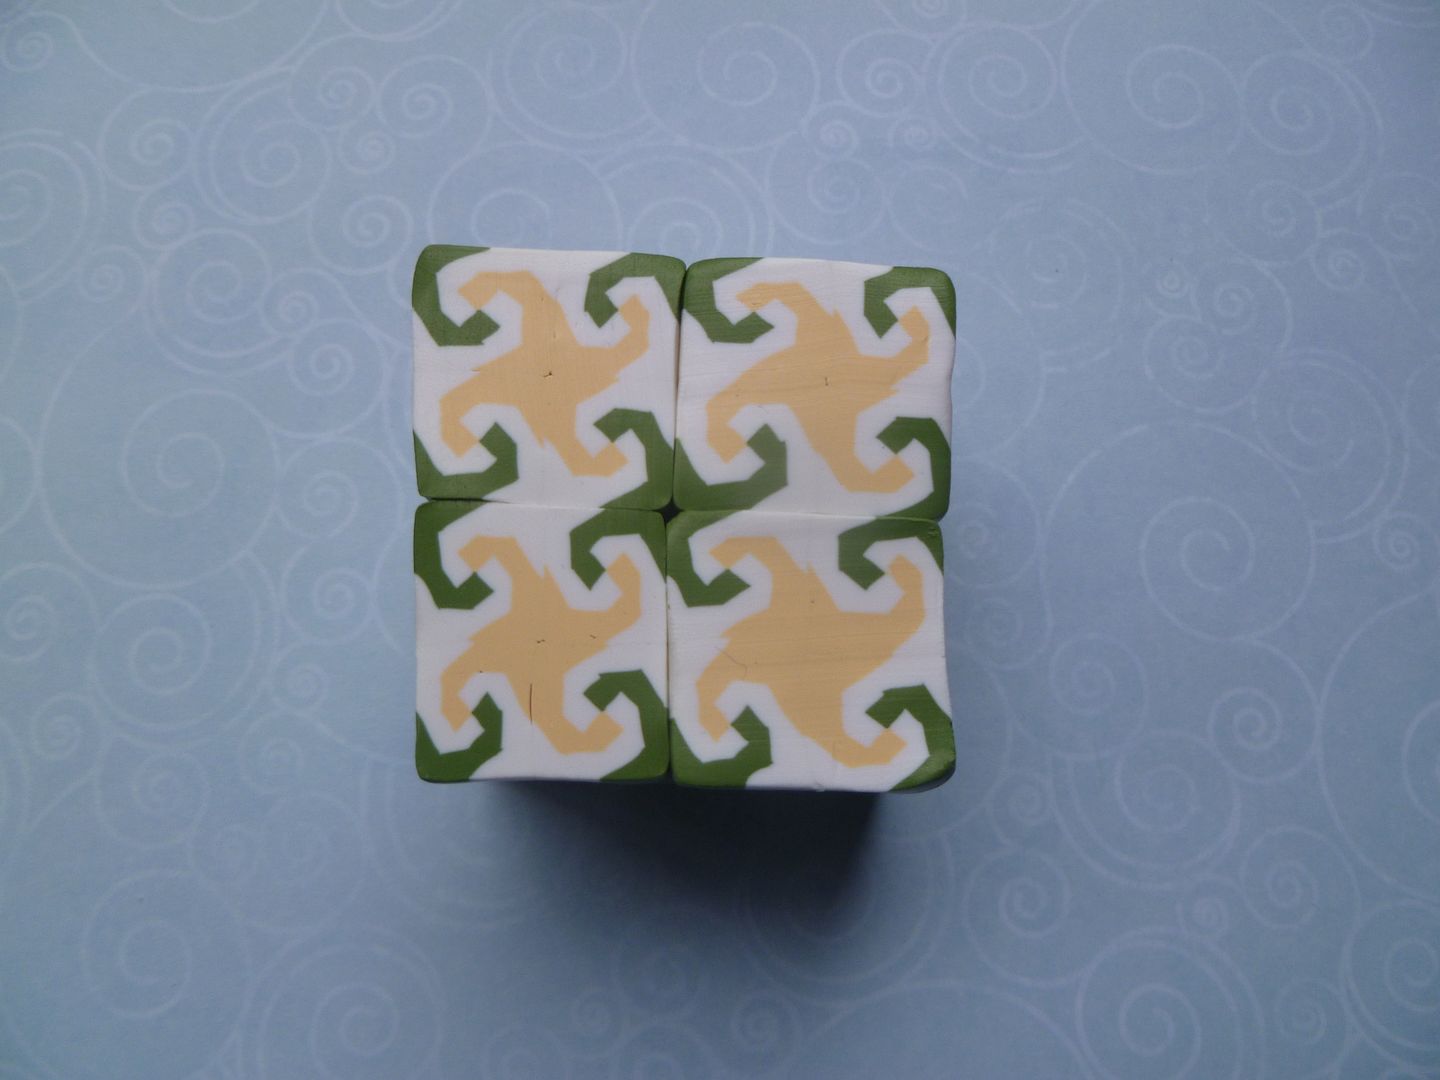
Push together and reduce. Cut again into four equal pieces.
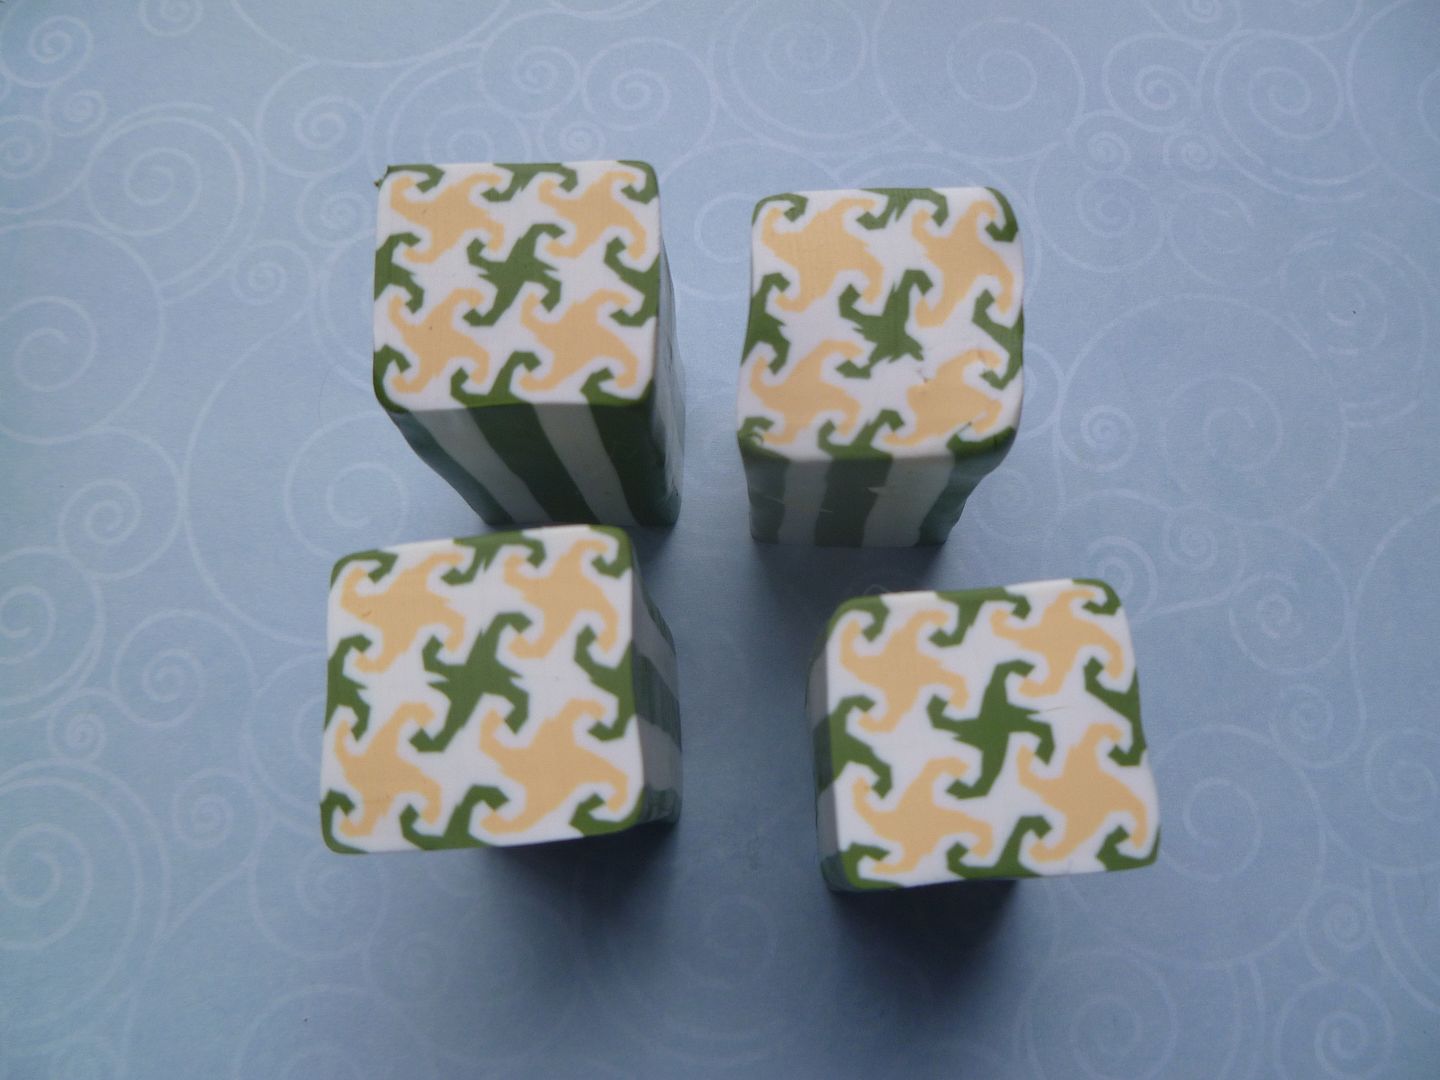
Again, push together as shown and reduce one more time; cut into four equal pieces:
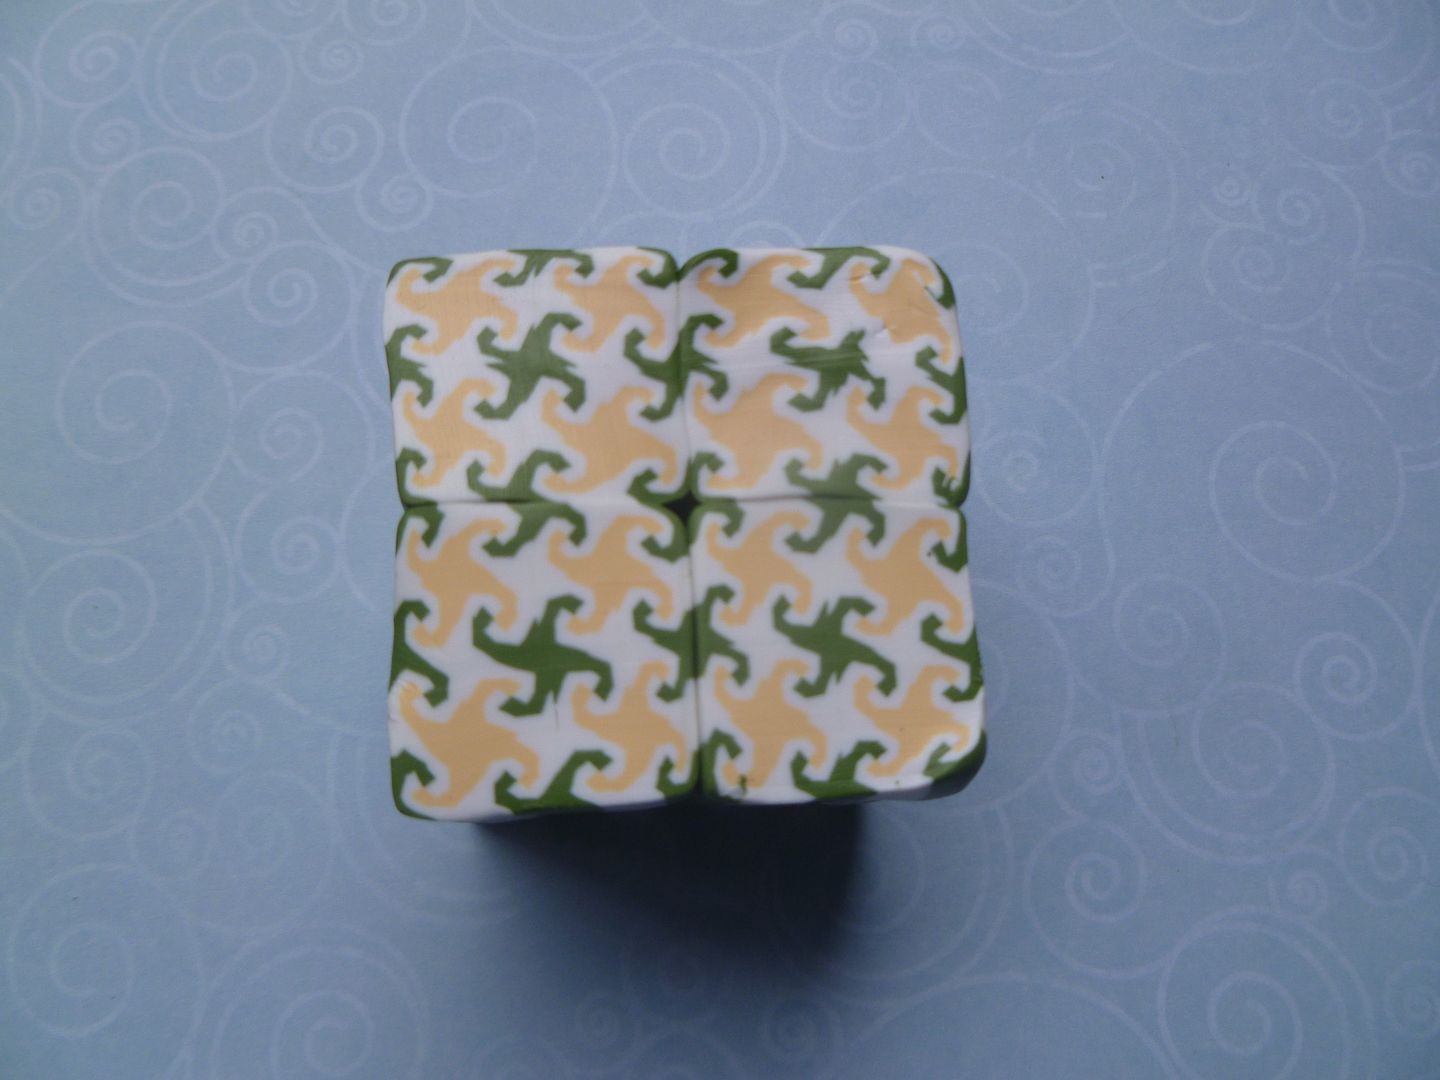
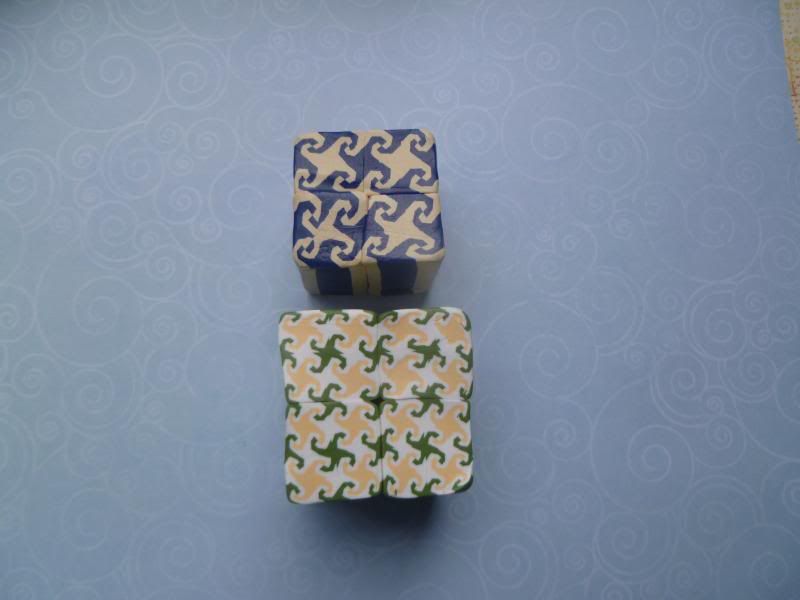
Push together one last time (this is one time further than the two-color cane). Ta-da! (again with the "ta-da"). The finished cane! Well, mostly finished...we'll get to that in another post.
Here's the cane with the two-color cane for comparison:
- I STARTED Early--Took my Dog--And visited the Sea--
- The Mermaids in the Basement Came out to look at me
Sunday, February 9, 2014
Thing a Day 2014, day nine
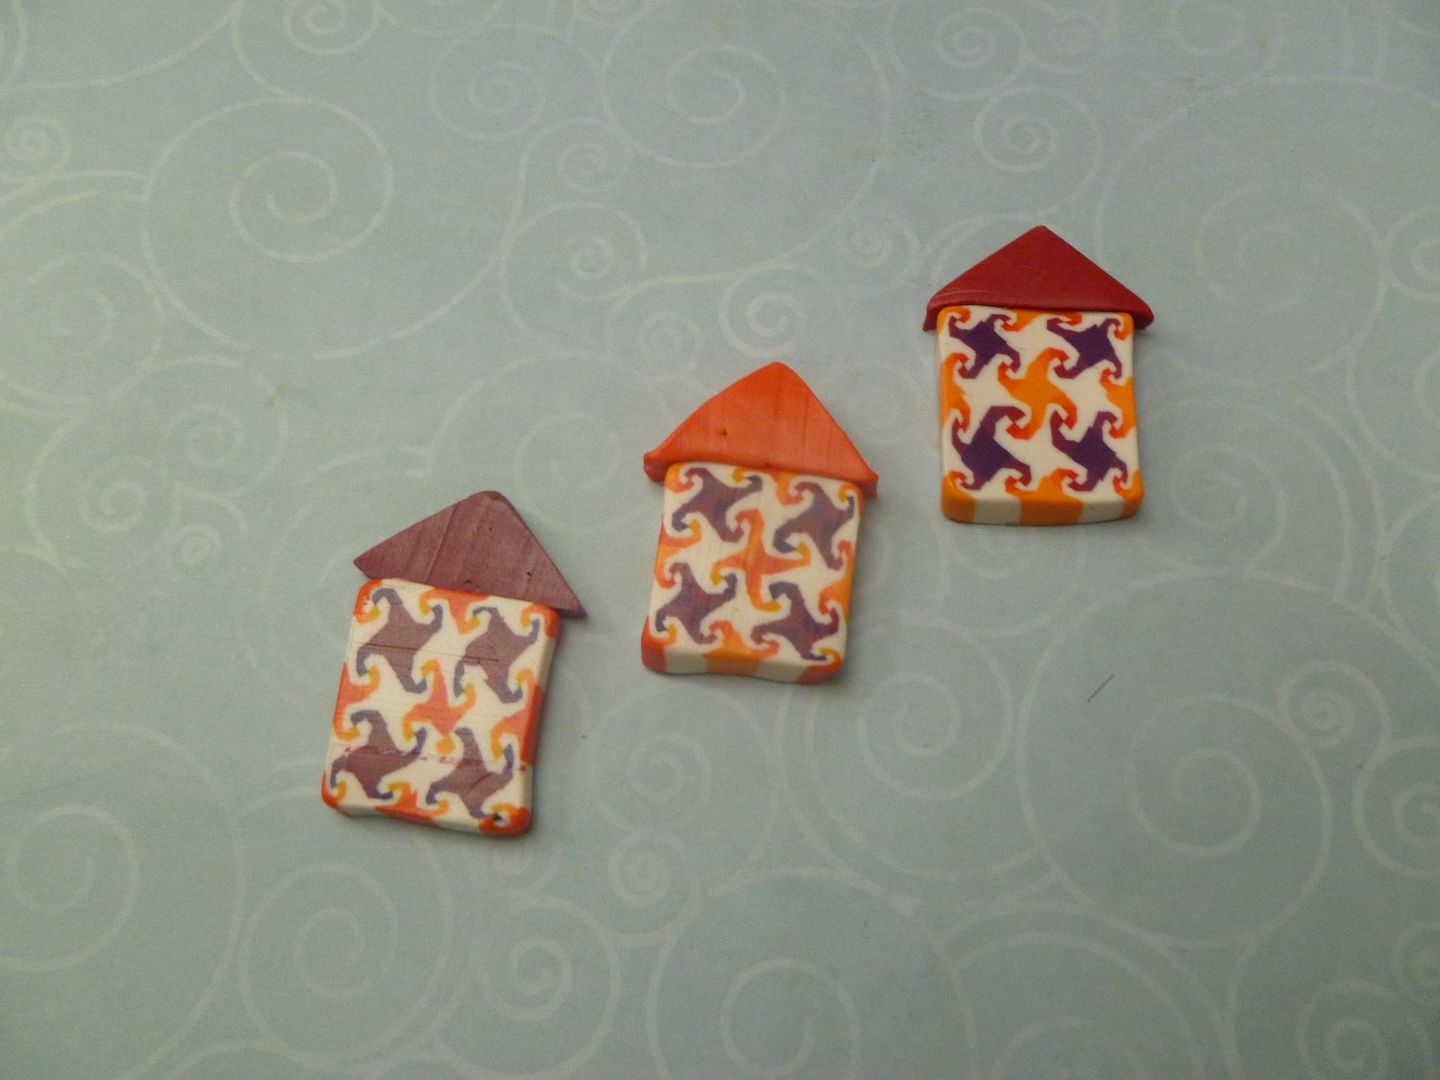
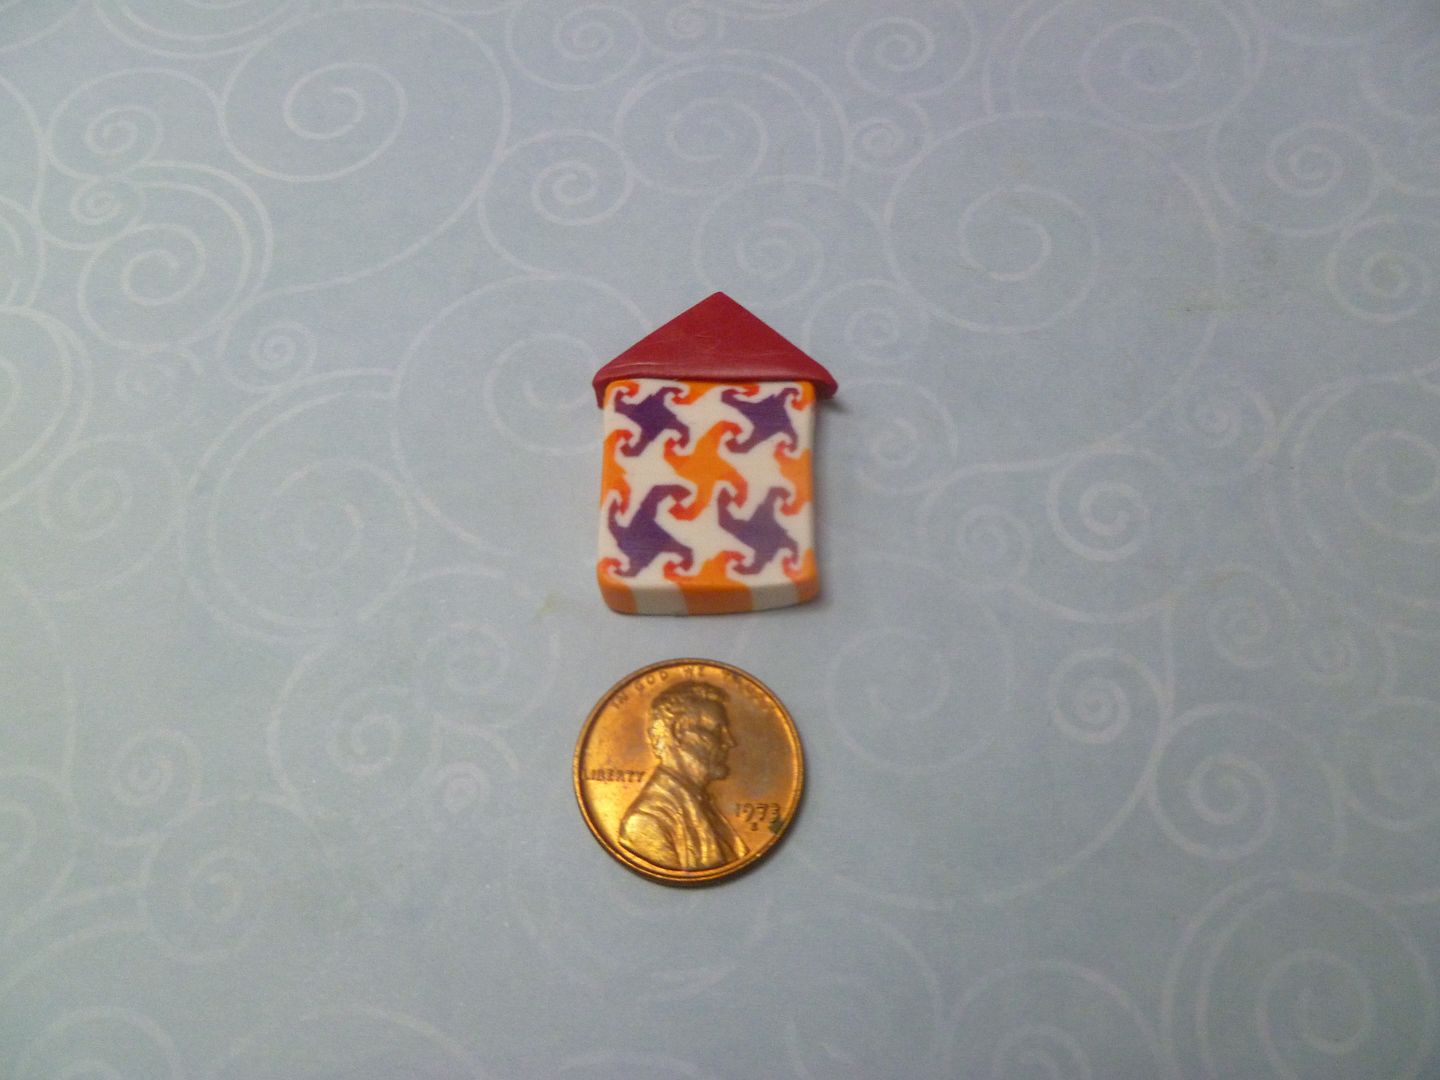
I made two more polymer clay house beads (the ones on top). Boring, I know, but I have a plan for them….

The two new ones were made with left over components from the snail’s trail pattern used in the first three beads. They went together pretty easily today, so I was able to slap these beads together.
Three-color Snail's Trail Quilt Pattern, part one
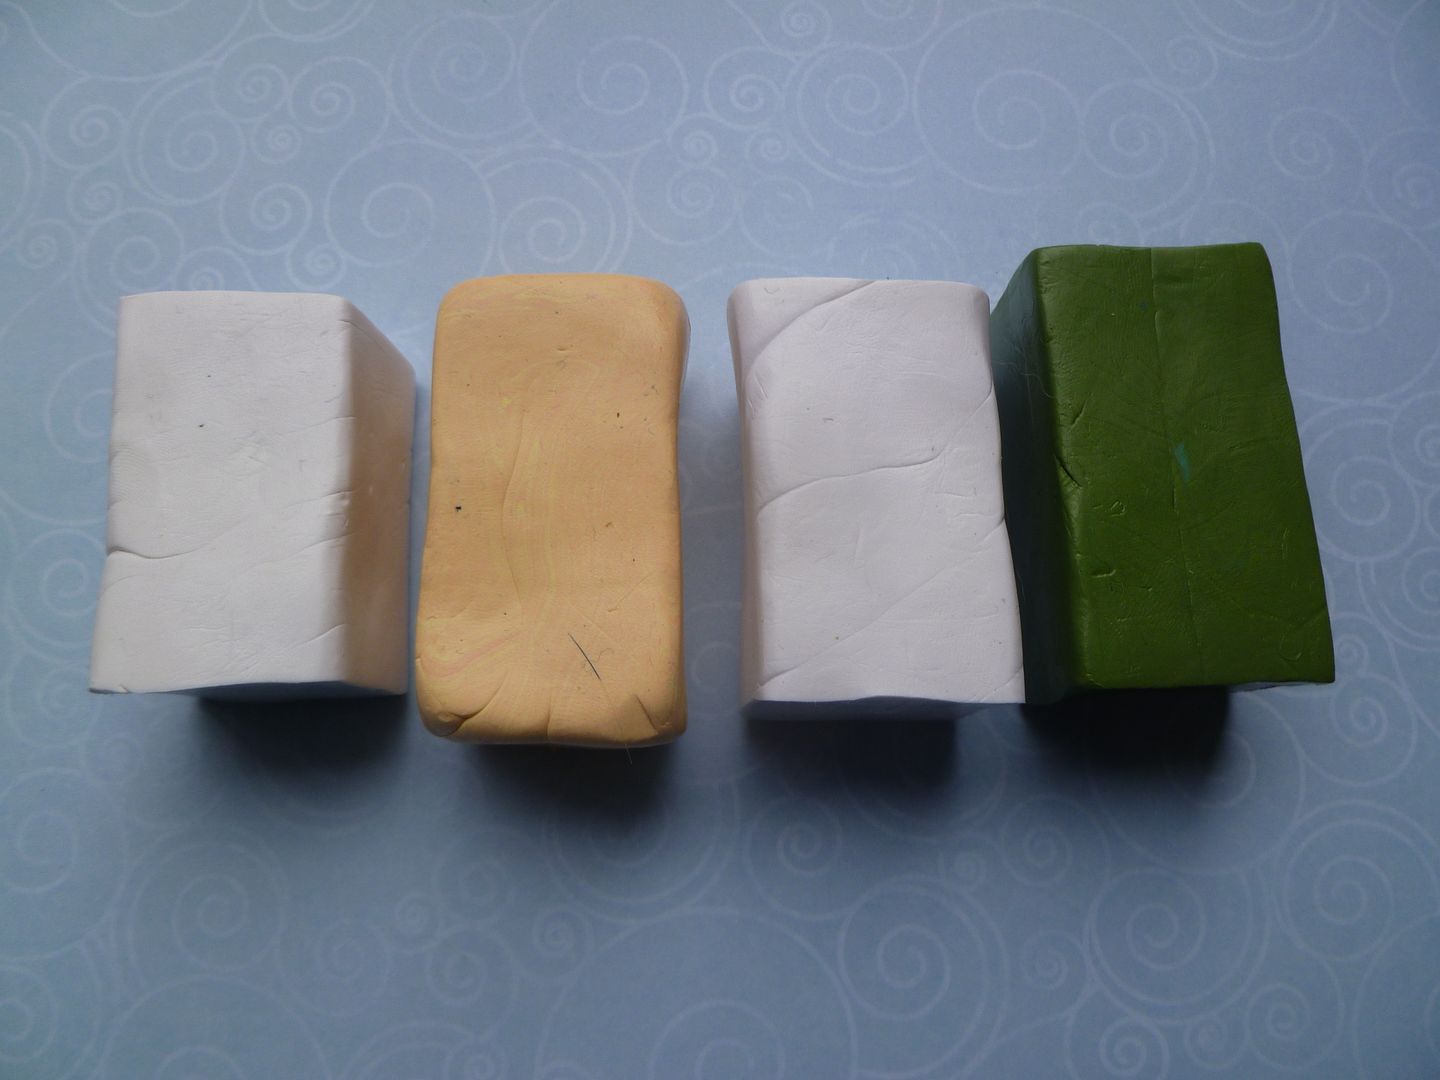
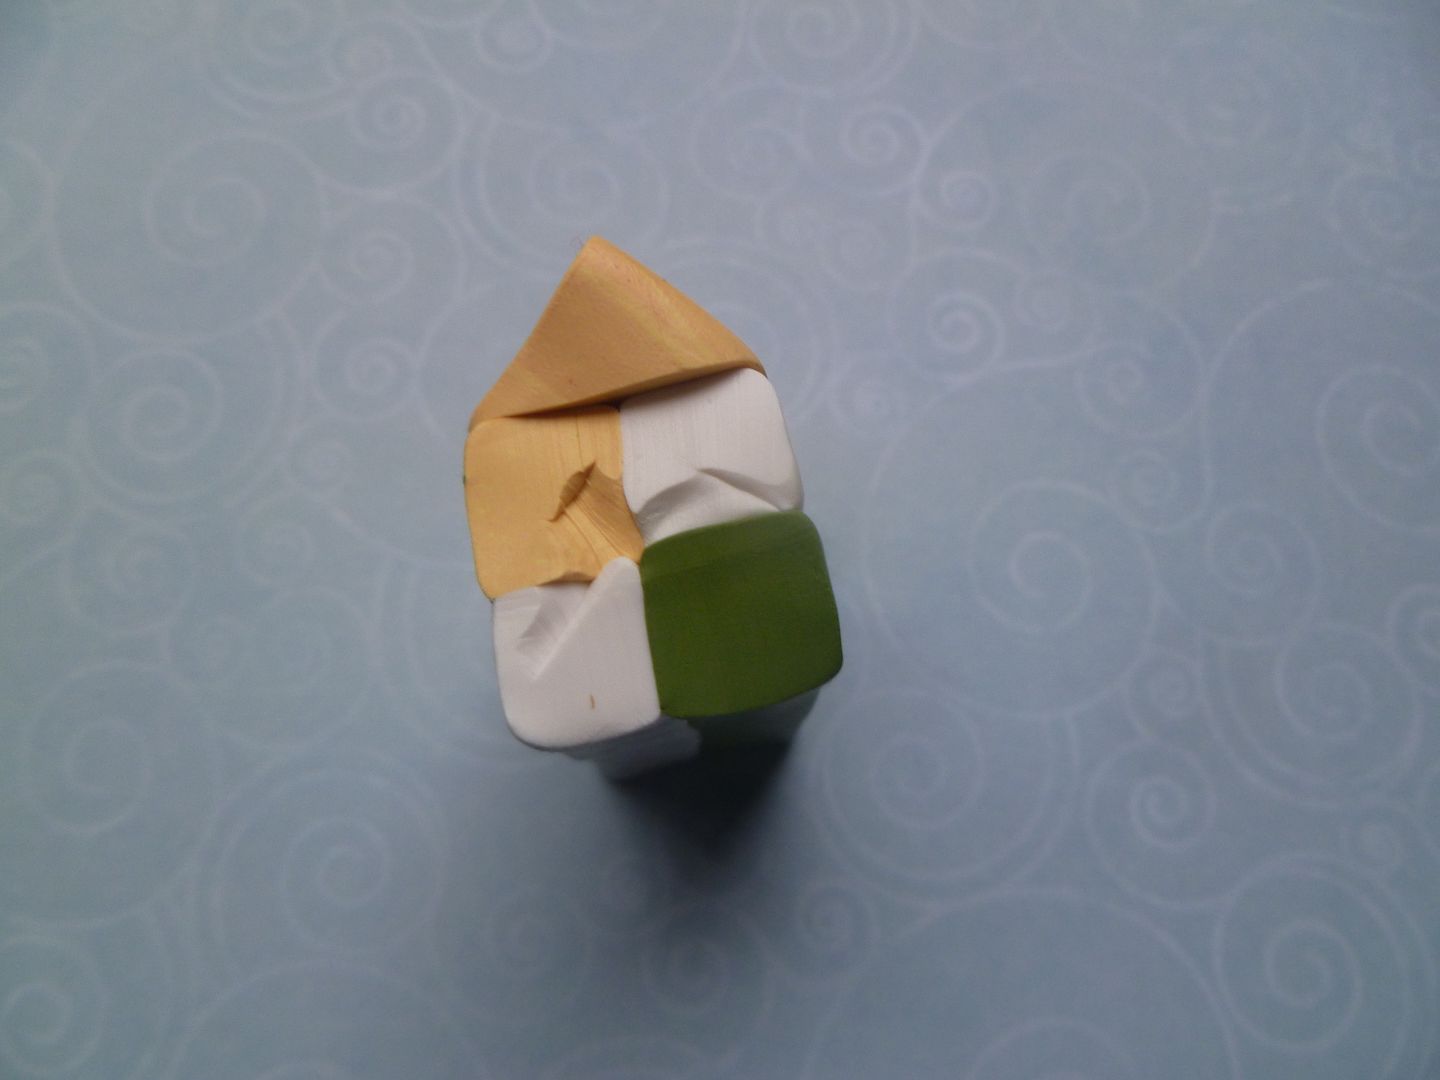
Now that we've done the basic snail's trail quilt in two colors, let's up the ante and try it with three. The basics are the same, condition/mix your colors and from into square logs. EXCEPT...make one each of your color and two each of white (or very light color).
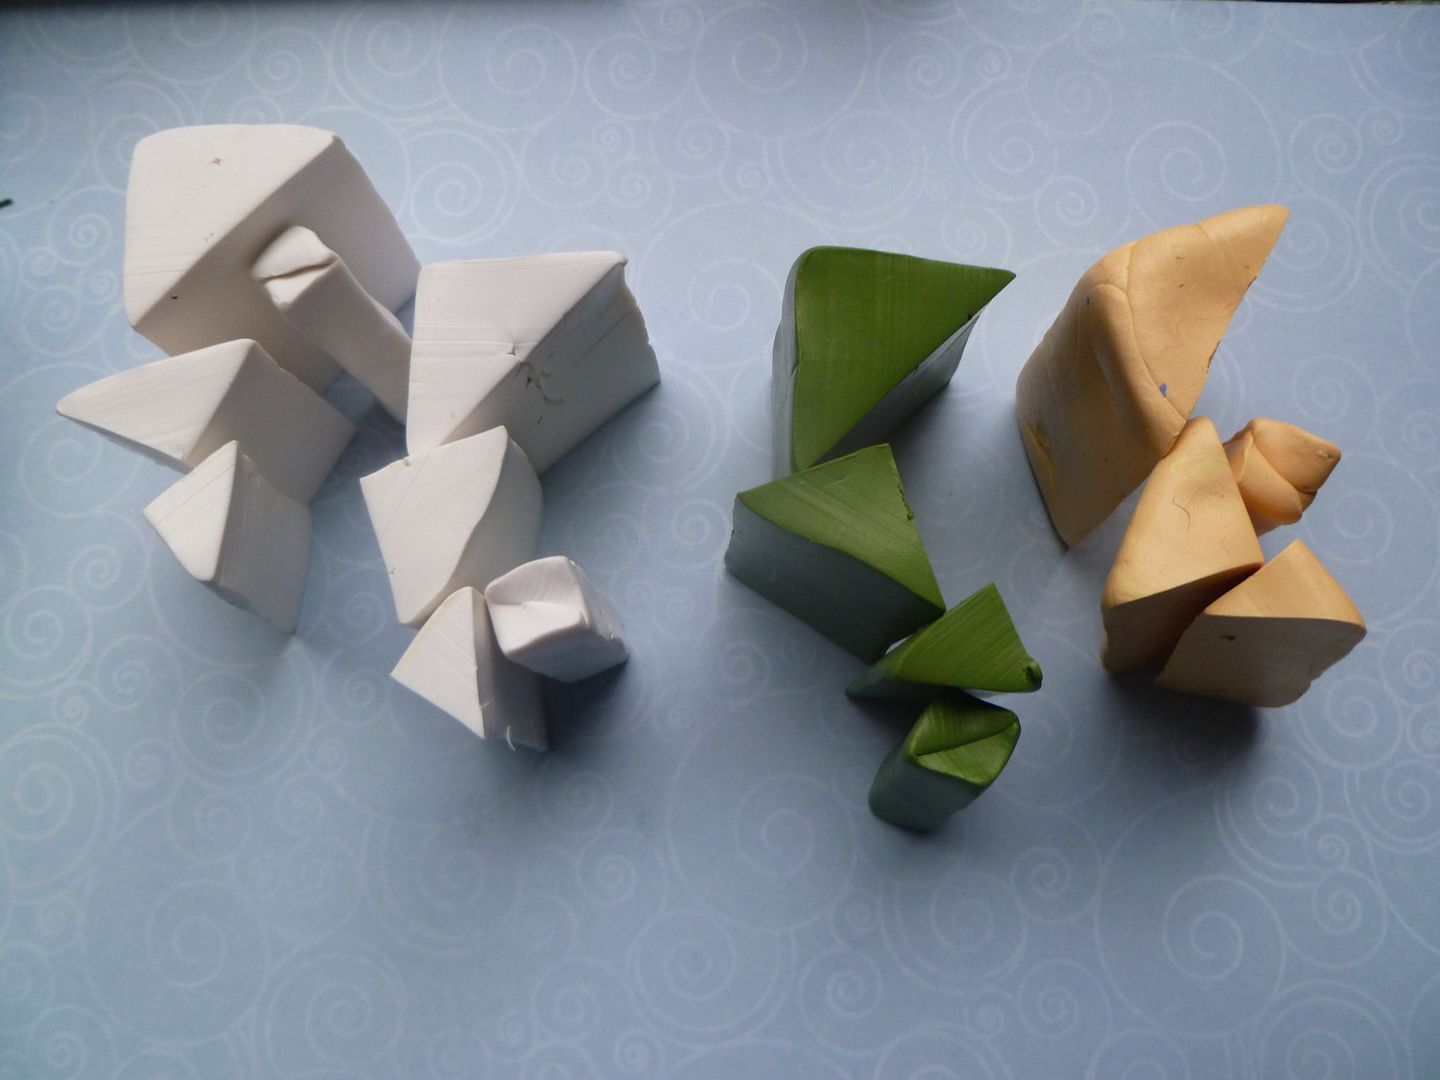
Refer to the previous tutorial for cutting directions (I got lazy--sorry!).
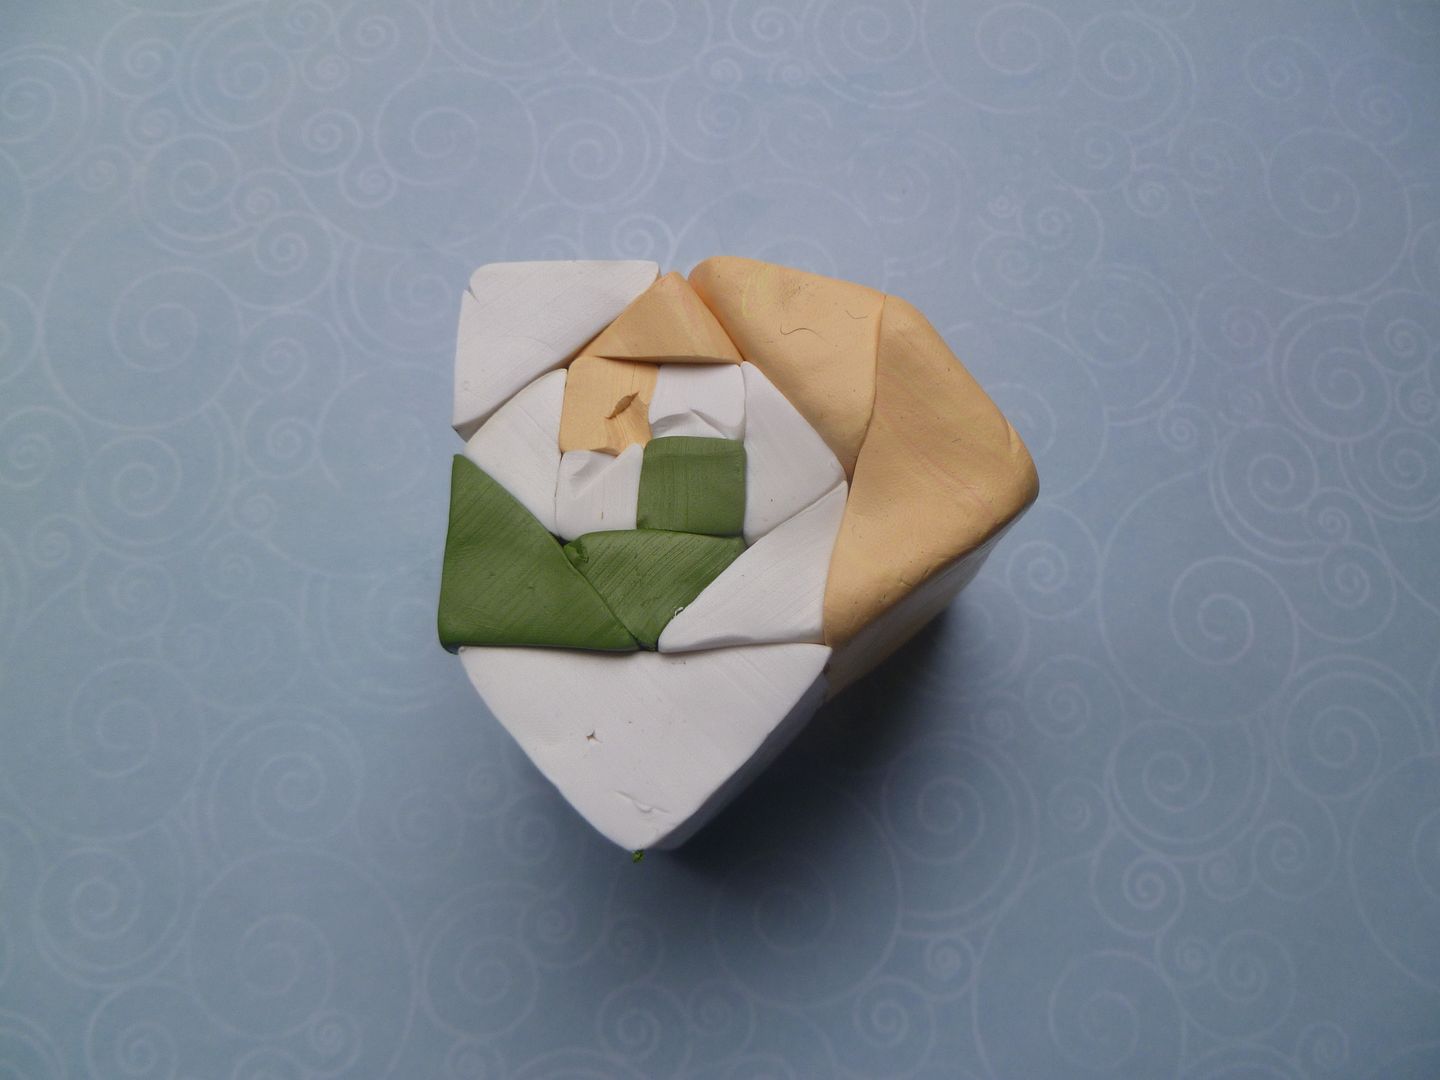
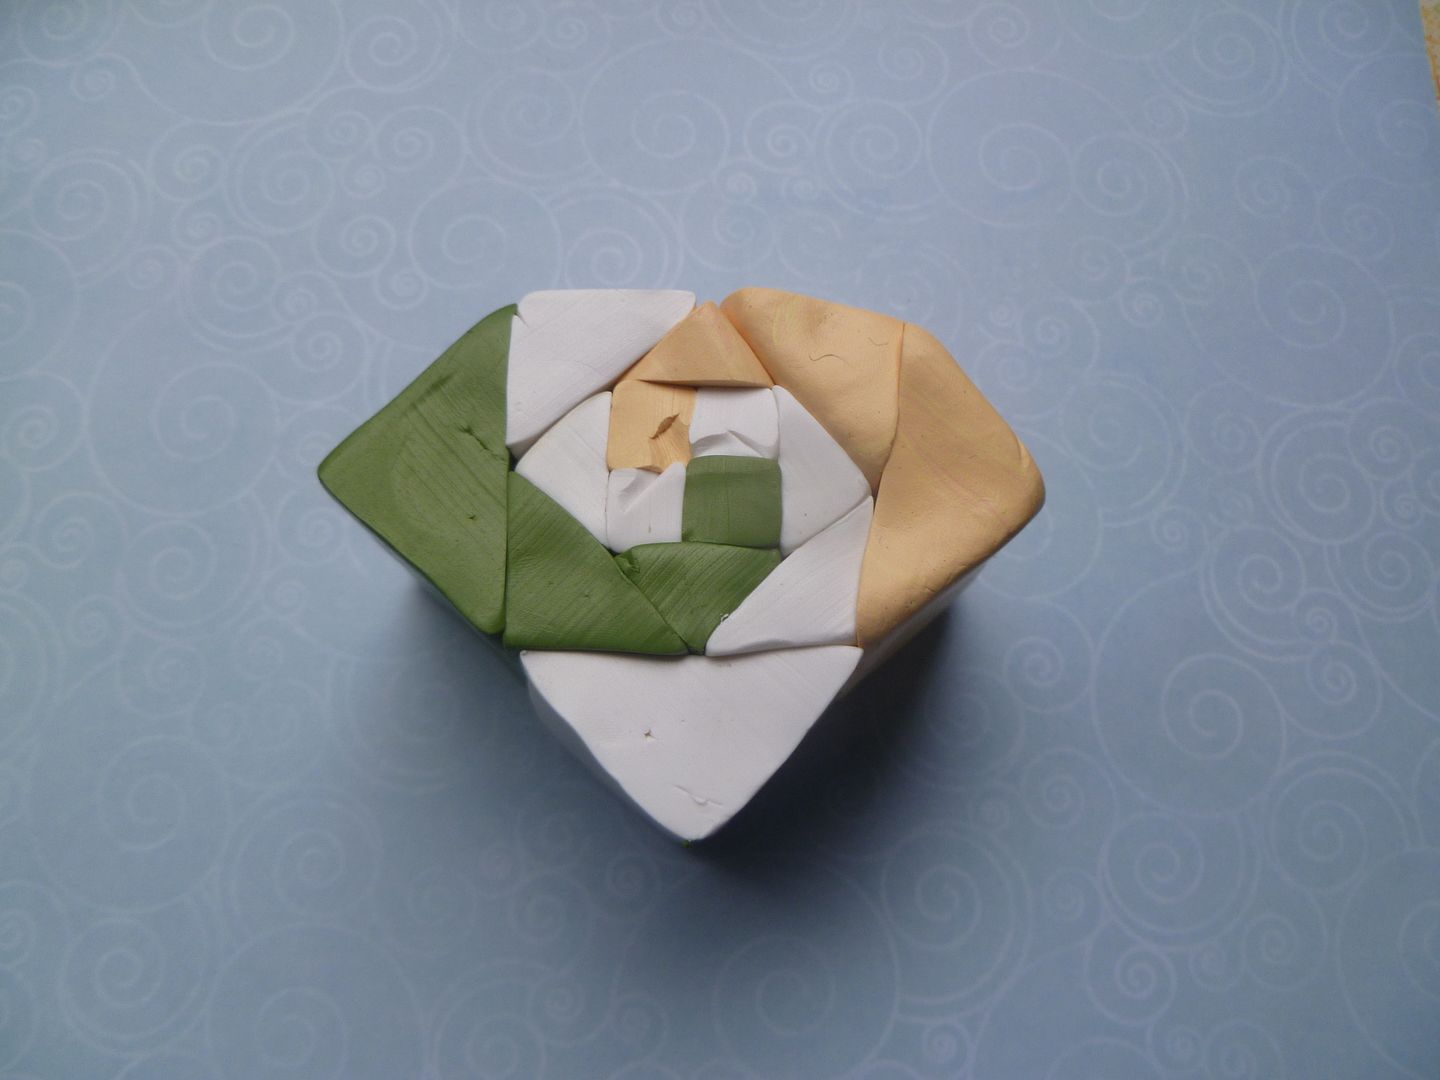
Okay, ready for putting it together? Here we go. Start with putting the squares together in checkerboard fashion (make sure the white pieces are kitty-corner to each other.
I've managed to orient the instructions this time, so that the light orange color square is always on the top left. Hopefully, this will make the instructions a bit easier to follow. I'm going to refer to the colors pictured for the tutorial, so substitute the colors that you are using when putting it together. Take the smallest light orange color triangle and put it on top (longest edge to the checkerboard).
Sometimes, the triangle pieces don't quite fit. If the difference isn't too great, it won't matter, but you can always stretch the triangle piece to fit or shrink the checkerboard a bit. Okay, next...place one of the smallest white triangles on the right side (again, longest edge of triangle against the checkerboard).
Next step, place the smallest green triangle on the bottom.
And then the other smallest white triangle on the left side.
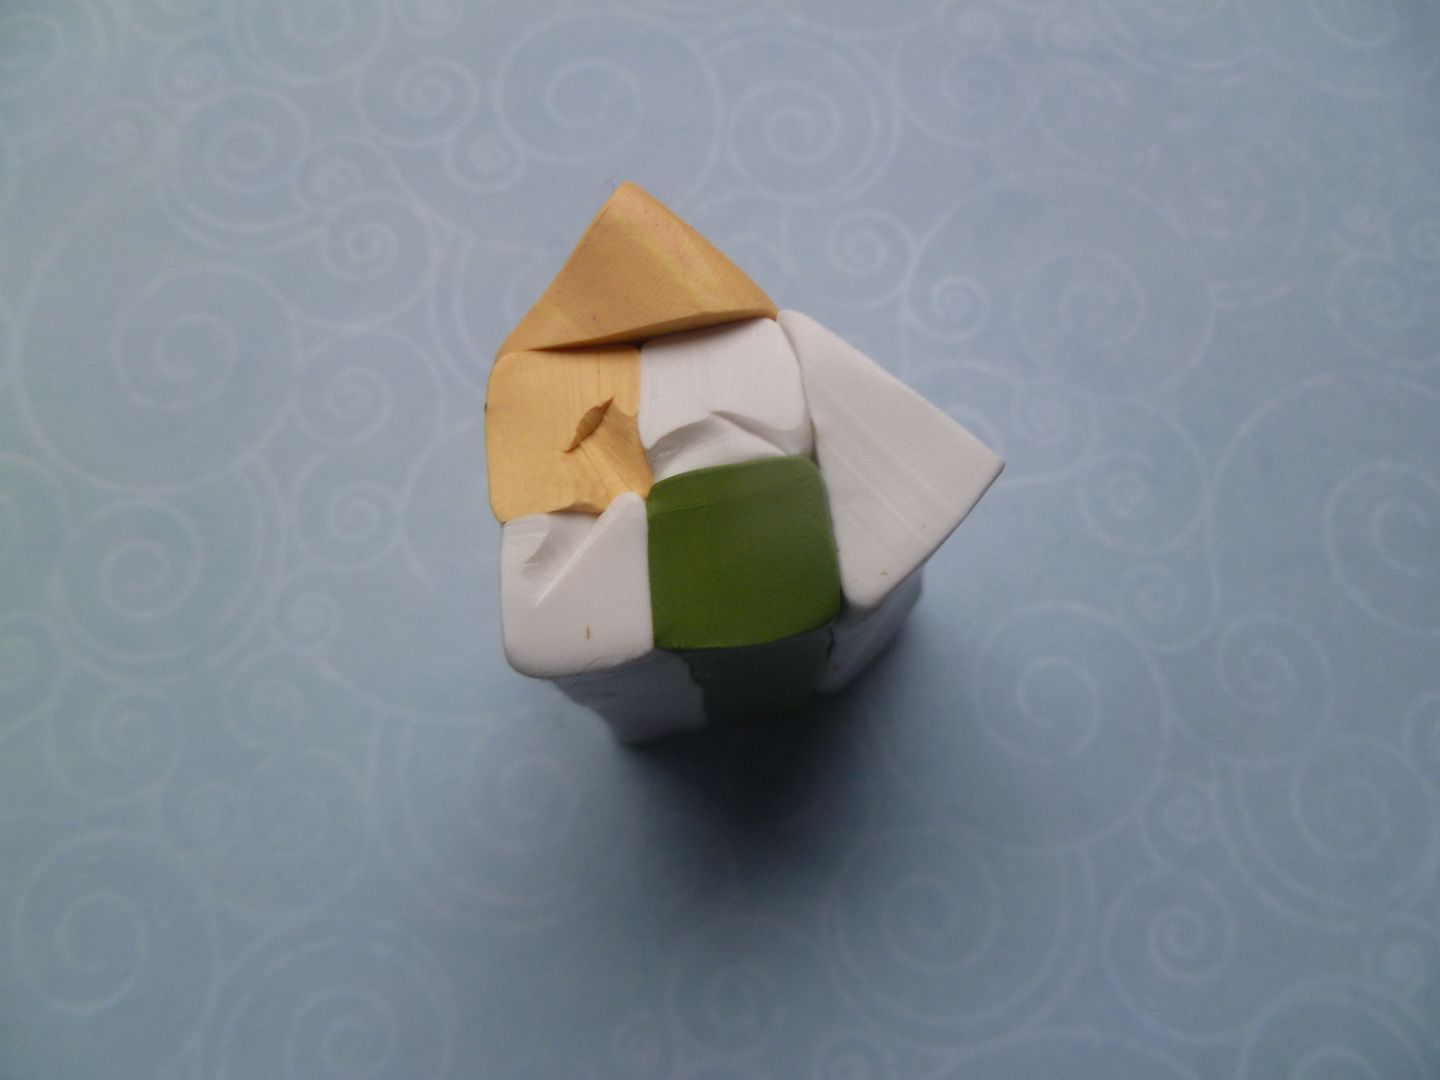
Ta-da! Now for the next part. Take the next smallest light orange triangle and place it on the upper right side of the cane.
One of the next to the smallest white triangles (have I lost you yet?) goes on the lower right side.
Then the next to the smallest green triangle goes on the lower left side.
Do you see the spiral beginning to happen? Finally, take the other next to the smallest white triangle and put it on the upper left side.
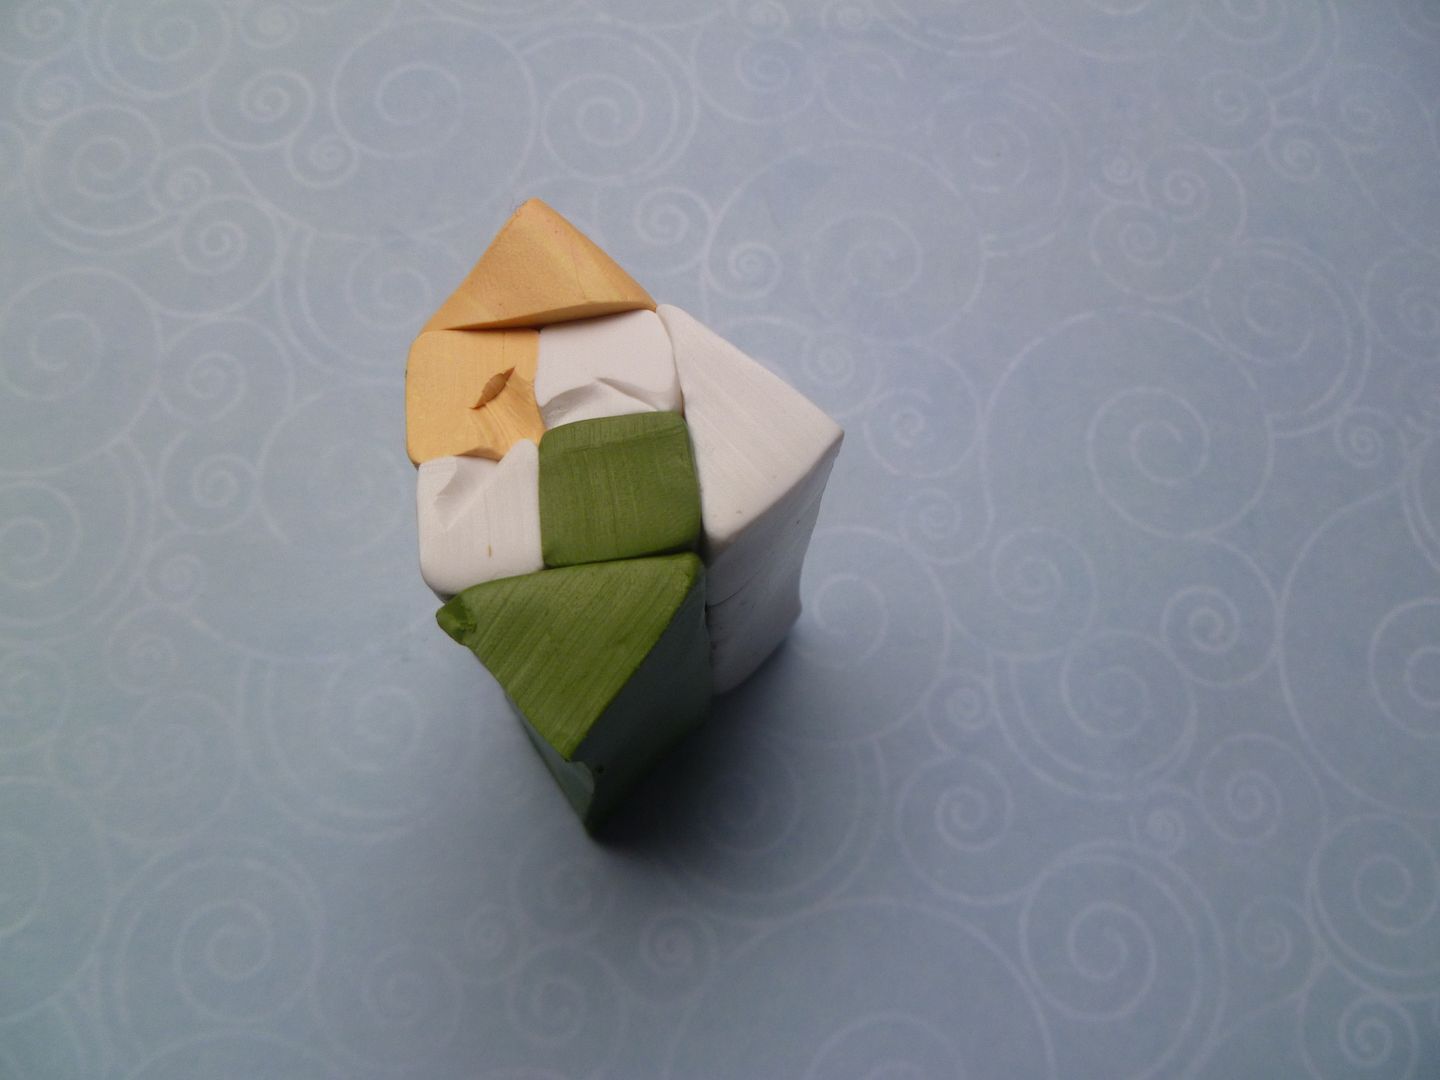
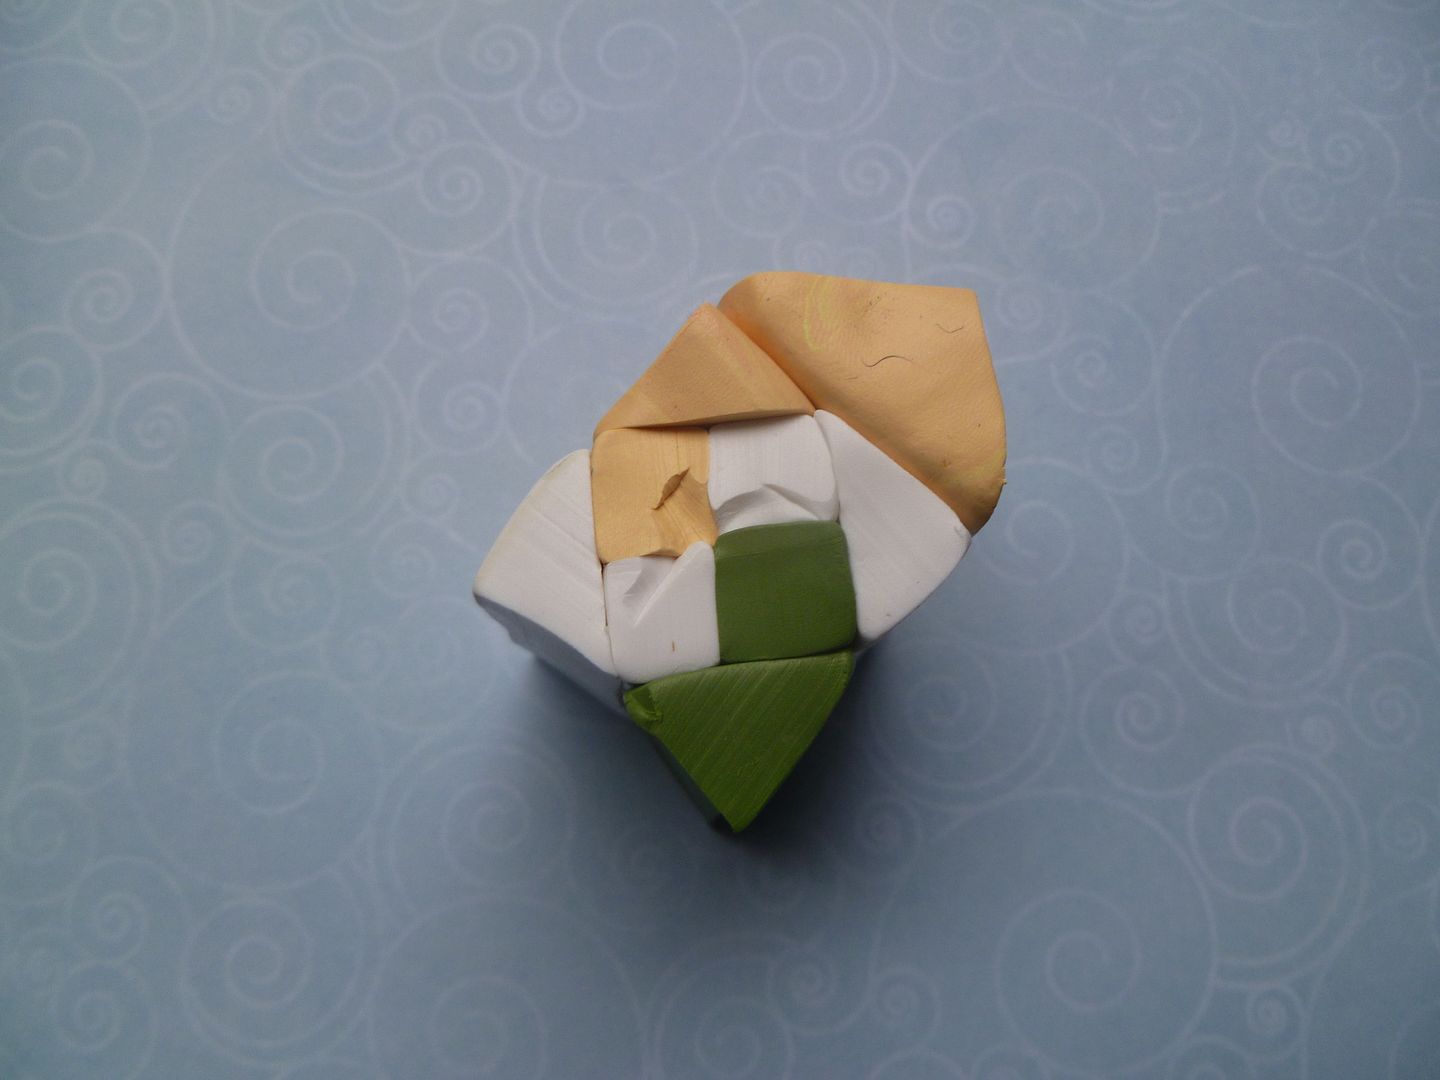
Next few steps: light orange triangle on the right side, white triangle on the bottom, green triangle on the left, then white triangle on the top.
Looks nice, yes? Tune in for part two--reduction and recombining....
Refer to the previous tutorial for cutting directions (I got lazy--sorry!).
Okay, ready for putting it together? Here we go. Start with putting the squares together in checkerboard fashion (make sure the white pieces are kitty-corner to each other.
I've managed to orient the instructions this time, so that the light orange color square is always on the top left. Hopefully, this will make the instructions a bit easier to follow. I'm going to refer to the colors pictured for the tutorial, so substitute the colors that you are using when putting it together. Take the smallest light orange color triangle and put it on top (longest edge to the checkerboard).
Sometimes, the triangle pieces don't quite fit. If the difference isn't too great, it won't matter, but you can always stretch the triangle piece to fit or shrink the checkerboard a bit. Okay, next...place one of the smallest white triangles on the right side (again, longest edge of triangle against the checkerboard).
Next step, place the smallest green triangle on the bottom.
And then the other smallest white triangle on the left side.
Ta-da! Now for the next part. Take the next smallest light orange triangle and place it on the upper right side of the cane.
One of the next to the smallest white triangles (have I lost you yet?) goes on the lower right side.
Then the next to the smallest green triangle goes on the lower left side.
Do you see the spiral beginning to happen? Finally, take the other next to the smallest white triangle and put it on the upper left side.
Next few steps: light orange triangle on the right side, white triangle on the bottom, green triangle on the left, then white triangle on the top.
Looks nice, yes? Tune in for part two--reduction and recombining....
Saturday, February 8, 2014
Friday, February 7, 2014
Thing a Day 2014, day seven
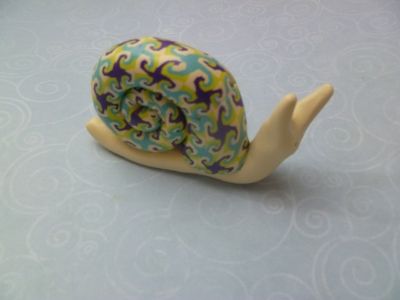
I used another snail's trail quilt pattern to make this snail. I thought it appropriate....
I was going to post the first part of my next tutorial tonight, but I'm sick, so I'm going to bed early. Have a great night, everyone!
Thing a Day 2014, day six
I fell asleep on the couch last night and didn't post my thing-a-day. So I'll post it now:
It's a little house bead...I've put a penny with it to show the size.
I'll be doing a tutorial on this particular snail's trail quilt pattern. But I have two or three other ones to do first.
It's a little house bead...I've put a penny with it to show the size.
I'll be doing a tutorial on this particular snail's trail quilt pattern. But I have two or three other ones to do first.
Wednesday, February 5, 2014
Snail's Trail Quilt Pattern - part three
Okay, let's reduce this puppy. I usually reduce it to 3/4" to 1" at this point.
Once it's reduced, cut off the distorted ends and cut your cane into four equal pieces. Make sure each piece swirls the same way and then rotate them until they look like the pic below:
Push the cane pieces together and reduce again. Cut into four equal pieces.
Orient the canes all the same way and push together.
At this point you can leave it as is, or reduce and recombine one more time. It just depends on what is pleasing to you. I've been guilty of taking it too far and recombining the pattern out of existence.
Here's a couple of things I've done in the past. The first one is taken to the point in this post. The second one was recombined one (maybe two) more time. How many times you cut and recombine can make a big difference.
Next up: Three colors!
Once it's reduced, cut off the distorted ends and cut your cane into four equal pieces. Make sure each piece swirls the same way and then rotate them until they look like the pic below:
Push the cane pieces together and reduce again. Cut into four equal pieces.
Orient the canes all the same way and push together.
At this point you can leave it as is, or reduce and recombine one more time. It just depends on what is pleasing to you. I've been guilty of taking it too far and recombining the pattern out of existence.
Here's a couple of things I've done in the past. The first one is taken to the point in this post. The second one was recombined one (maybe two) more time. How many times you cut and recombine can make a big difference.
Next up: Three colors!
Thing a Day 2014 - day four
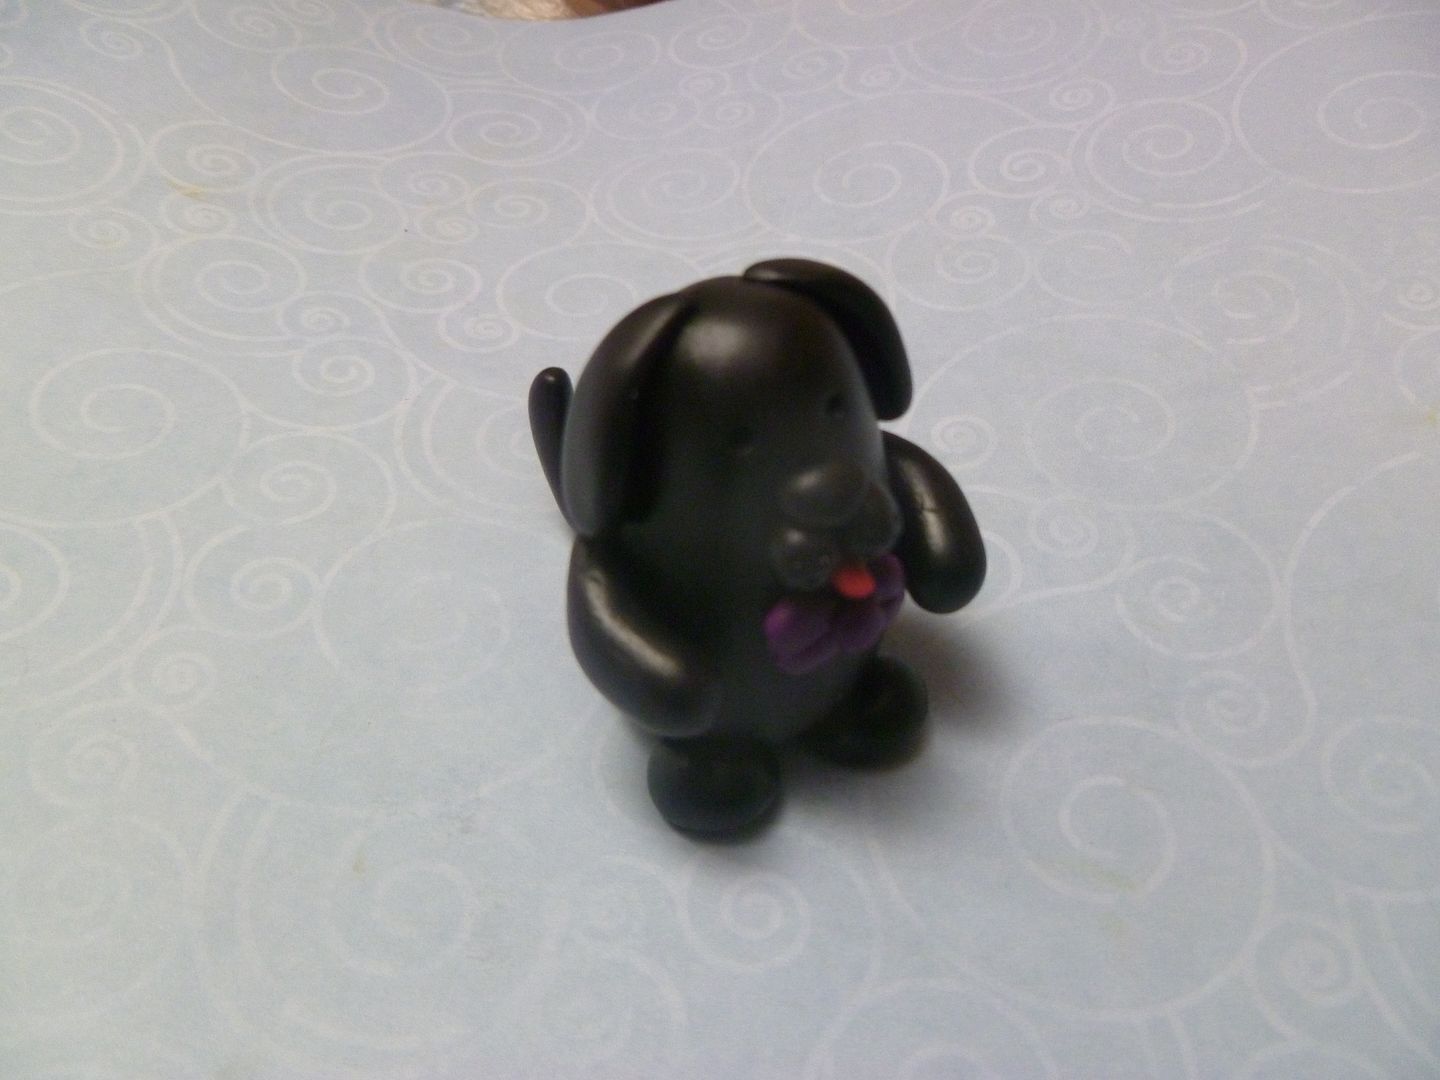
I made a black polymer clay puppy. He doesn't show up very well in the picture, but he has a little purple bow-tie....
Snail's Trail Quilt Pattern - part two
Okay, now that we have our component pieces made, let's put them together to form the basic cane:
Take the checkerboard piece and reduce it until the side is the same width as the longest side of the smallest triangle piece. Trim it to the length of the triangle pieces. Then lay the smallest triangle piece--longest side-- next to the checkerboard piece. It doesn't matter whether you start with dark or light--if you're holding the checkerboard, make sure the triangle piece is against the color on the left (the pic is a little misleading, as I wasn't thinking when I first took pictures...in this case make sure the color of the triangle piece is the same as the color of the checkerboard piece on the top right).
Next, take the other color smallest triangle piece and lay it on the next side of the checkerboard. Gah! I don't know how to describe it. Hopefully, the pictures help....
Do the same thing with the final two pieces of the smallest triangle log. Okay, the first round is done.
Move on to next triangle log (the middle-sized one) and place it next to the smaller blue triangle as shown in the pic (Double Gah! I don't know how to put it into words).
Keep adding the middle-sized triangles as you did the smaller triangles (see pics). Now you're done with the second round. One more to go!
Now it's time for the largest triangle logs. Do them the same as the middle-sized ones (again, look at the pics--I hope they make sense!).
So the last pic above is the basic Snail's Trail pattern. This post is plenty long enough, so I'll be back in a day or two with the final post that shows reduction and recombining to make the "quilt" cane for this two-color version. Then I'll have a couple or three posts for the three color version and then the four color version (and I even have a special version I was experimenting with)...but that's all later. Let me know if you have any questions!
Take the checkerboard piece and reduce it until the side is the same width as the longest side of the smallest triangle piece. Trim it to the length of the triangle pieces. Then lay the smallest triangle piece--longest side-- next to the checkerboard piece. It doesn't matter whether you start with dark or light--if you're holding the checkerboard, make sure the triangle piece is against the color on the left (the pic is a little misleading, as I wasn't thinking when I first took pictures...in this case make sure the color of the triangle piece is the same as the color of the checkerboard piece on the top right).
Next, take the other color smallest triangle piece and lay it on the next side of the checkerboard. Gah! I don't know how to describe it. Hopefully, the pictures help....
Do the same thing with the final two pieces of the smallest triangle log. Okay, the first round is done.
Move on to next triangle log (the middle-sized one) and place it next to the smaller blue triangle as shown in the pic (Double Gah! I don't know how to put it into words).
Keep adding the middle-sized triangles as you did the smaller triangles (see pics). Now you're done with the second round. One more to go!
Now it's time for the largest triangle logs. Do them the same as the middle-sized ones (again, look at the pics--I hope they make sense!).
So the last pic above is the basic Snail's Trail pattern. This post is plenty long enough, so I'll be back in a day or two with the final post that shows reduction and recombining to make the "quilt" cane for this two-color version. Then I'll have a couple or three posts for the three color version and then the four color version (and I even have a special version I was experimenting with)...but that's all later. Let me know if you have any questions!
Monday, February 3, 2014
Thing a Day 2014, day three
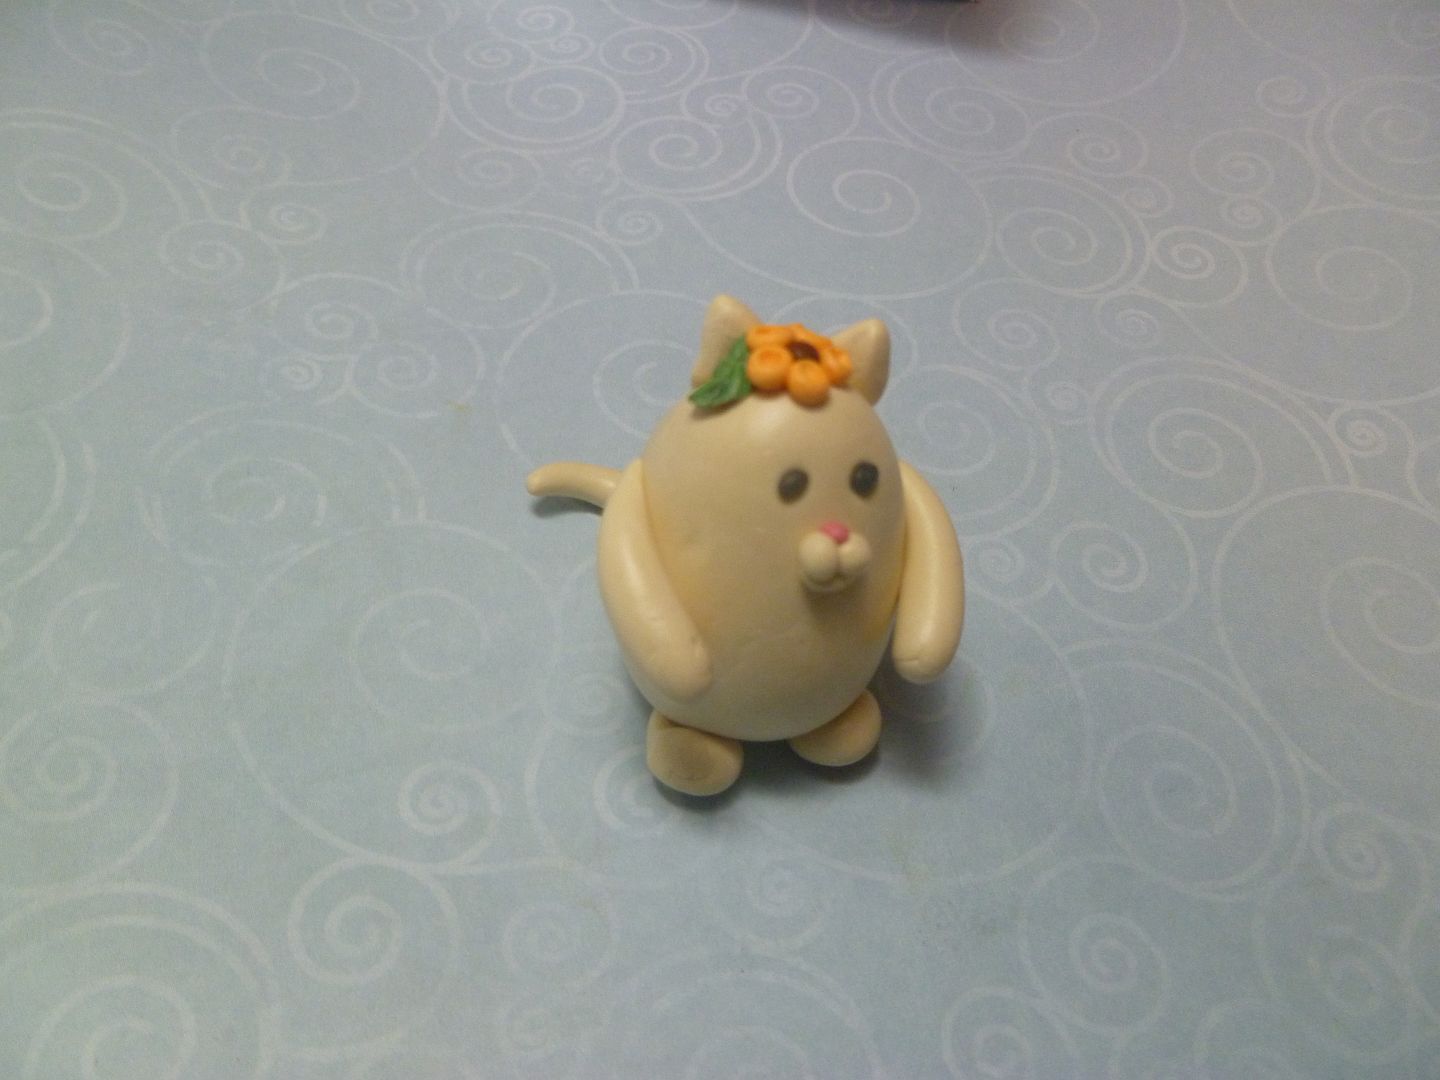
I'm not through with critters, yet. Here's a kitty with an orange flower:
Okay, I'm caught up now....
Subscribe to:
Posts (Atom)