I STARTED Early--Took my Dog--And visited the Sea--
The Mermaids in the Basement Came out to look at me
--Emily Dickinson

Saturday, March 1, 2014

Four-color Snail's Trail Quilt Pattern, part two


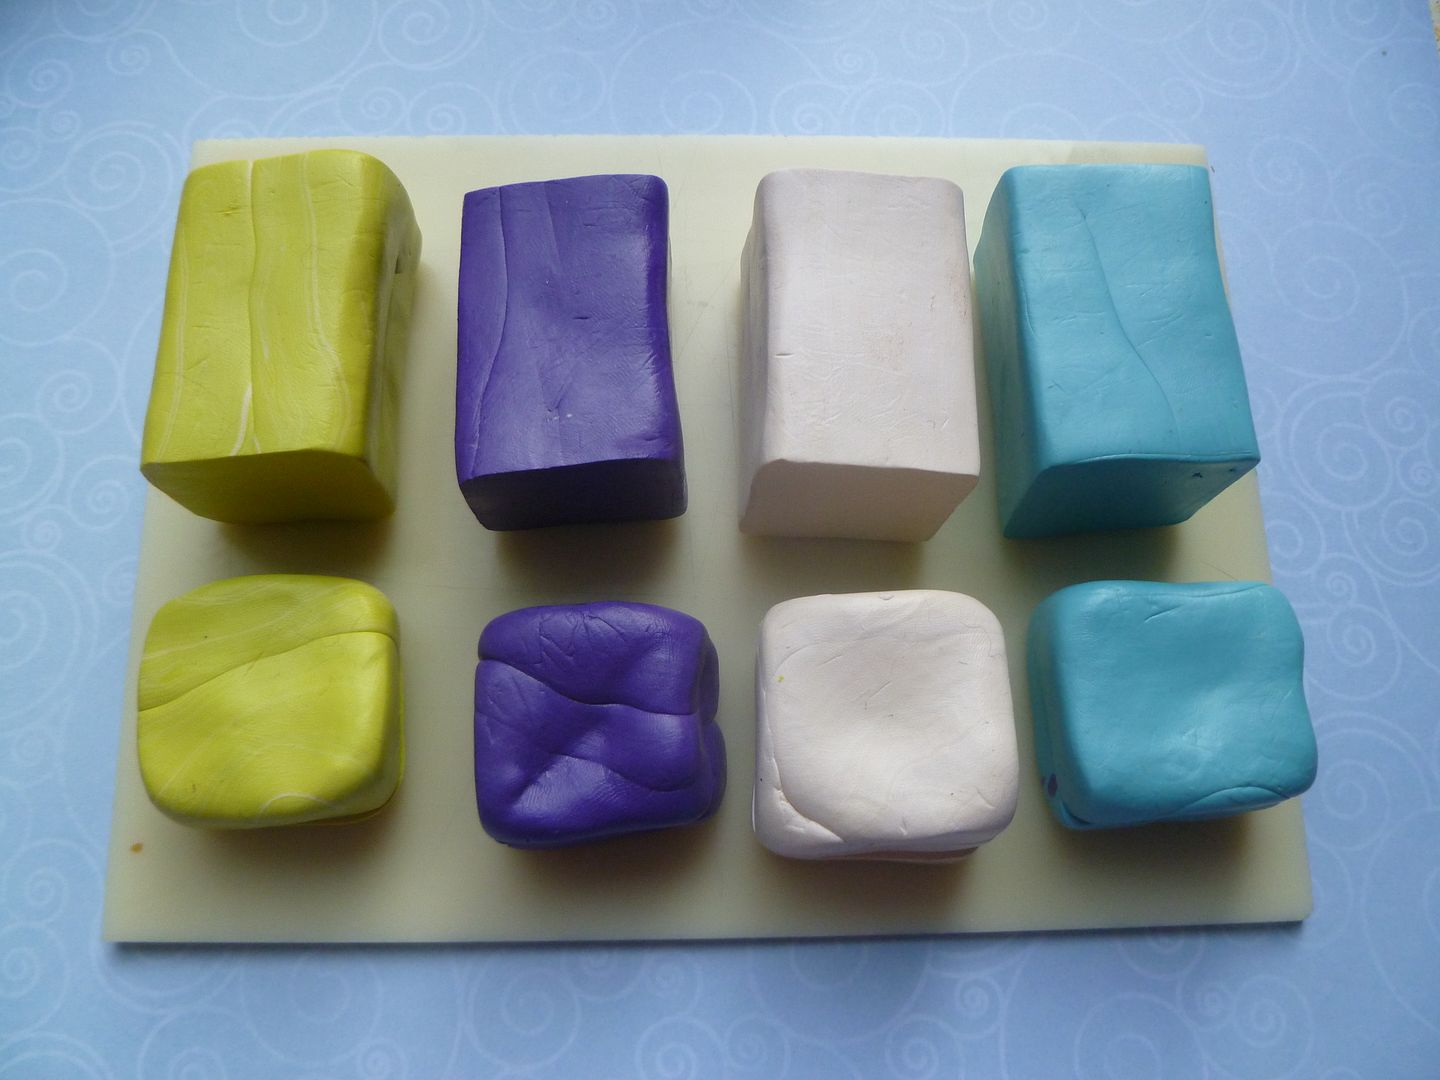
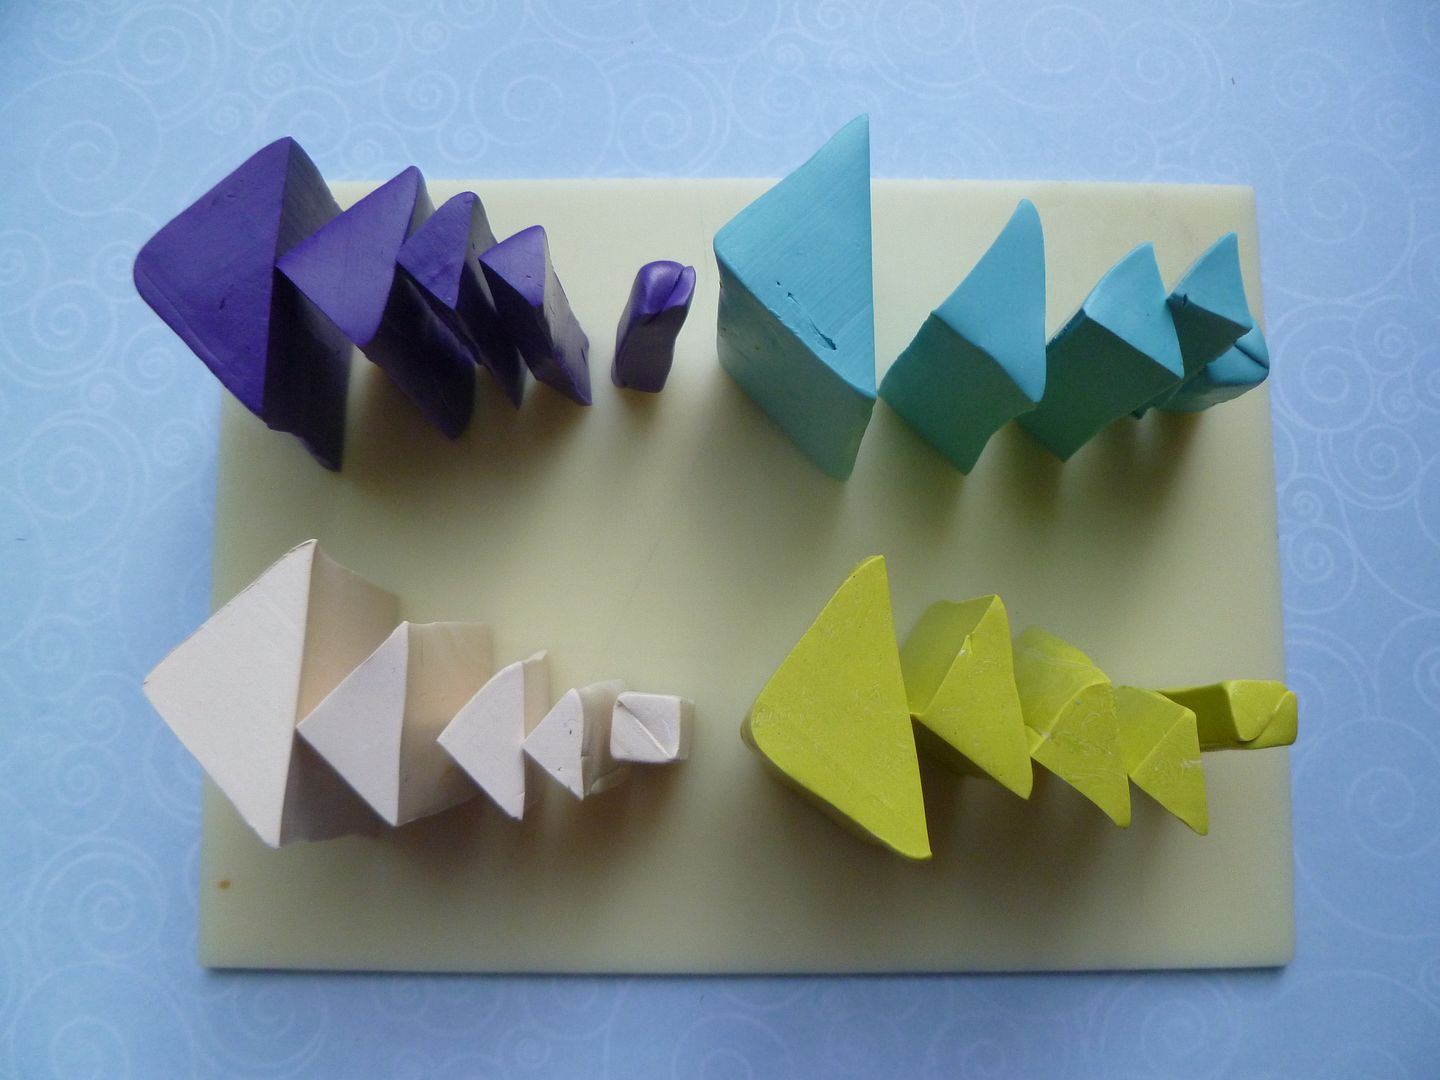
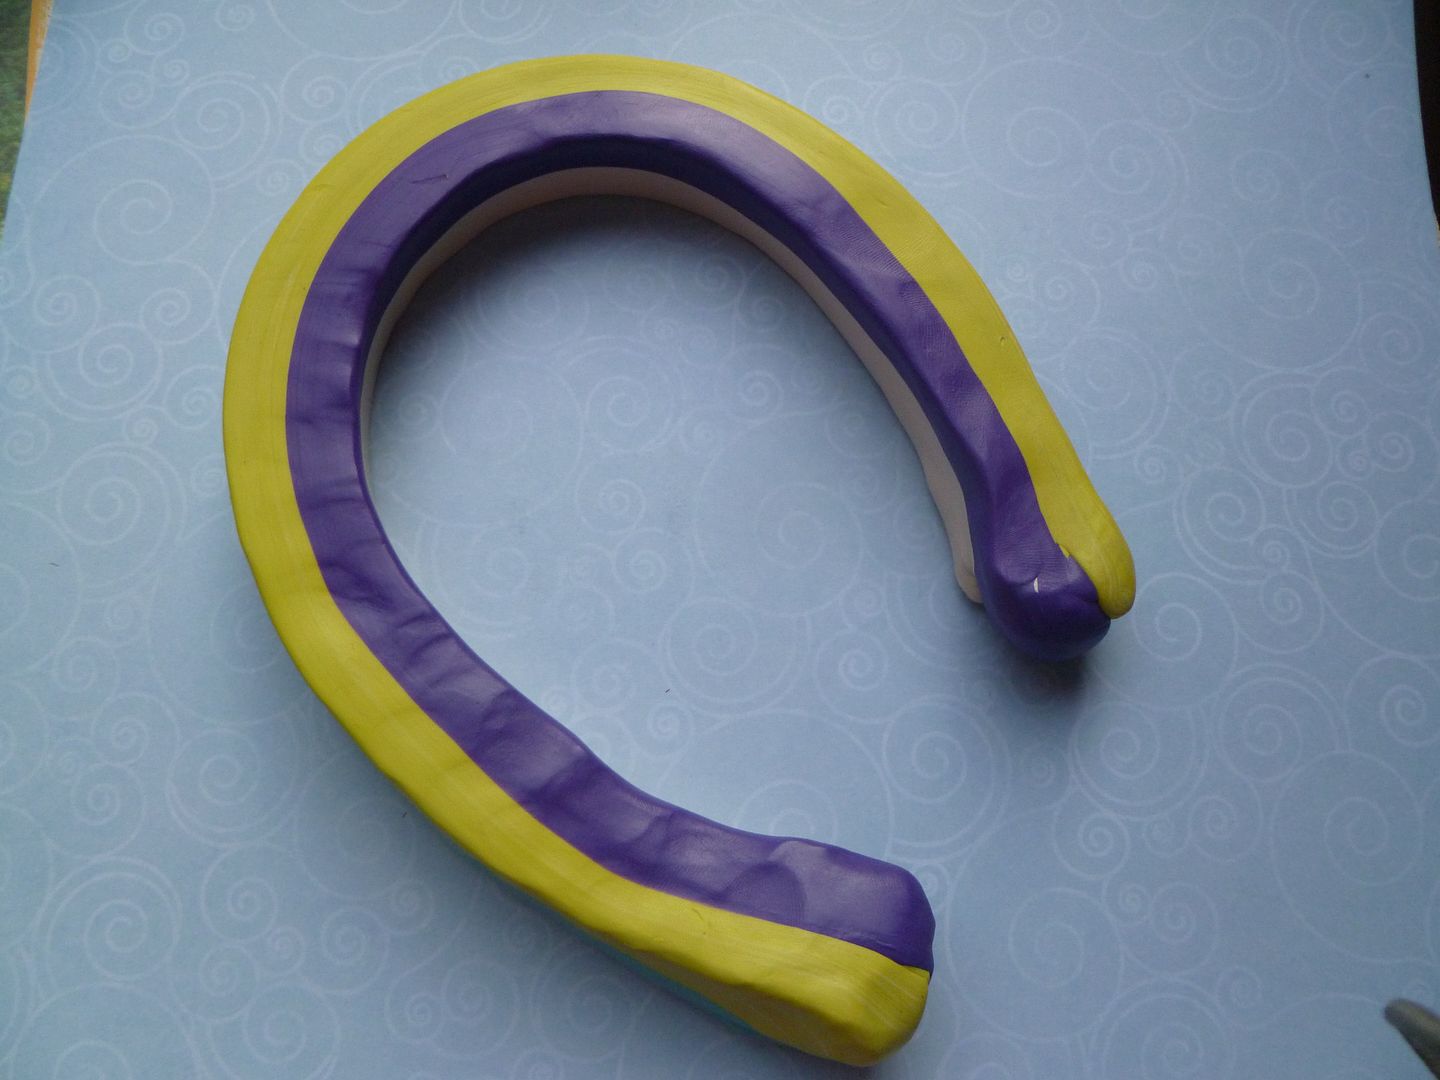
Take the cane from the first part and reduce it down to around 1" square; trim off the ends until the distorted part is gone (hang on to those pieces--you'd be surprised what you can make with them); cut into four equal pieces:


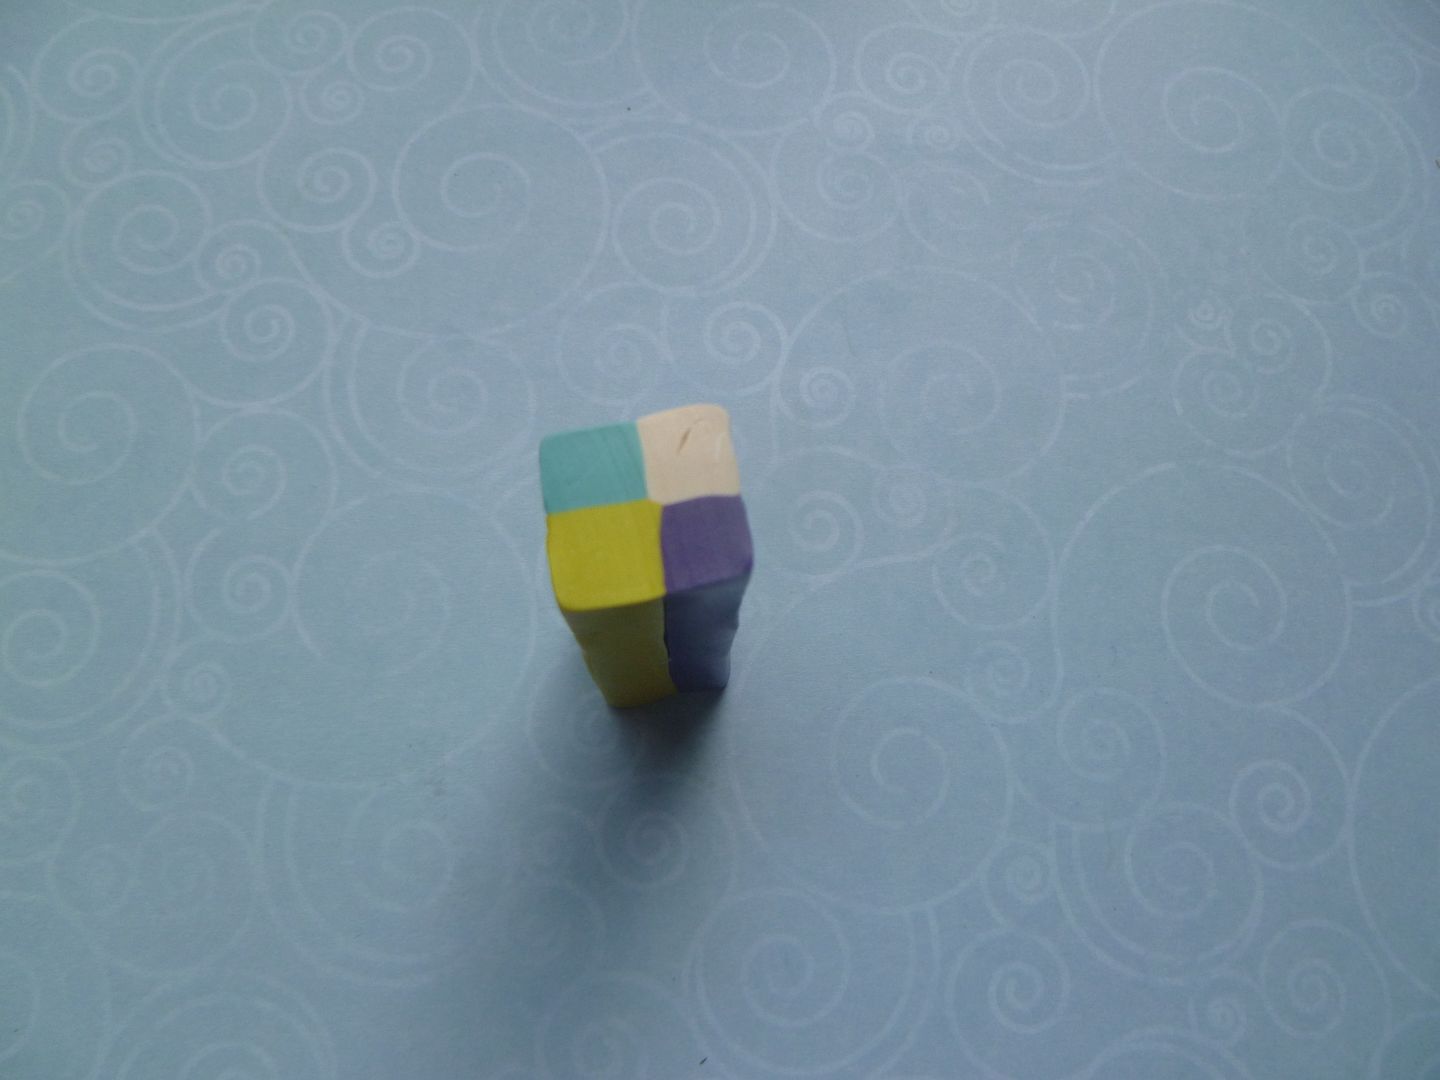
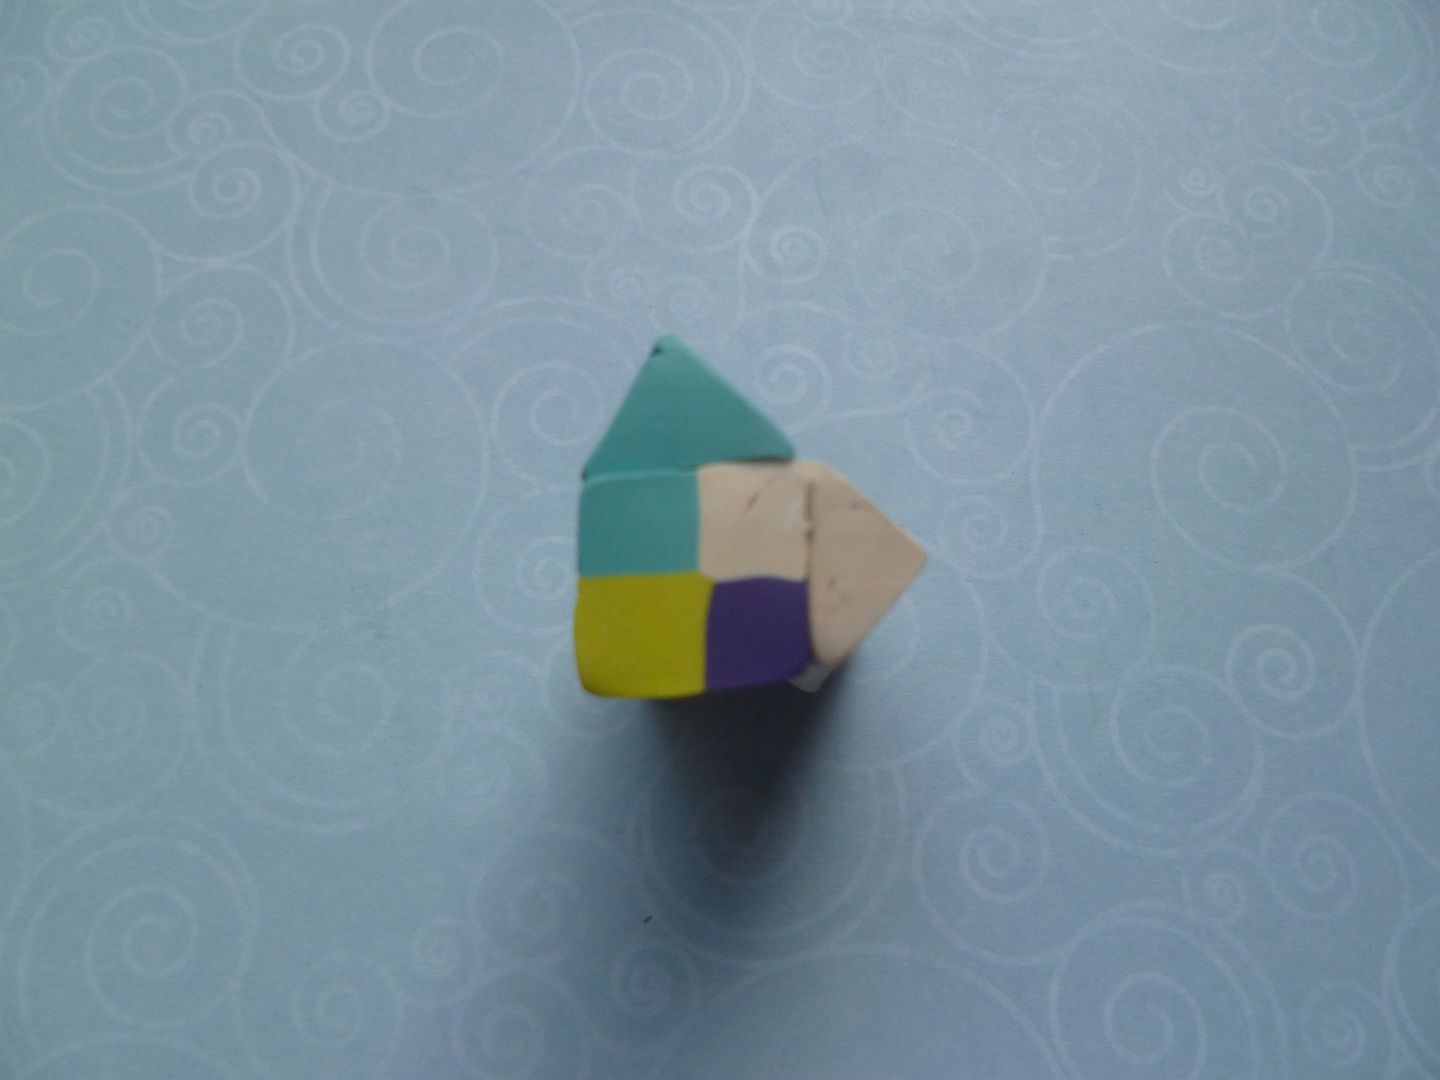
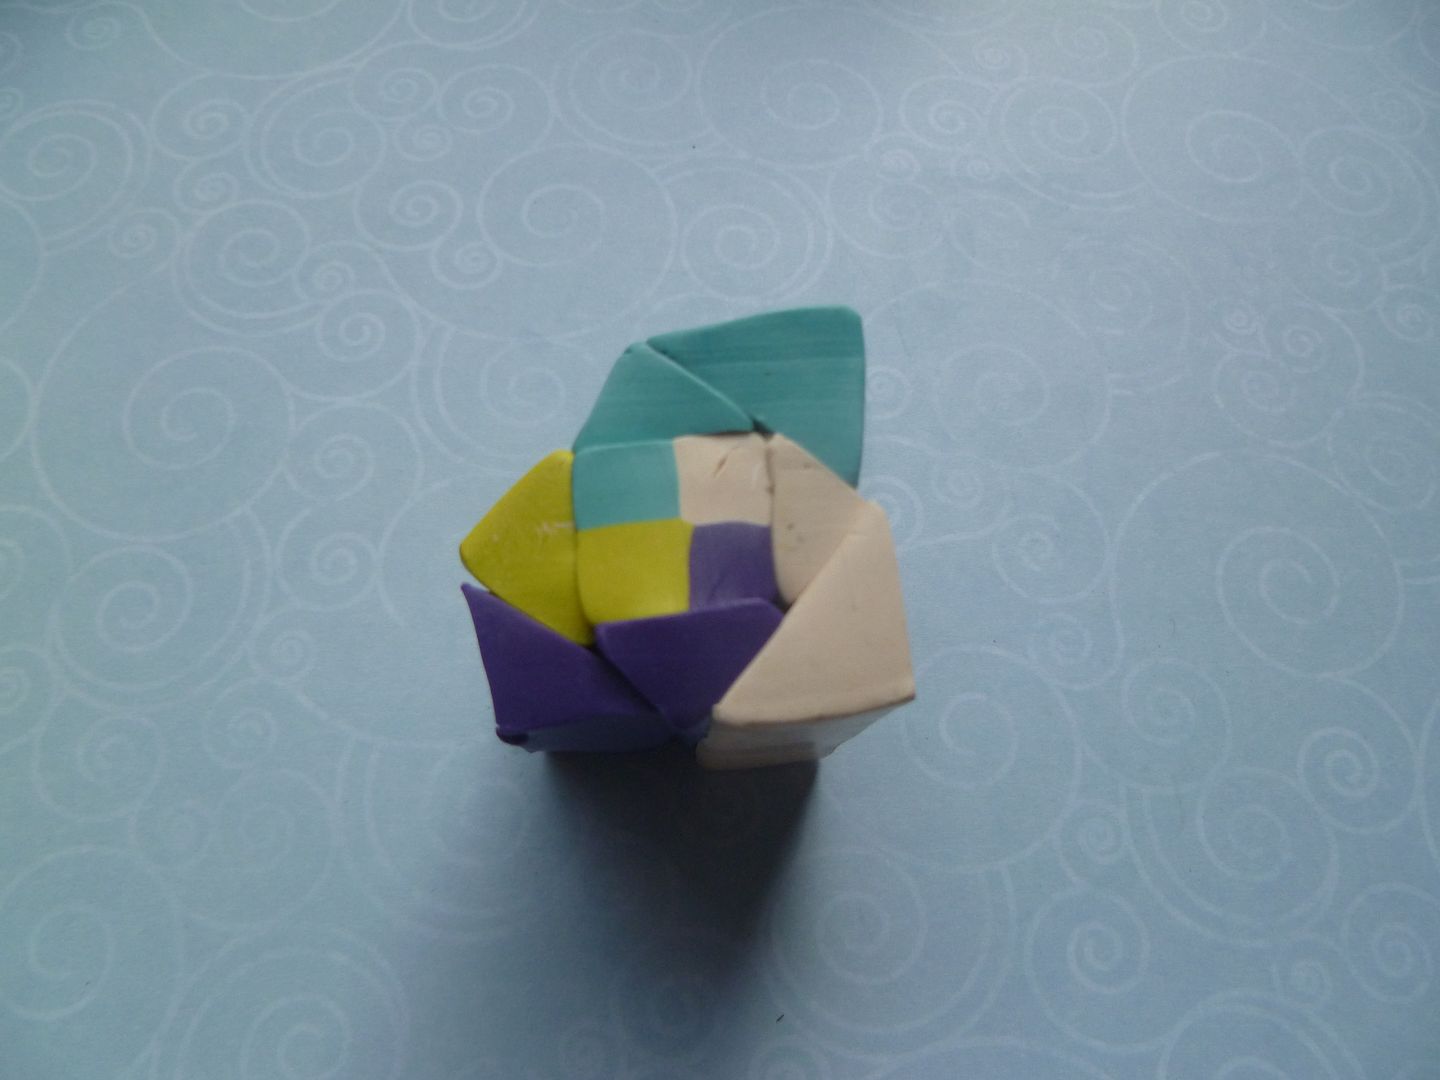
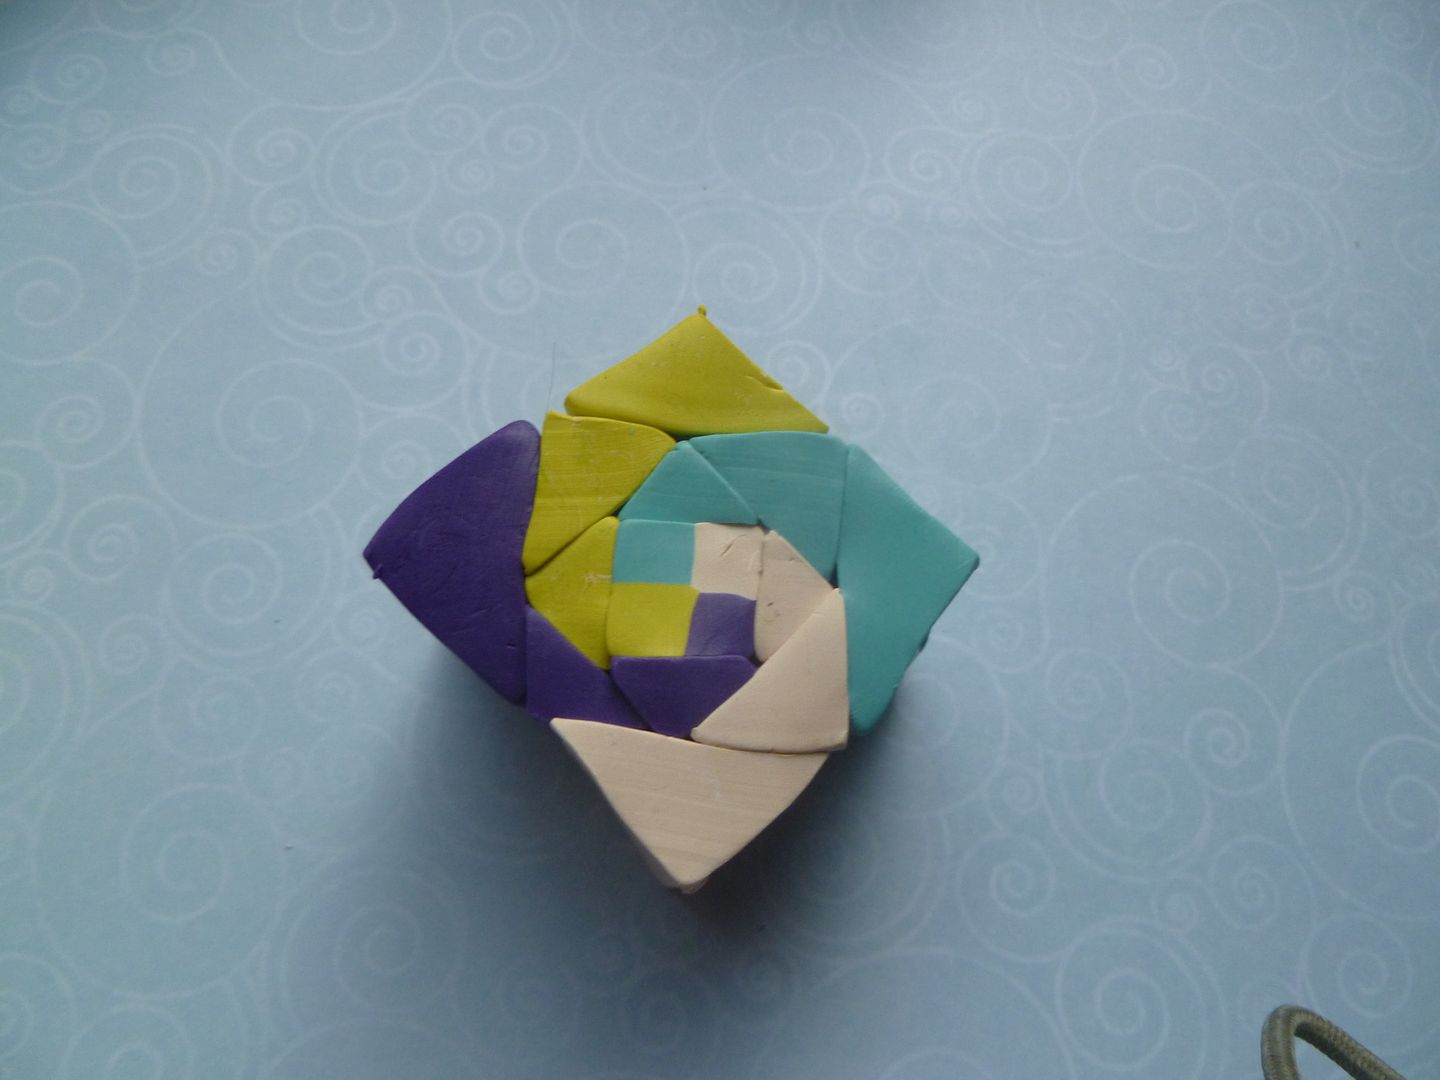
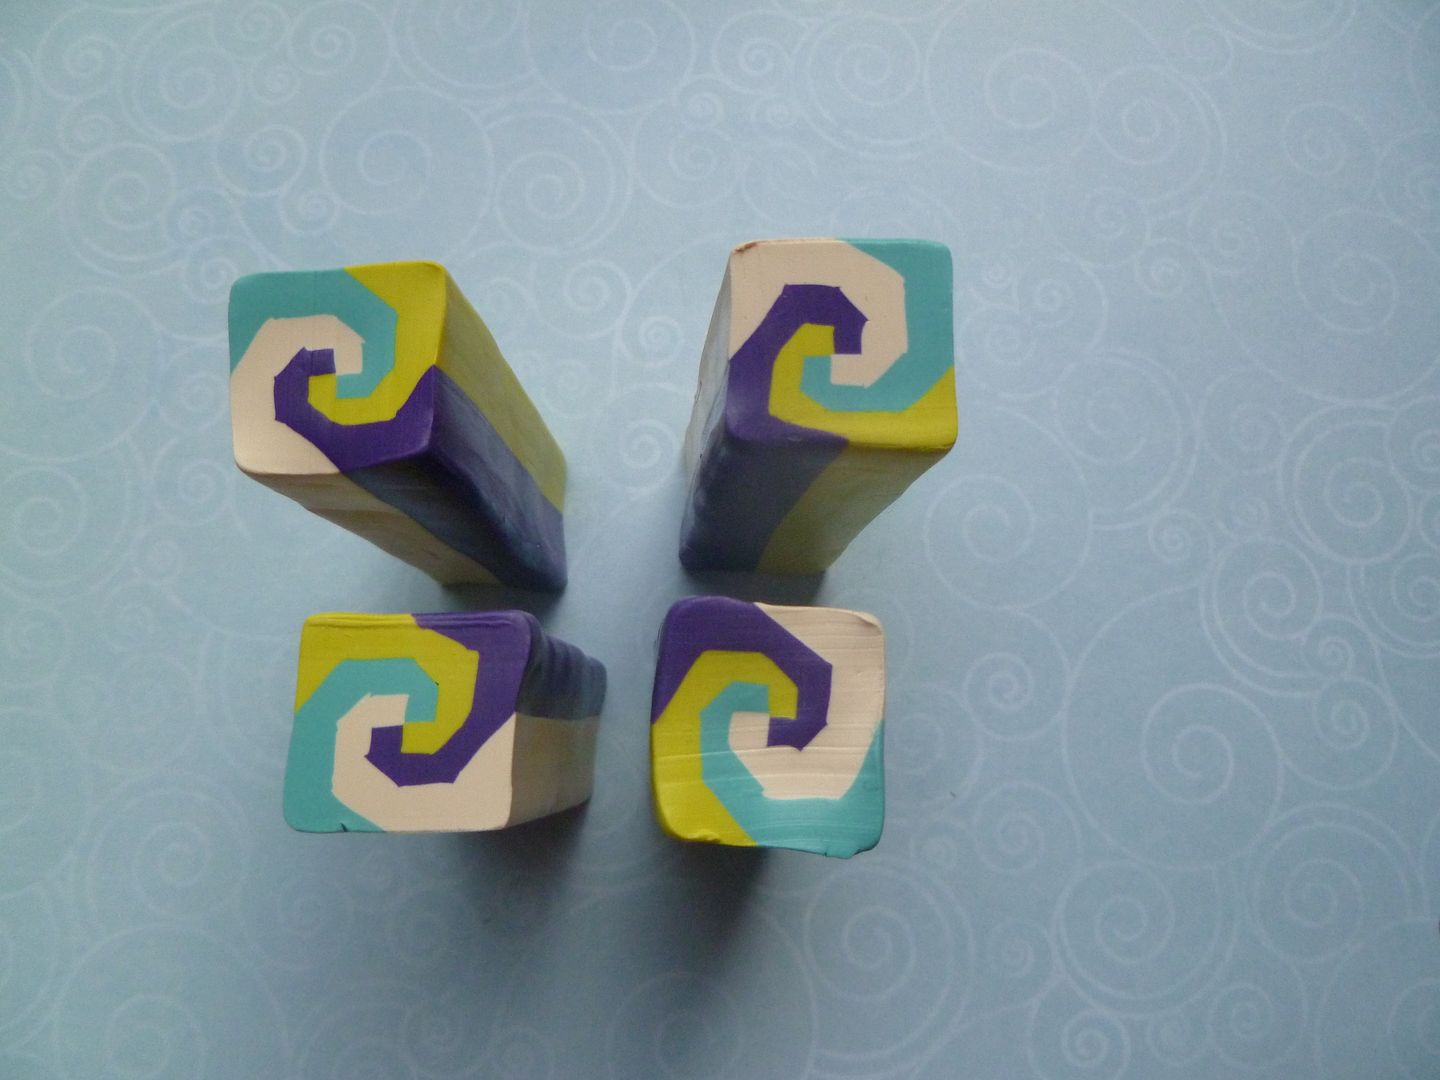
Stand the pieces on end and orient as shown below (each piece is rotated one quarter turn from the one before):


Push the pieces together:


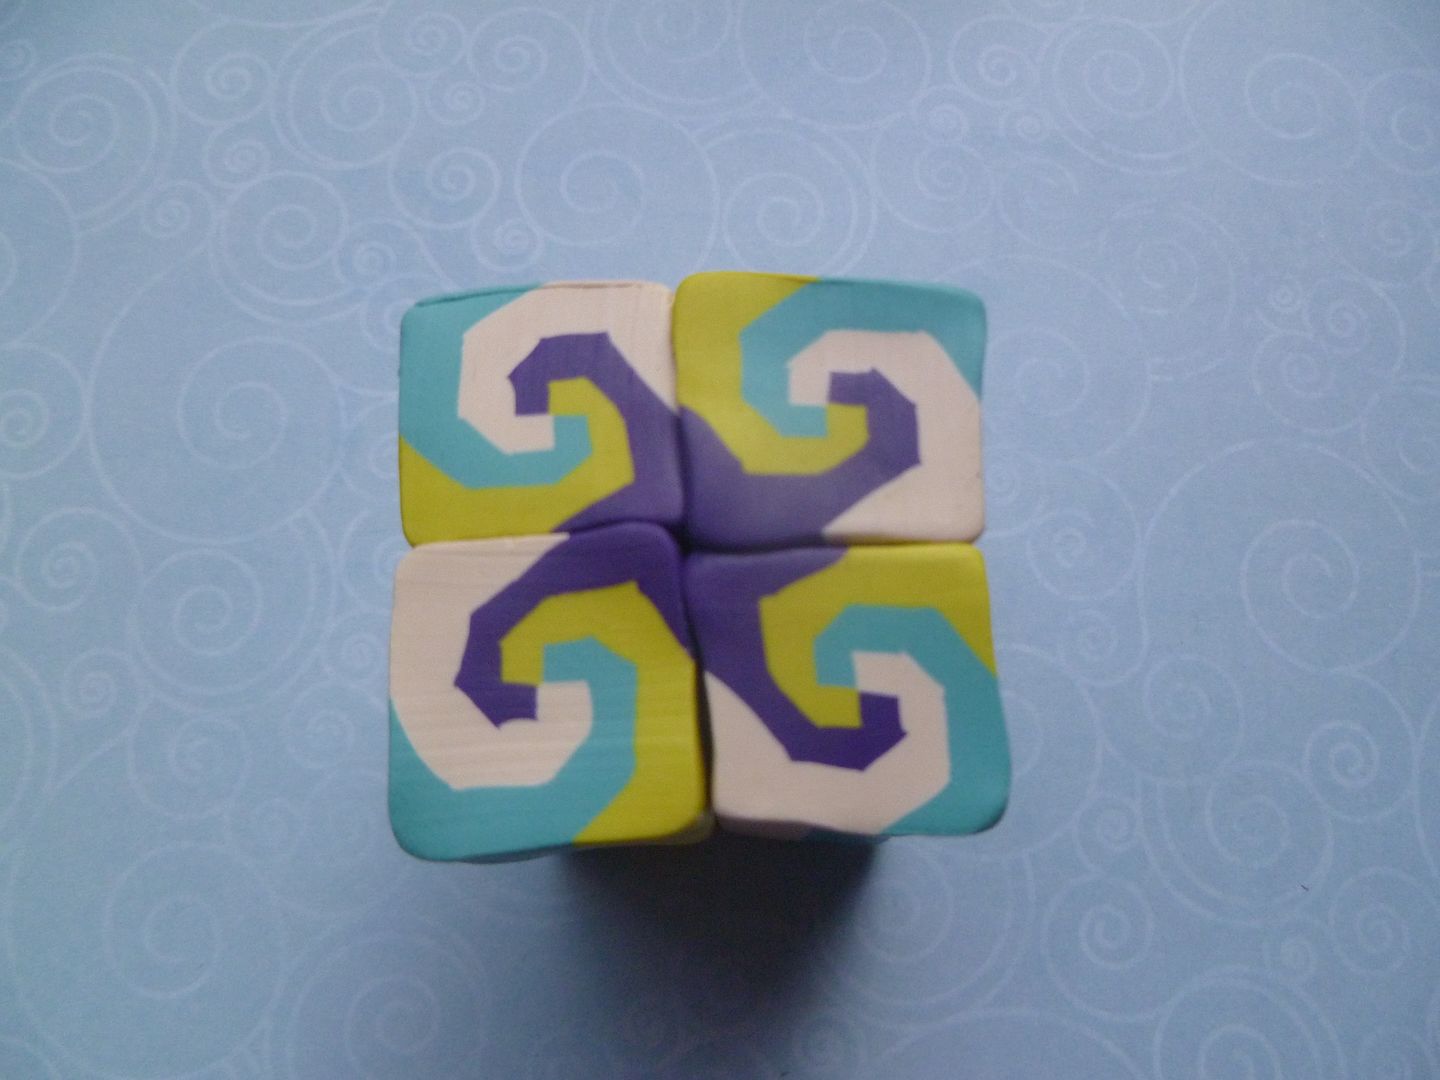
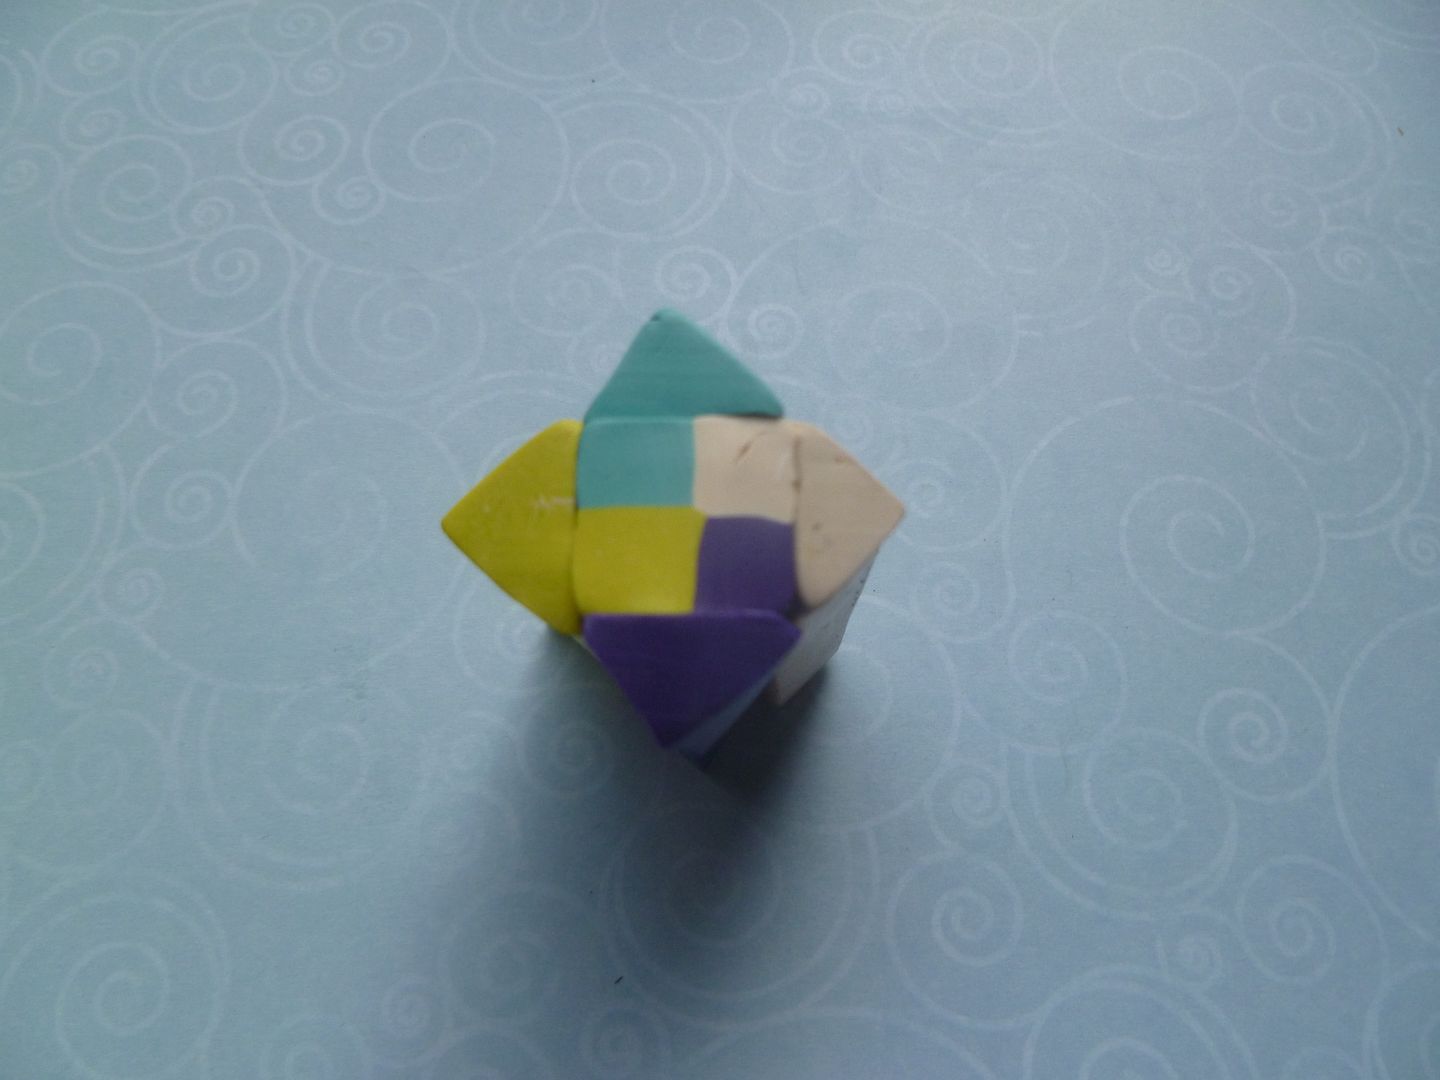
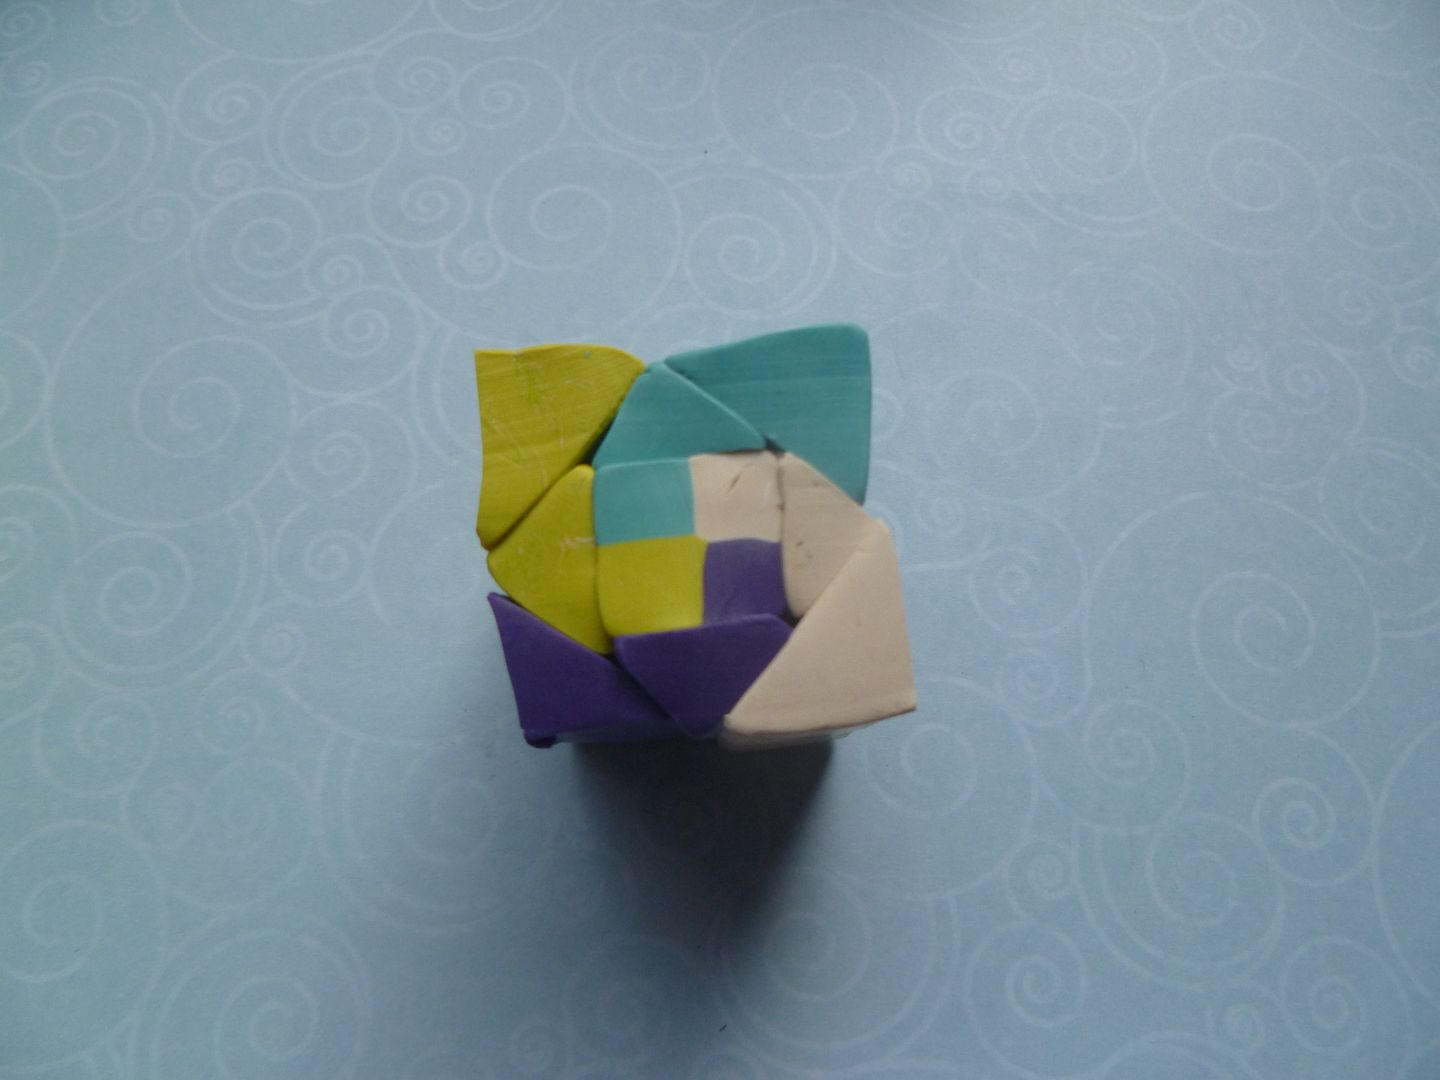
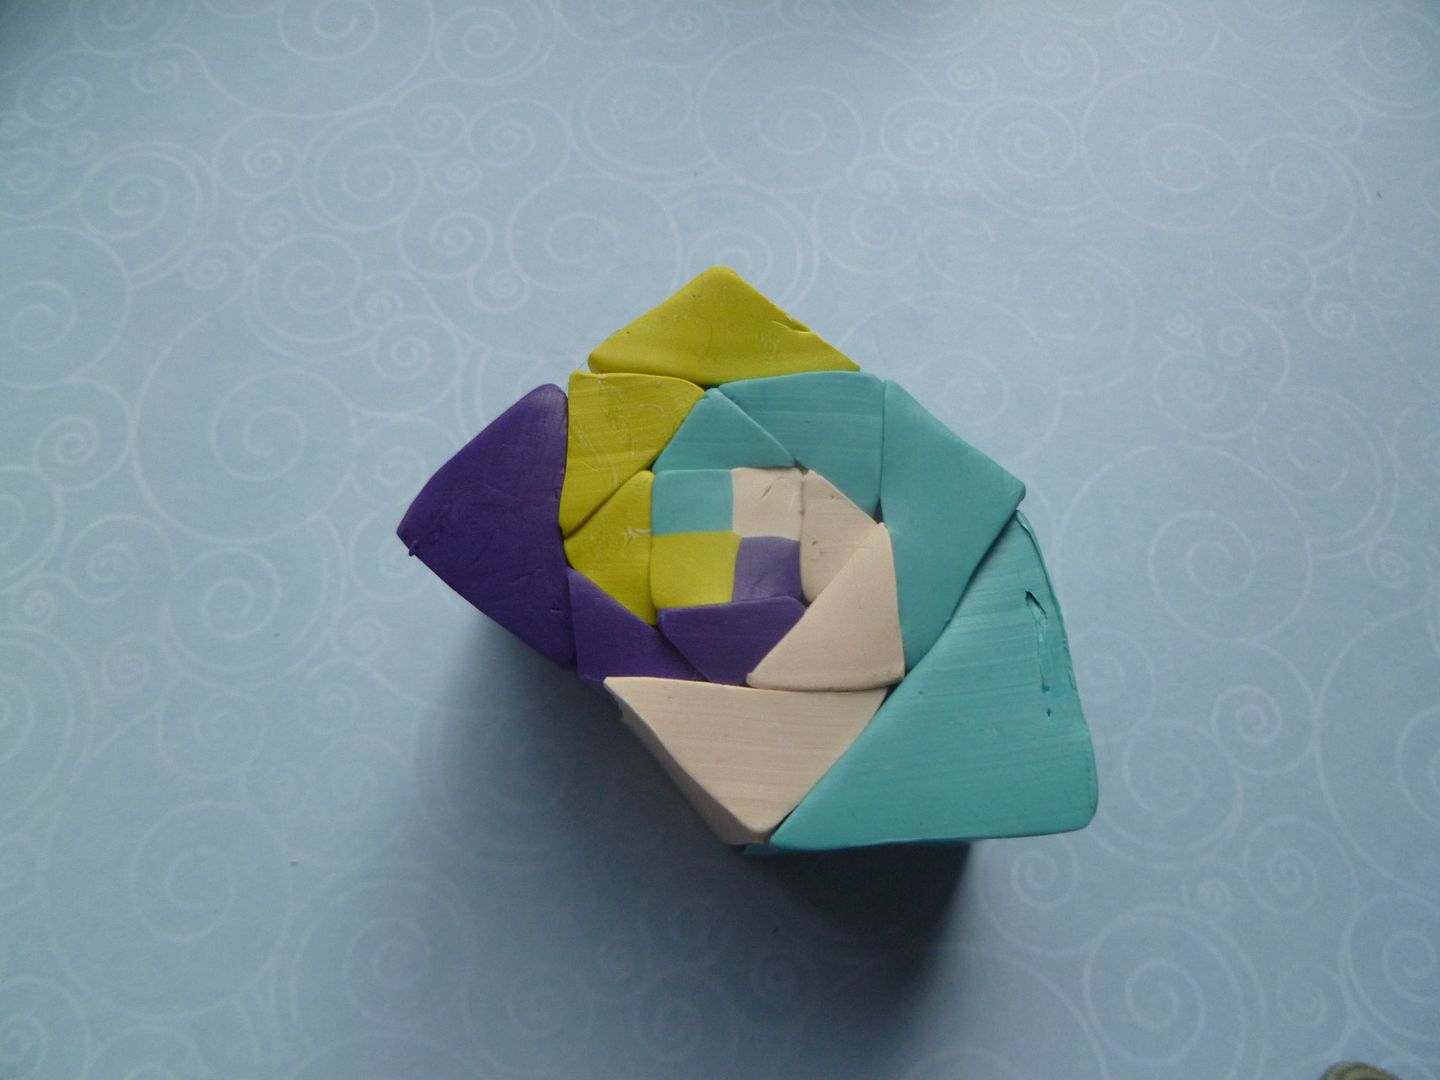
*sigh*  Right away I'm disappointed.  I can see that two of the swirls are not going to work.  I fiddled and rotated and walked away.  Then I came back.  It's still pretty, just not quite what I wanted.  At this point, try the different combinations to see which one pleases you best.  Then put them together, compress and reduce, then cut off the distorted parts as before and cut into four equal pieces:


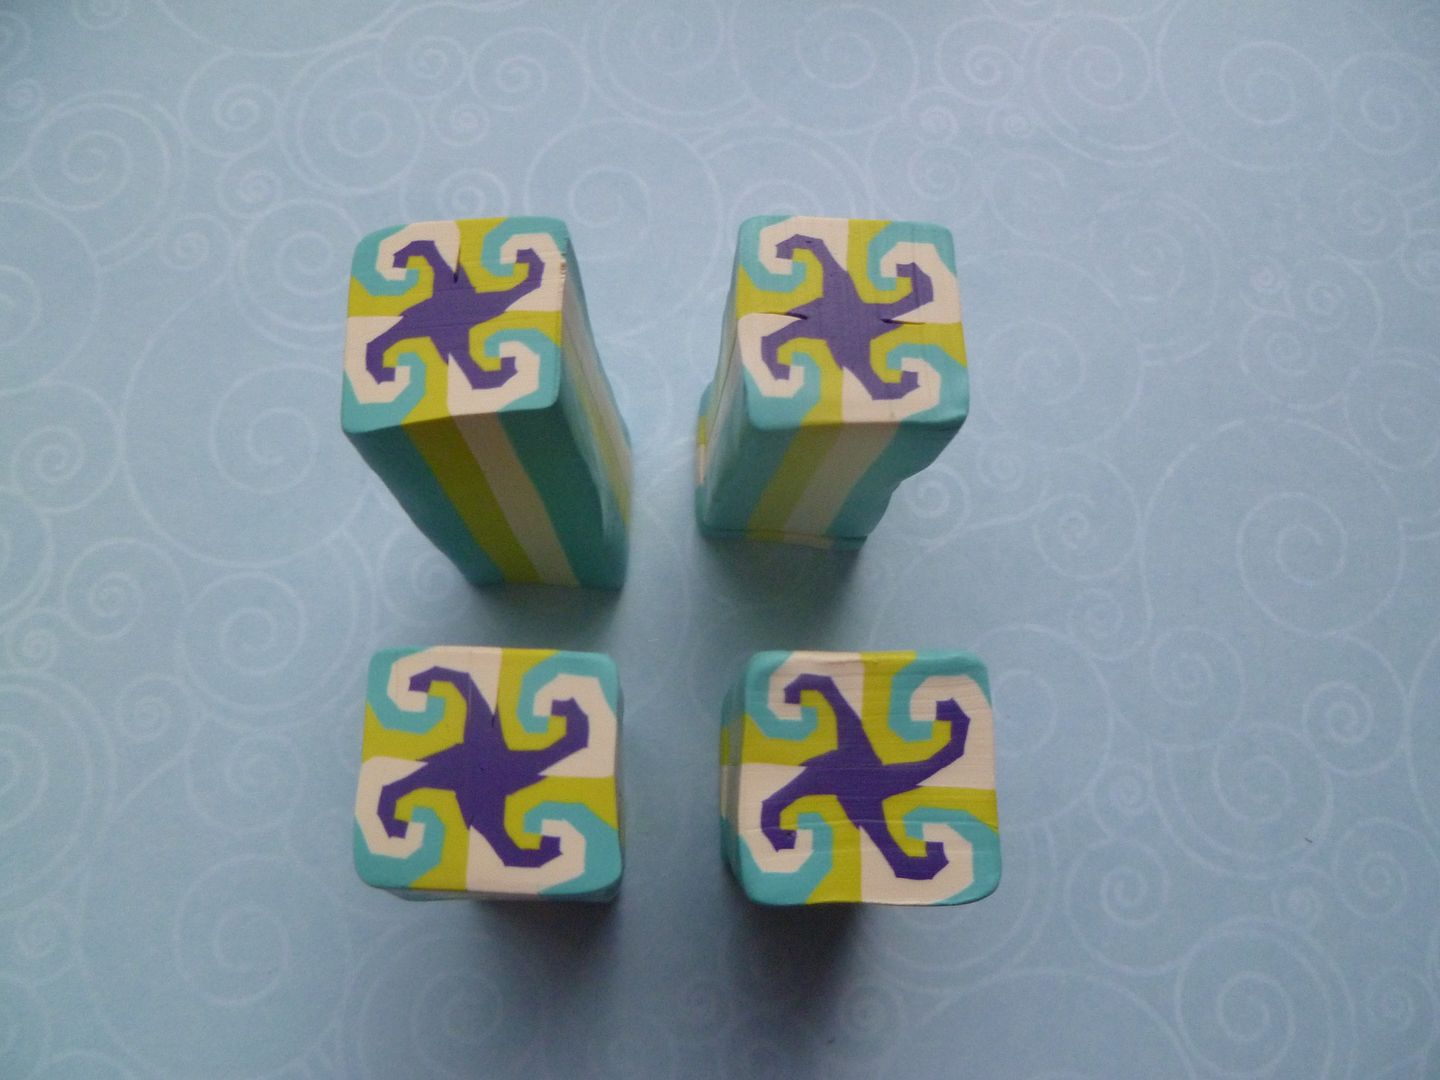
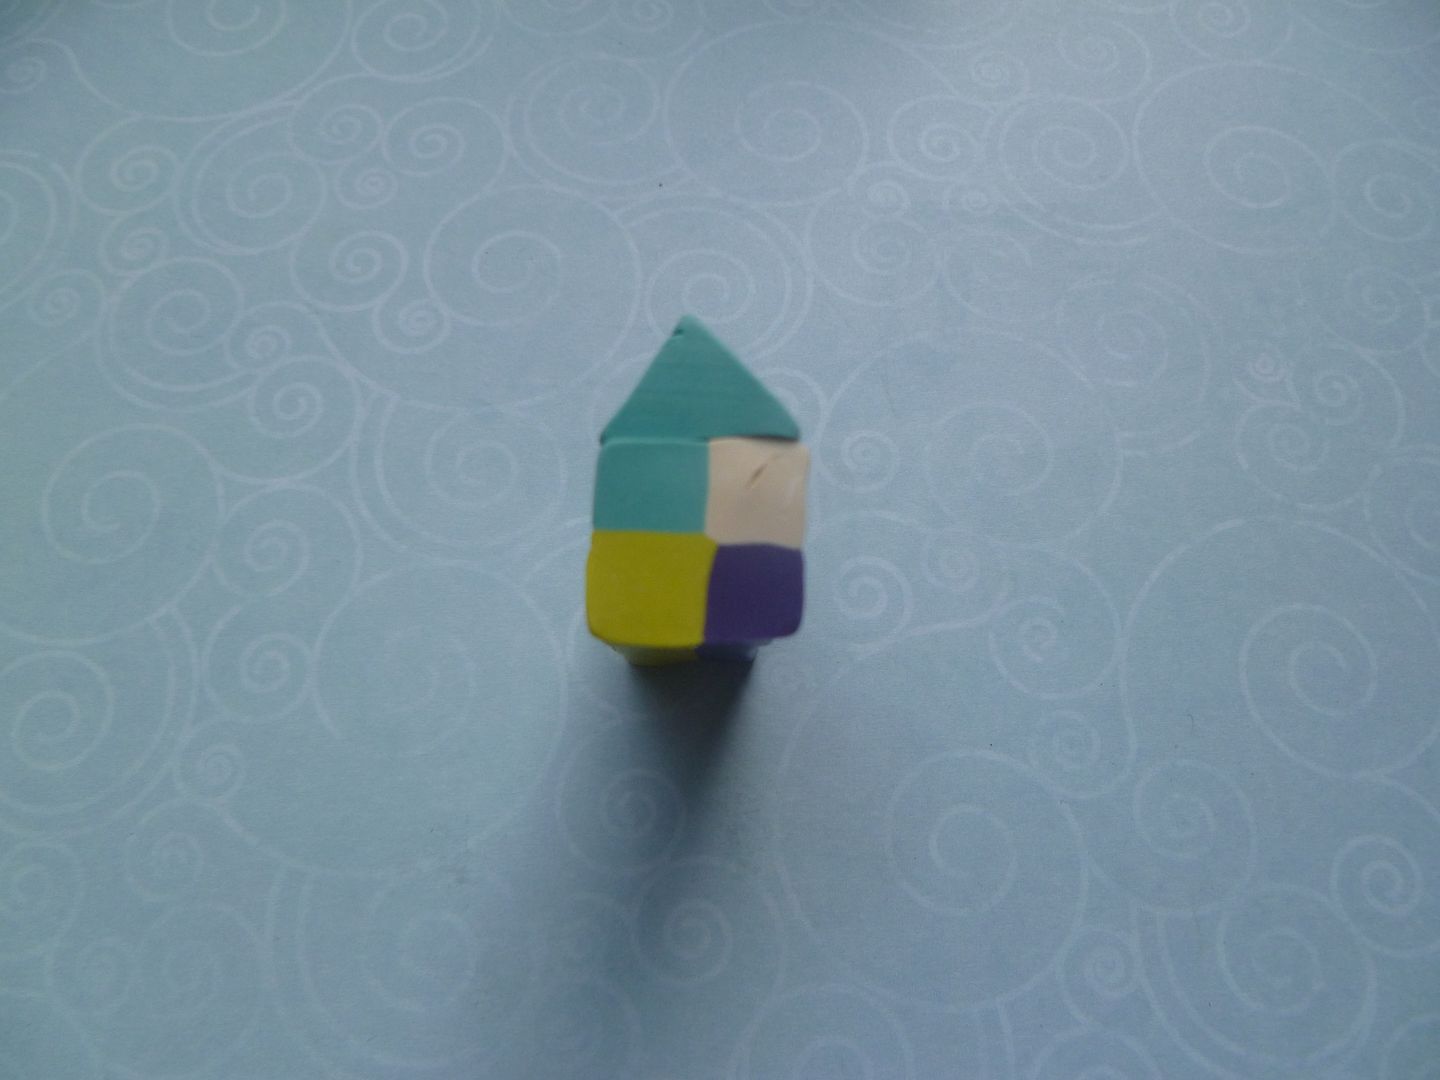
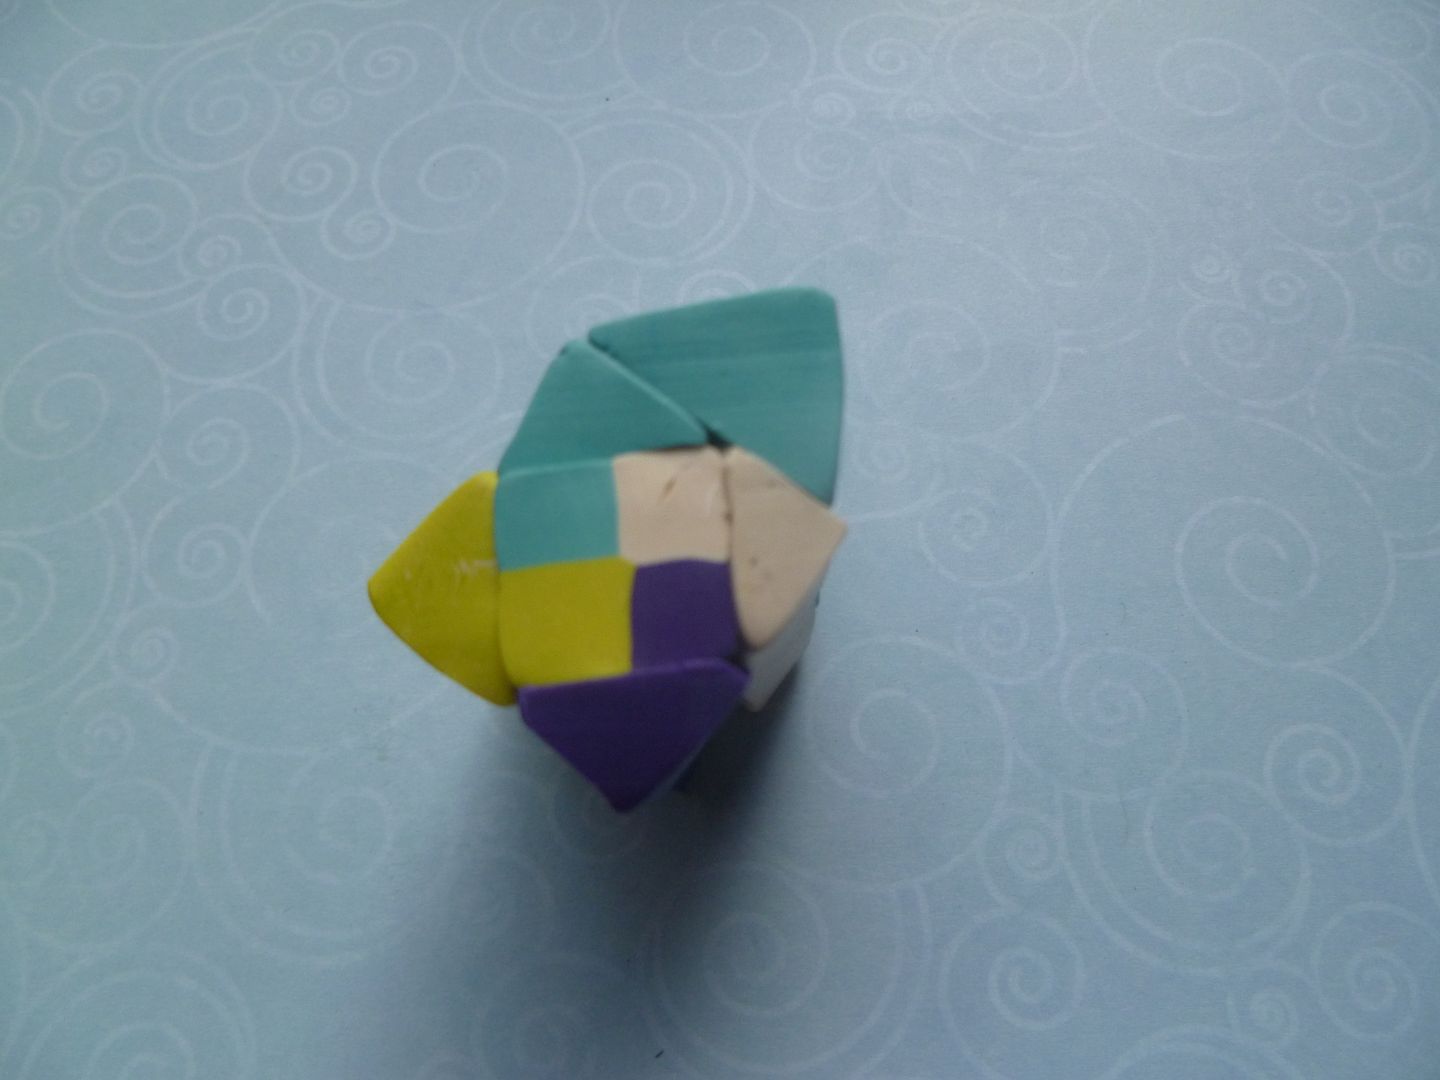
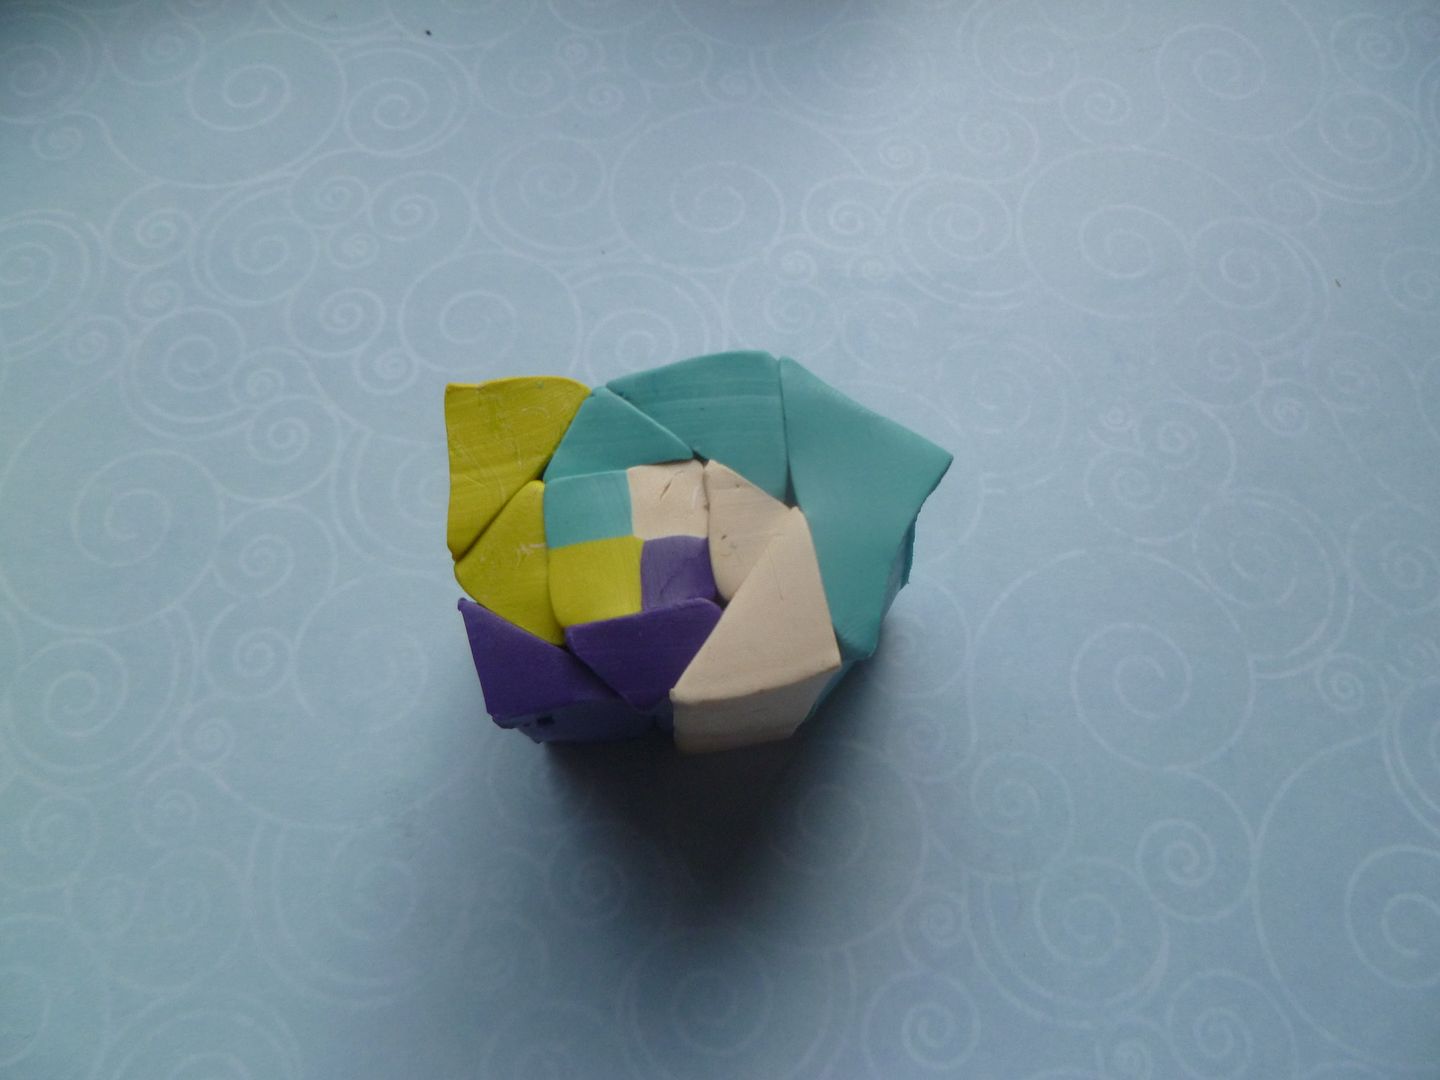
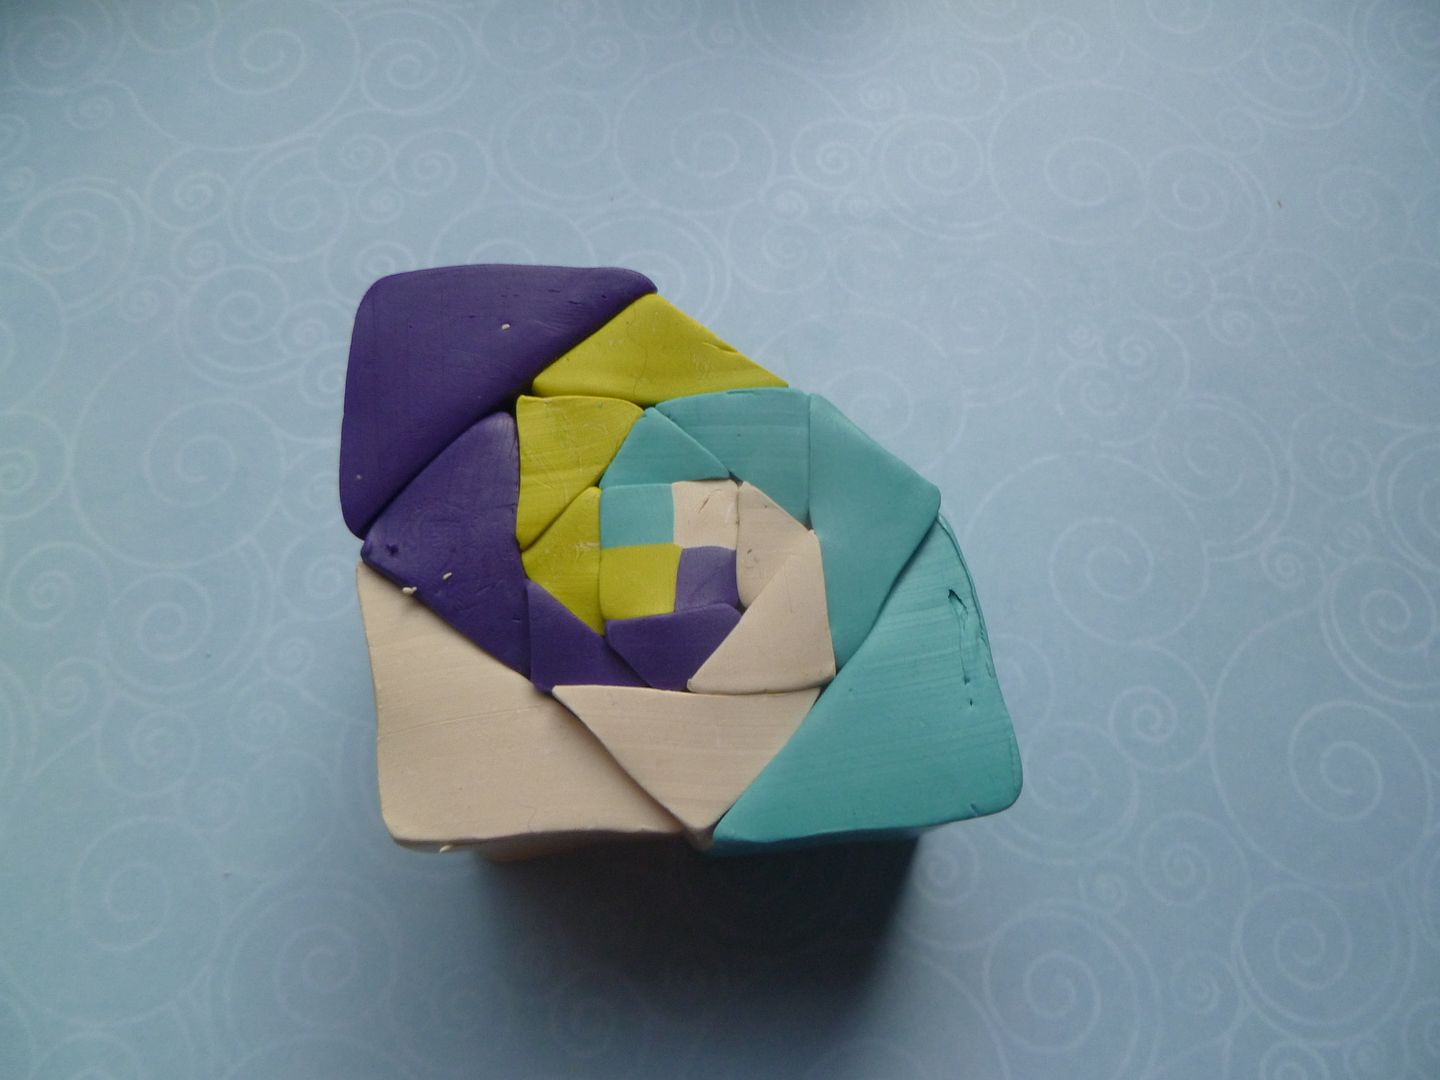
Orient them as shown and press together.  Compress and reduce one more time:


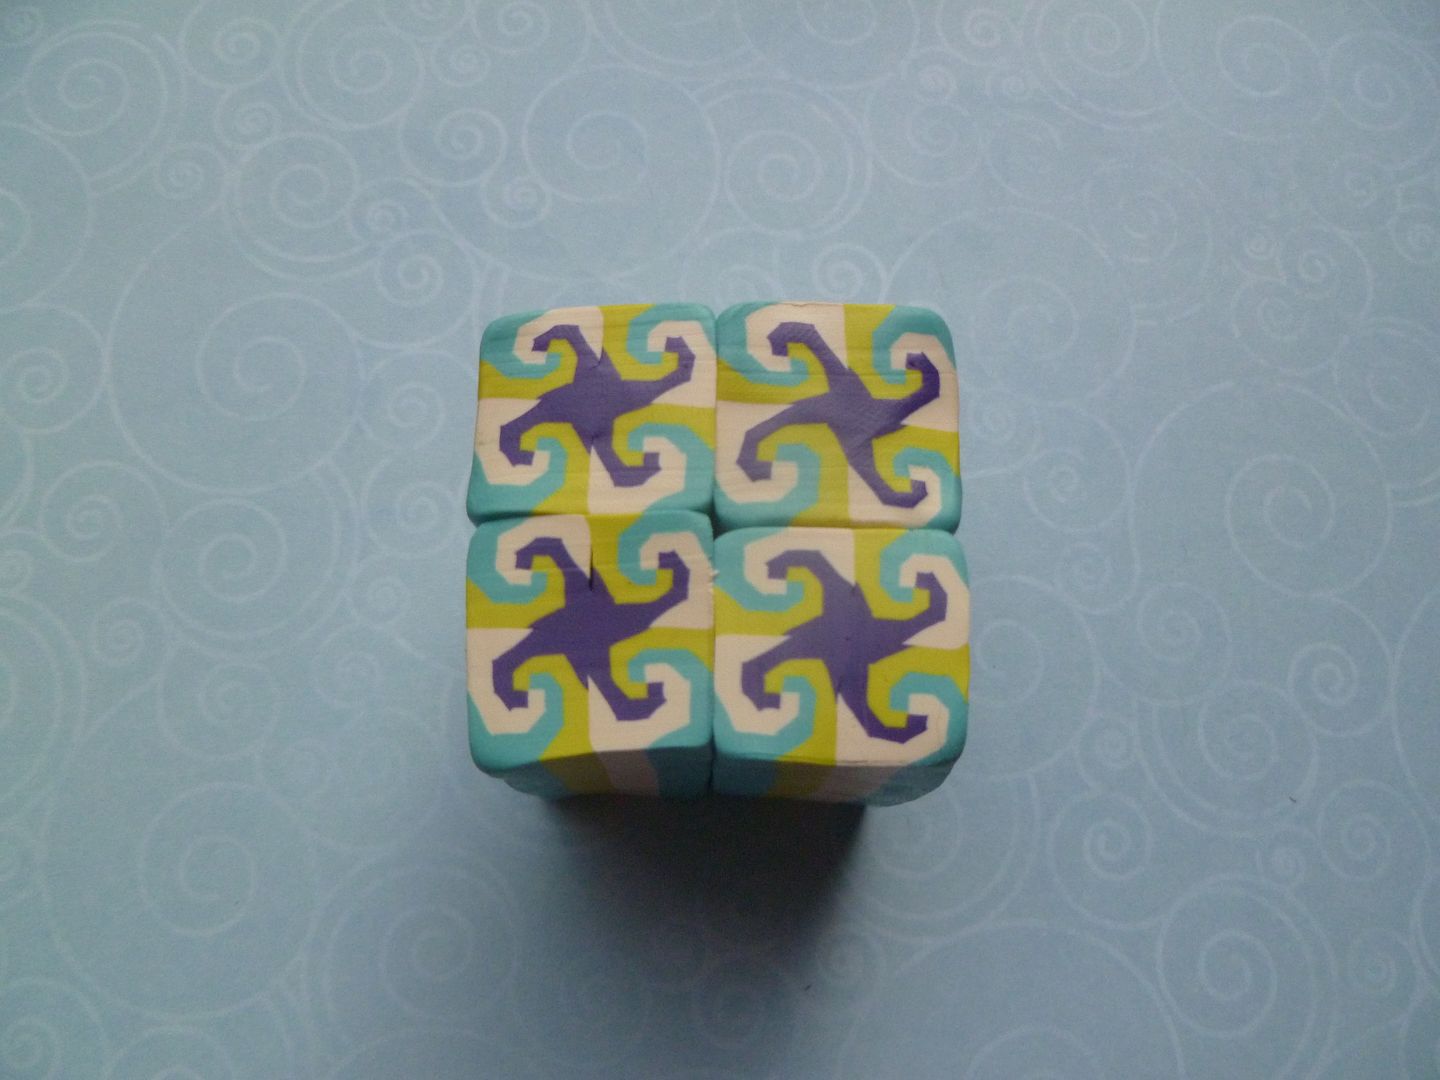
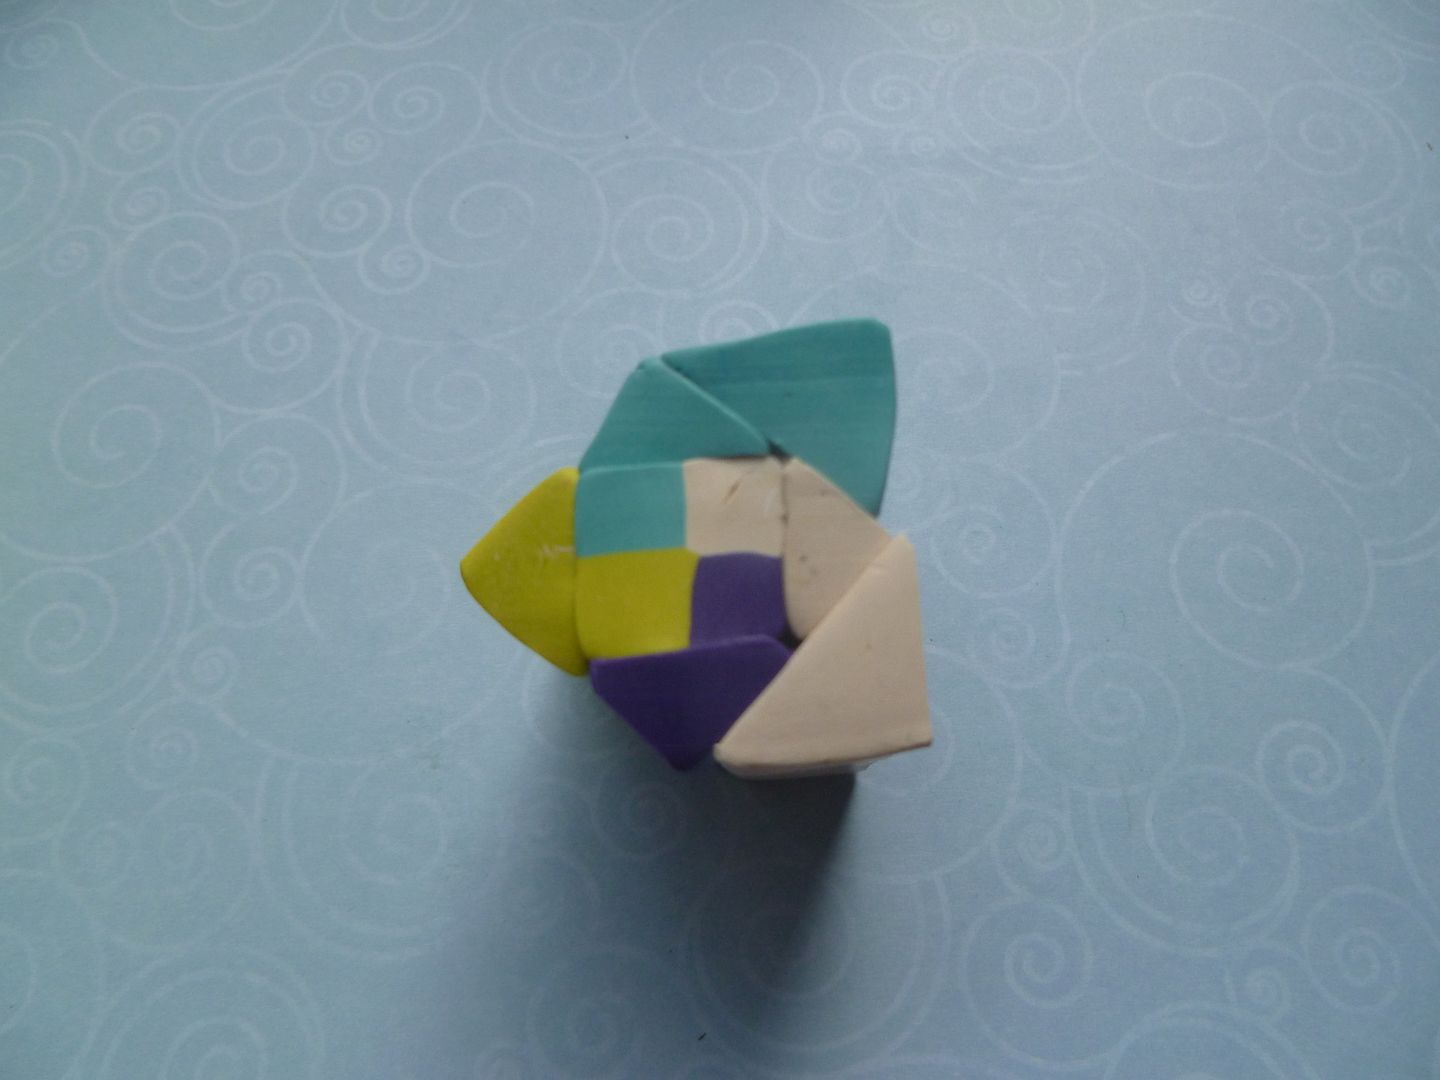
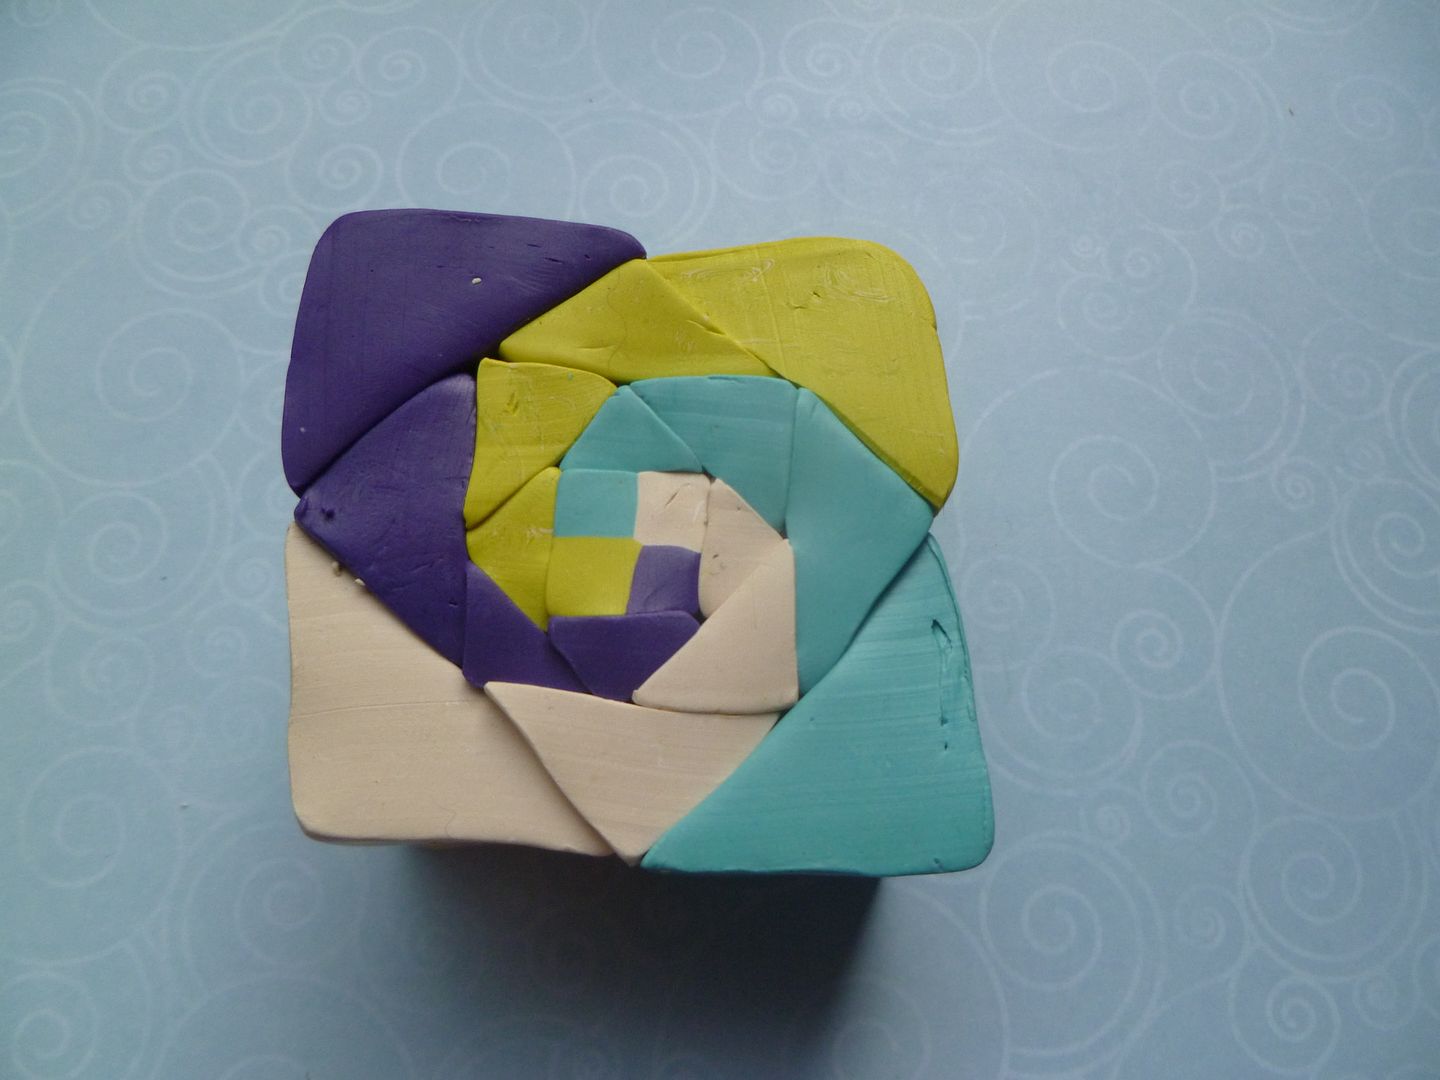
You can leave it as is, or repeat the cutting and reducing process a time or two more (depends on how fine you want the pattern):


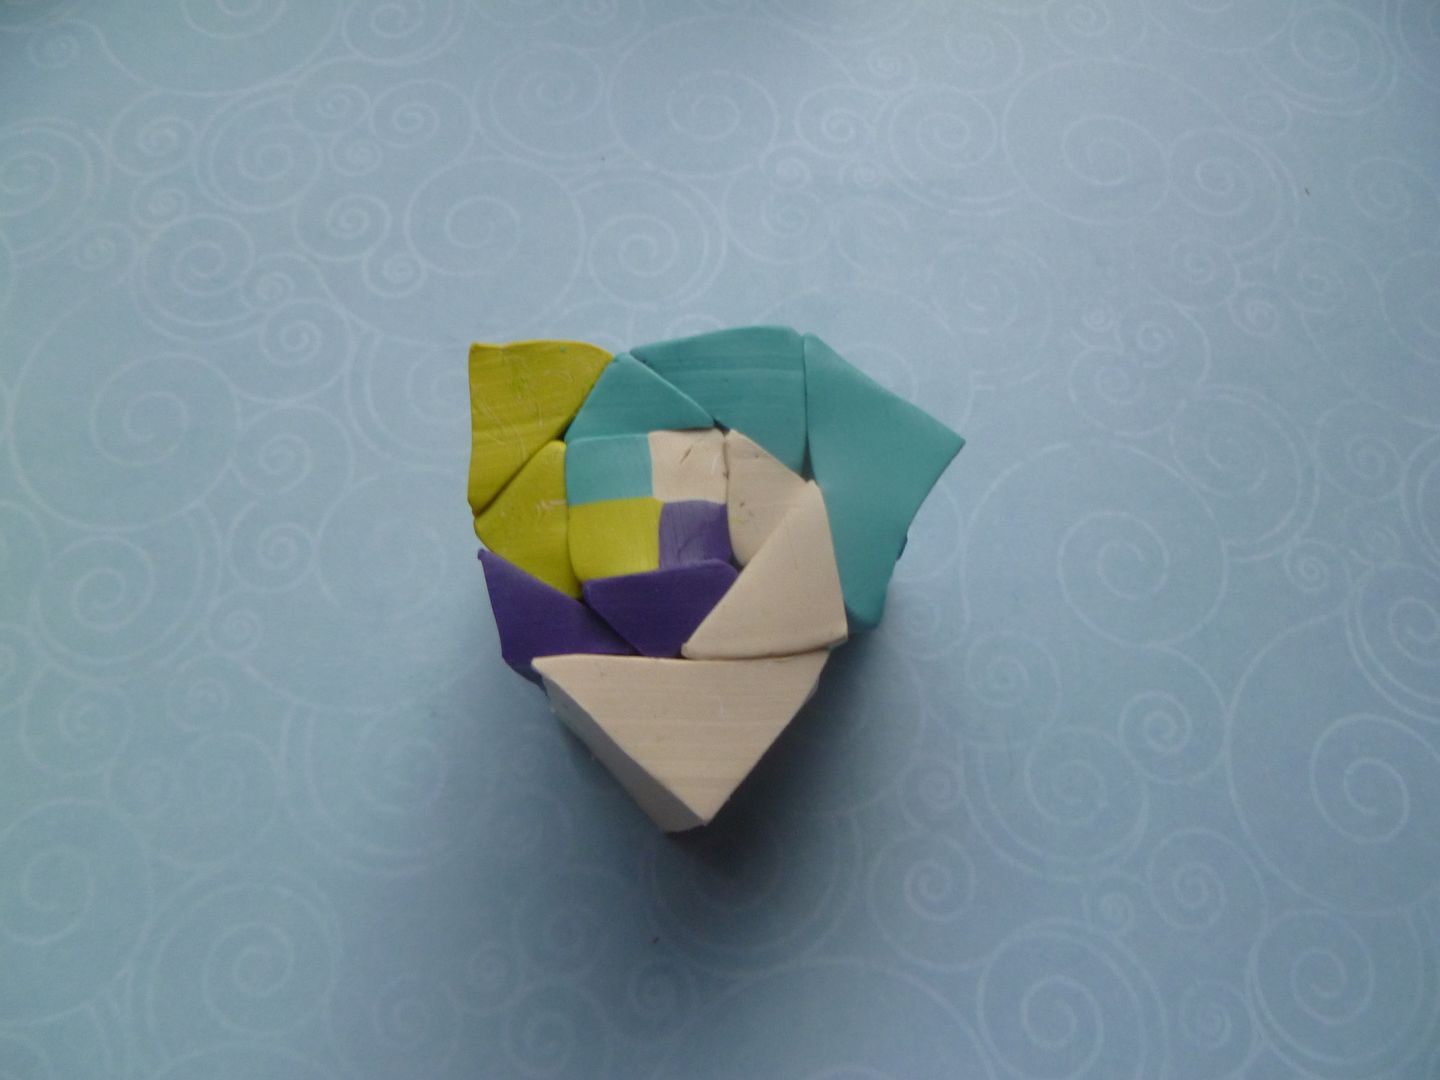
 Ta-da!  Finished again!

Four-color Snail's Trail Quilt Pattern, part one

Okay, now that thing a day is over, I can move on to the four-color version.  Here are the colors I'm using this time:


I should have mentioned whacking off a little bit of each color for borders and/or embellishments before building the cane...but half the time I forget to do it my self.  It's not a big deal if you're using colors straight out of the package--you can always condition more.  But if you've mixed your colors, that's not so easy.  Anyway, I've cut some off as you can see in the picture.

Here's the components.  You'll notice I cut four triangles instead of three.  I wanted to see if it made a difference in the final cane:


For the center checkerboard, I put the two lighter colors diagonal of each other and the two darker colors on the diagonal of each other:


I'm going to keep this checkerboard oriented the same direction for the following steps, in hopes that it will be easy to see how to put it together.  Put the smallest turquoise (or whatever color you're using) triangle on the top of the checkerboard:


Next the white goes on the right side...the purple on the bottom...the lime green on the left side:


Okay, the first round is done.  On to the second round, using the next size triangles:


Third round:


Okay, now for the final round (if you cut four triangles like I did...otherwise, you're done!):


The basic cane is done.  I'll show the rest in the next post....