I STARTED Early--Took my Dog--And visited the Sea--
The Mermaids in the Basement Came out to look at me
--Emily Dickinson

Saturday, November 16, 2013

Rob Peter to Pay Paul, postscript...

Remember a couple of posts back when I talked about swapping out the quilt components for an opposite color scheme and showed the pictures of the "fabric" canes?  After I got home from the guild meeting, I reduced the canes and put them together for the "opposite" quilt (I'm going to have to come up with a better name).  Here's a pic:


And here's a pic of the two quilts side-by-side:


I'm not sure which one I like better, but the more I look at them, the more I like them both.

Vancouver clay guild meeting

I joined the Vancouver clay guild last year.  I figure if I can drive an hour south to go to the Northwest Polymer Clay Guild meeting, I can drive an hour and a half north to the Vancouver clay guild meeting.  They graciously let me join and they are such a nice group of people.  They usually meet for several hours on a Saturday and have a mini-clay day as well as a short business meeting.

The meeting was today, and as usual, I forgot to take pictures for most of the day.  I did get a couple though.  Here's a pic of something Nancy made at one of the Clay Carnivals (2008 I think she said?)--it's so cute!


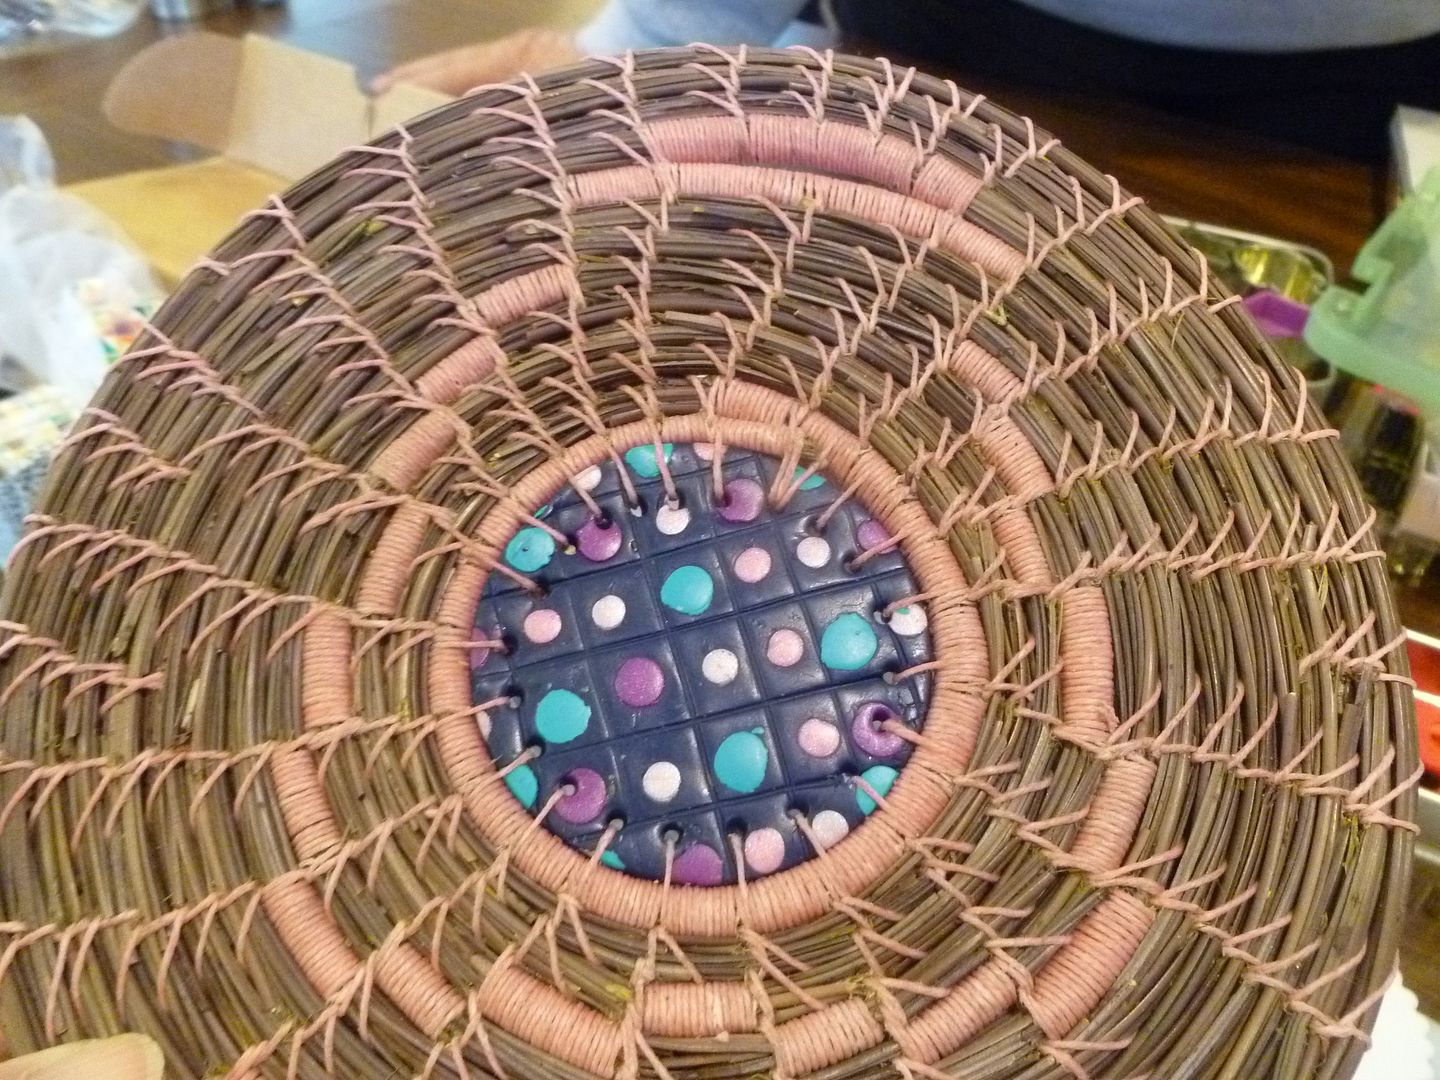
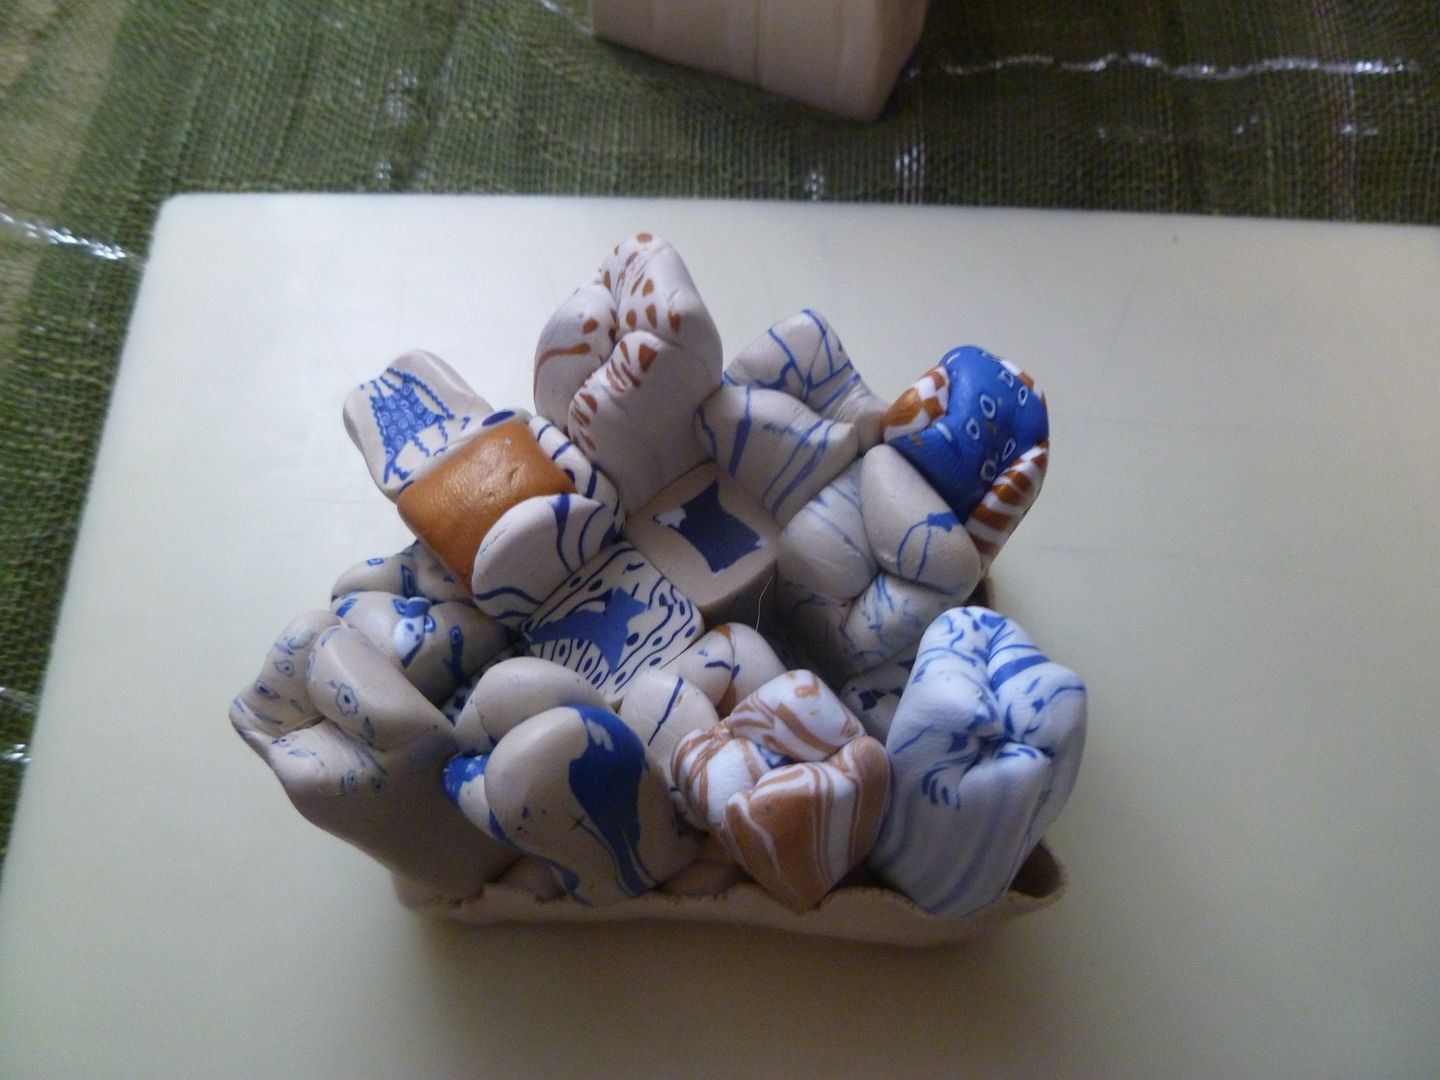
And here's one of a basket I just love!  I'm embarrassed to say I don't remember the lady's name (I'm SO terrible with names).


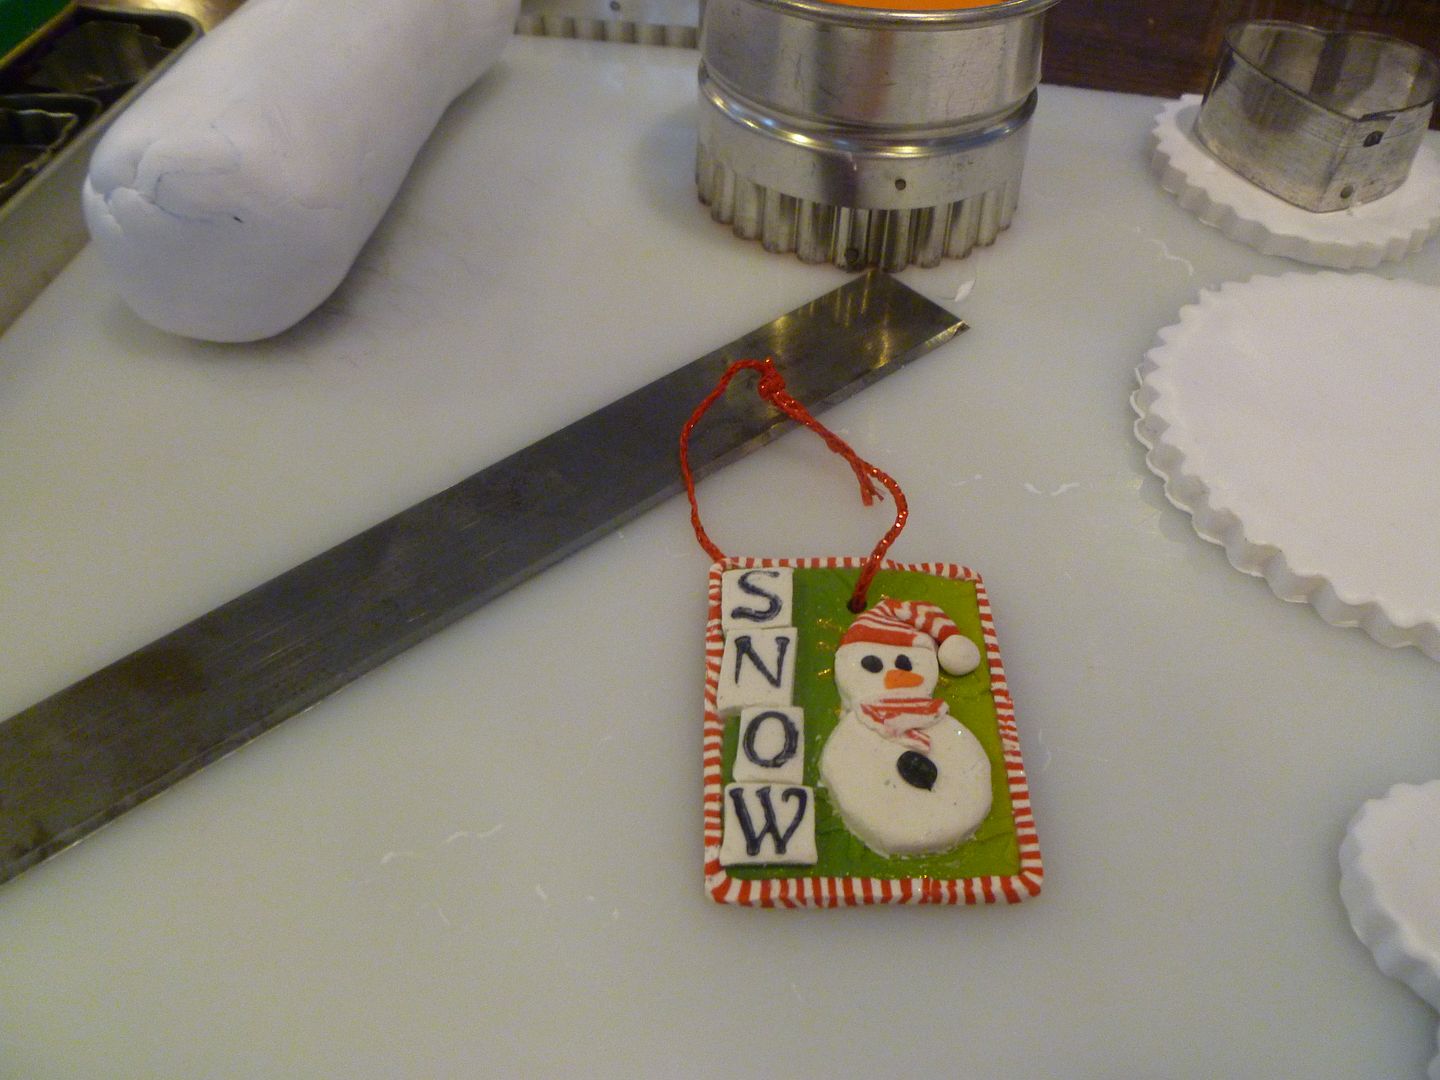
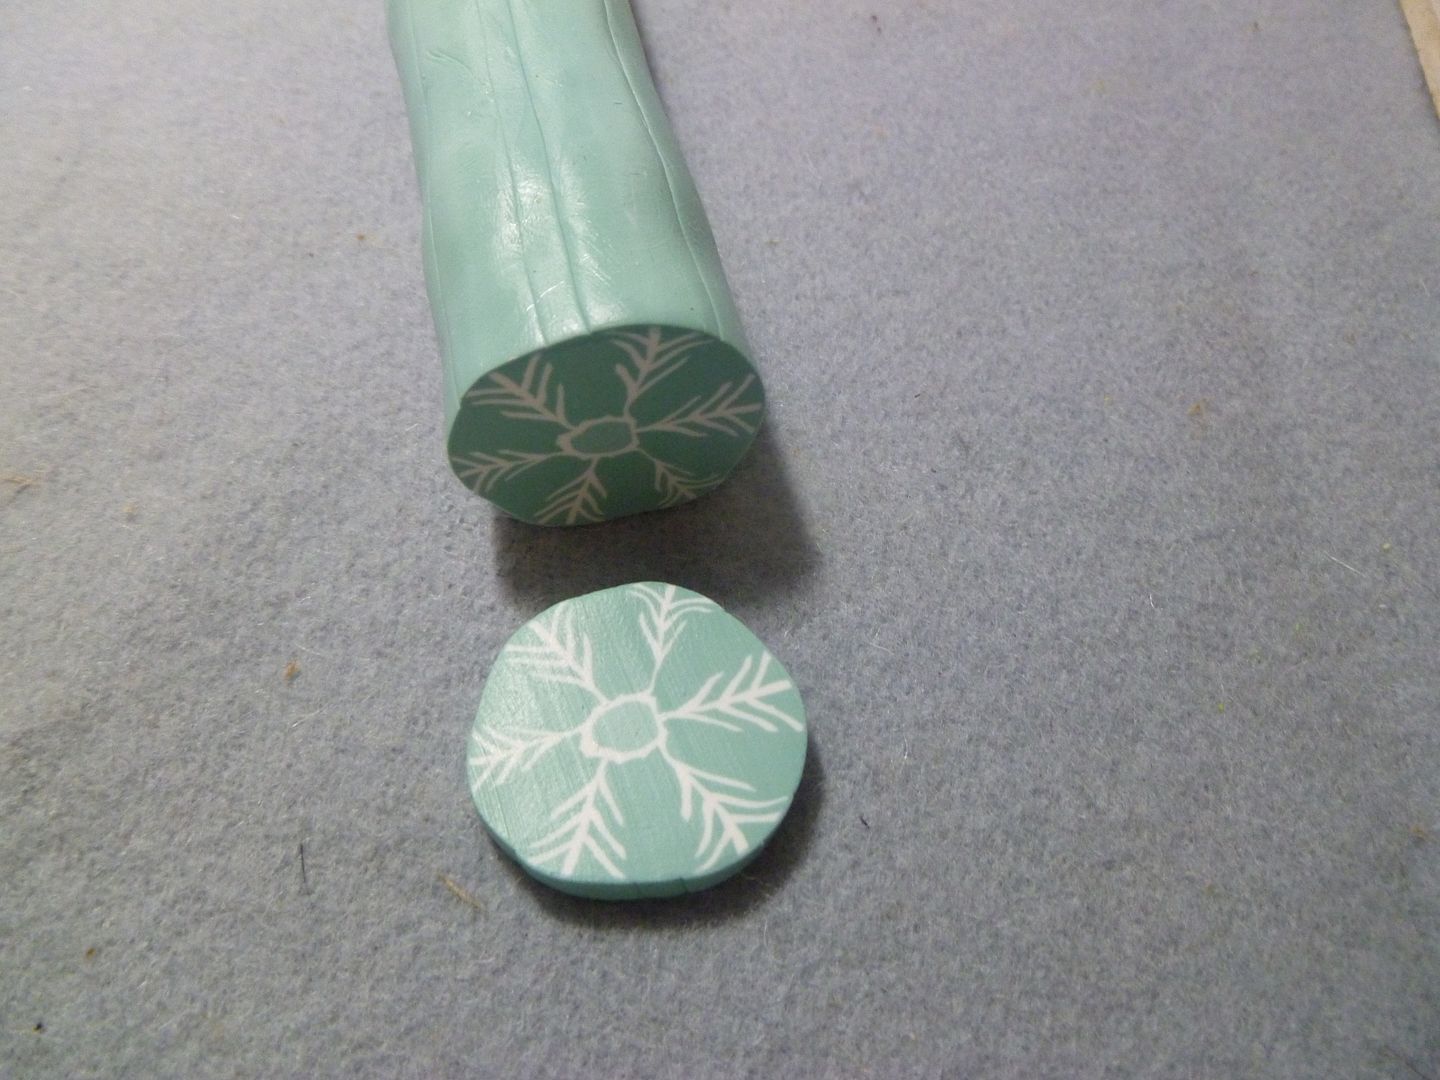
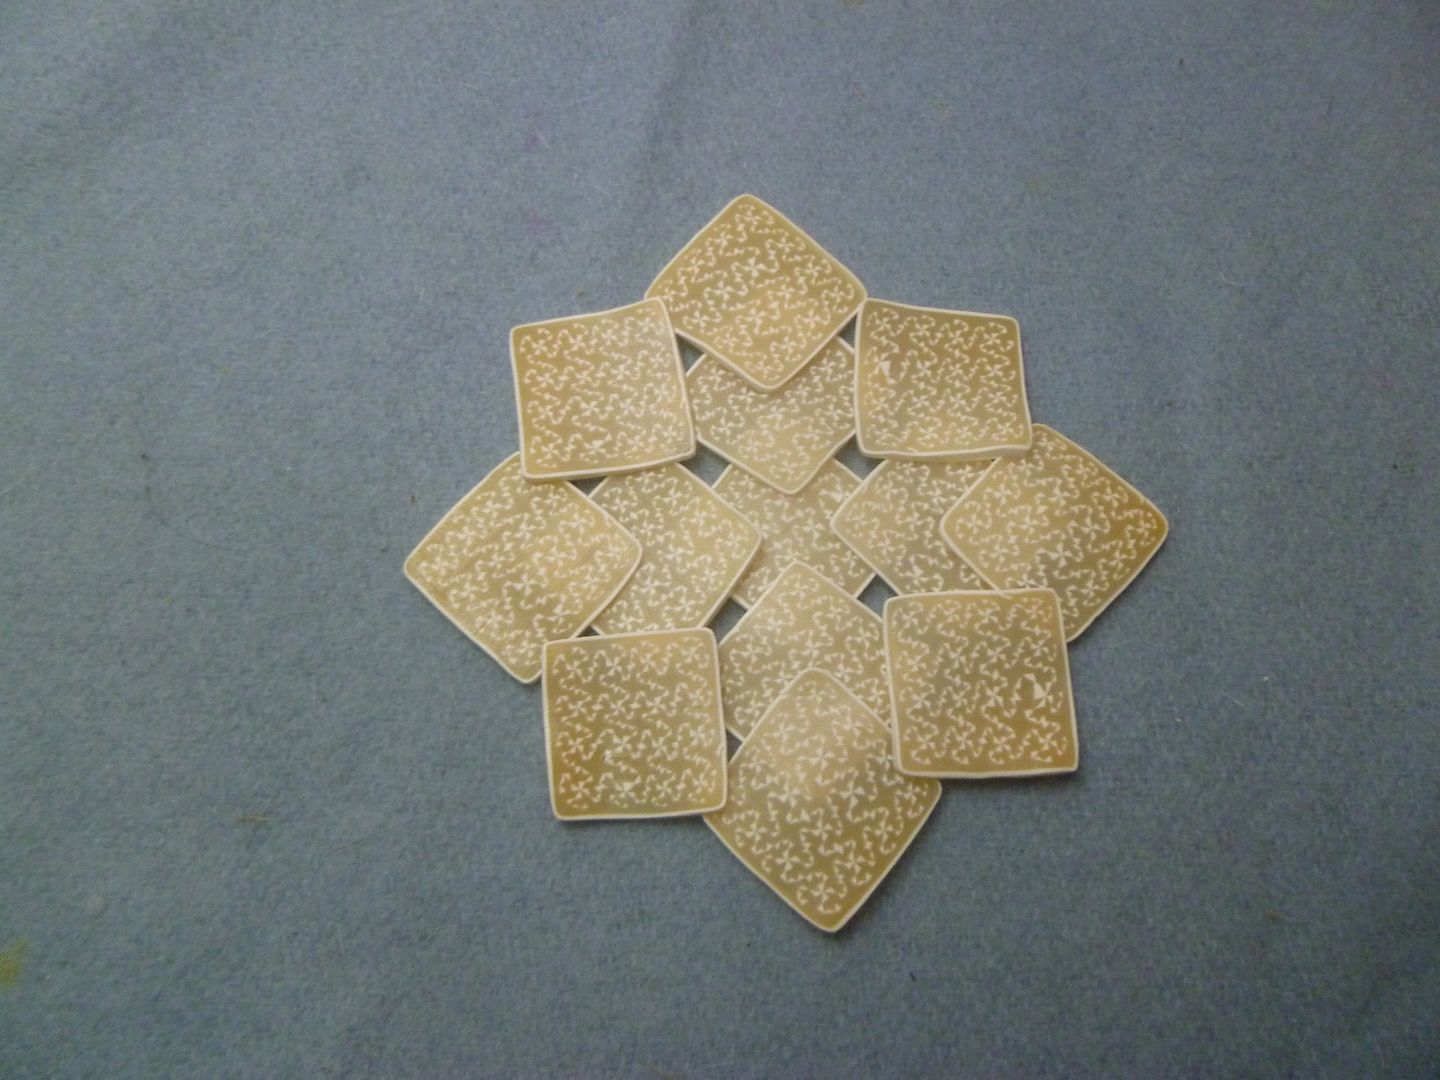
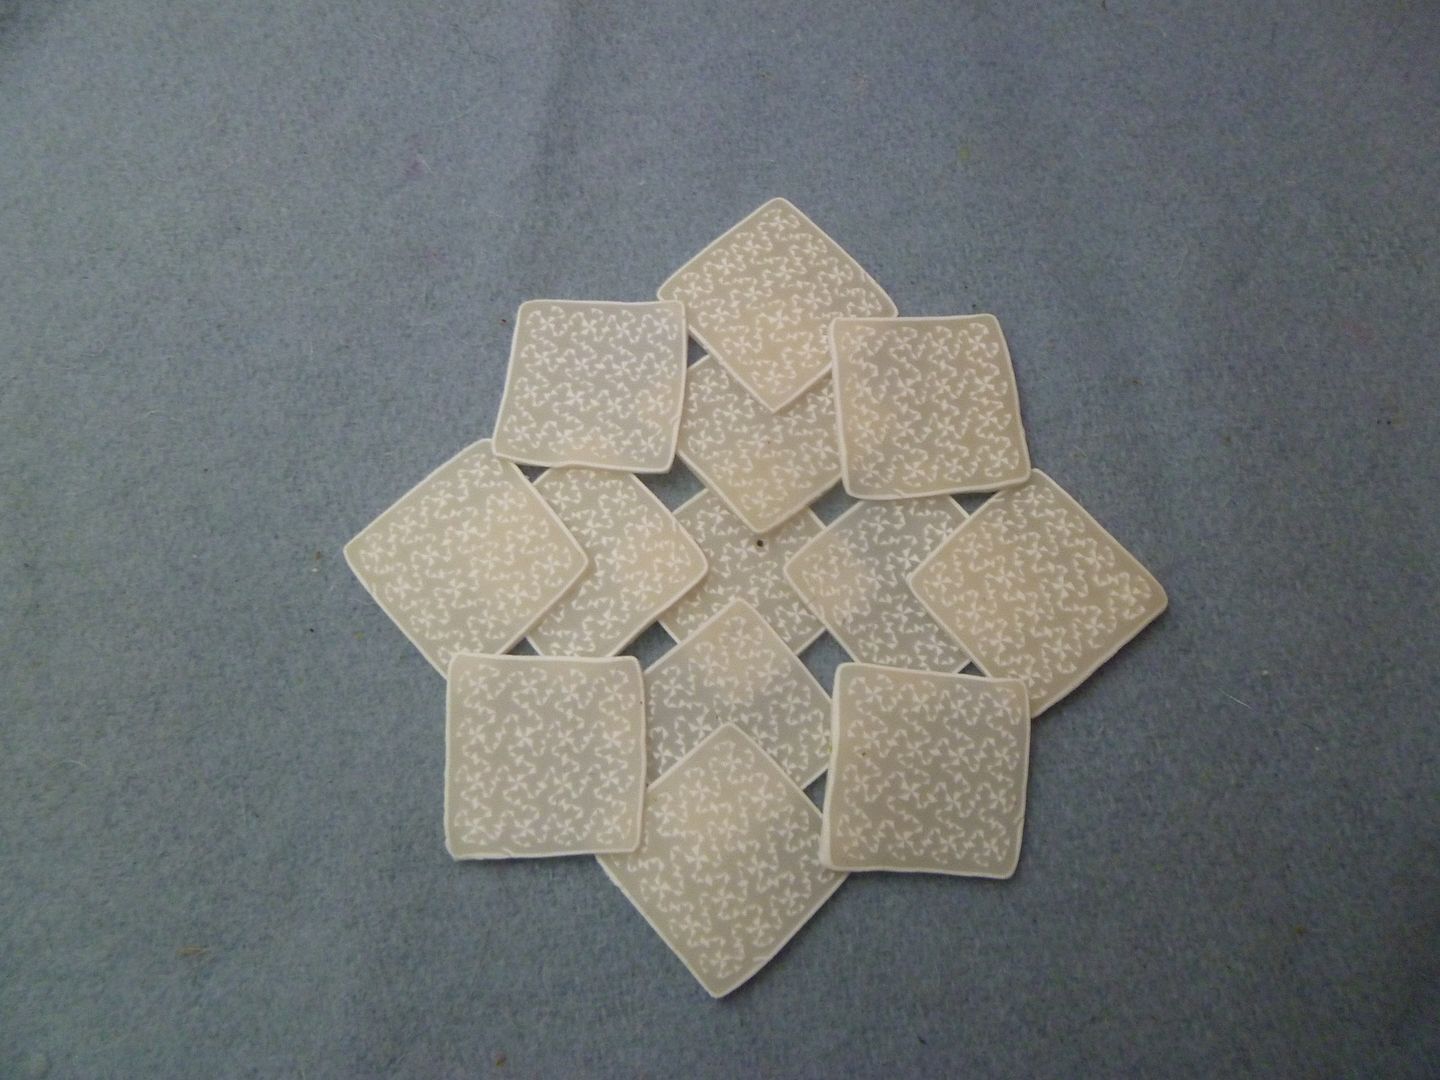
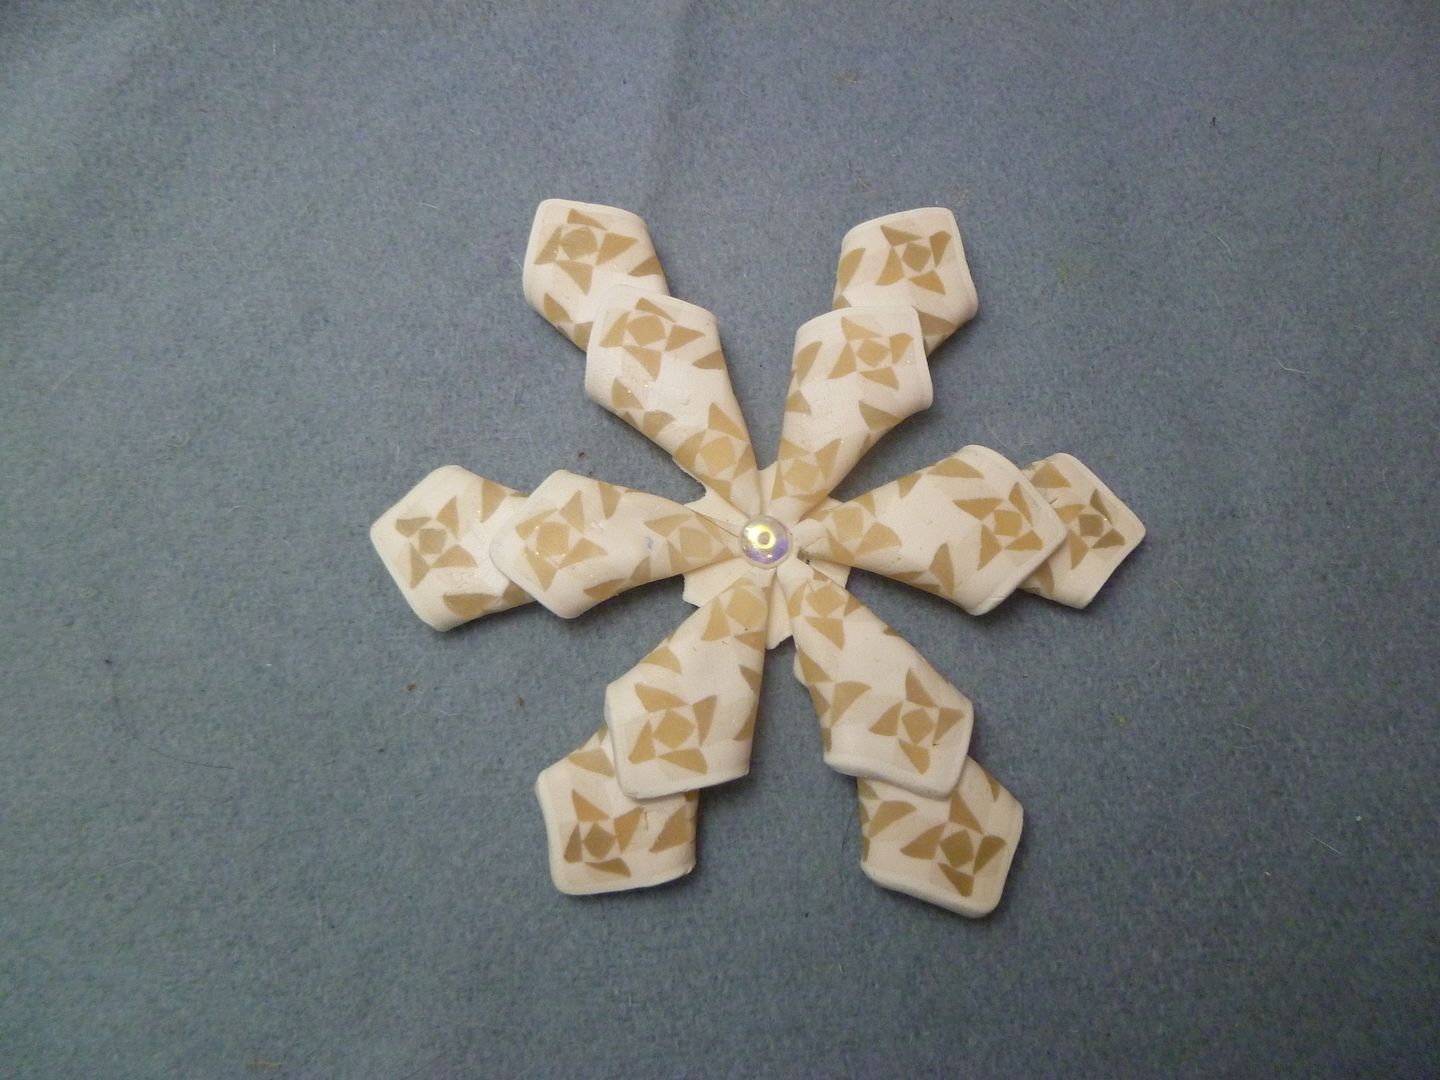
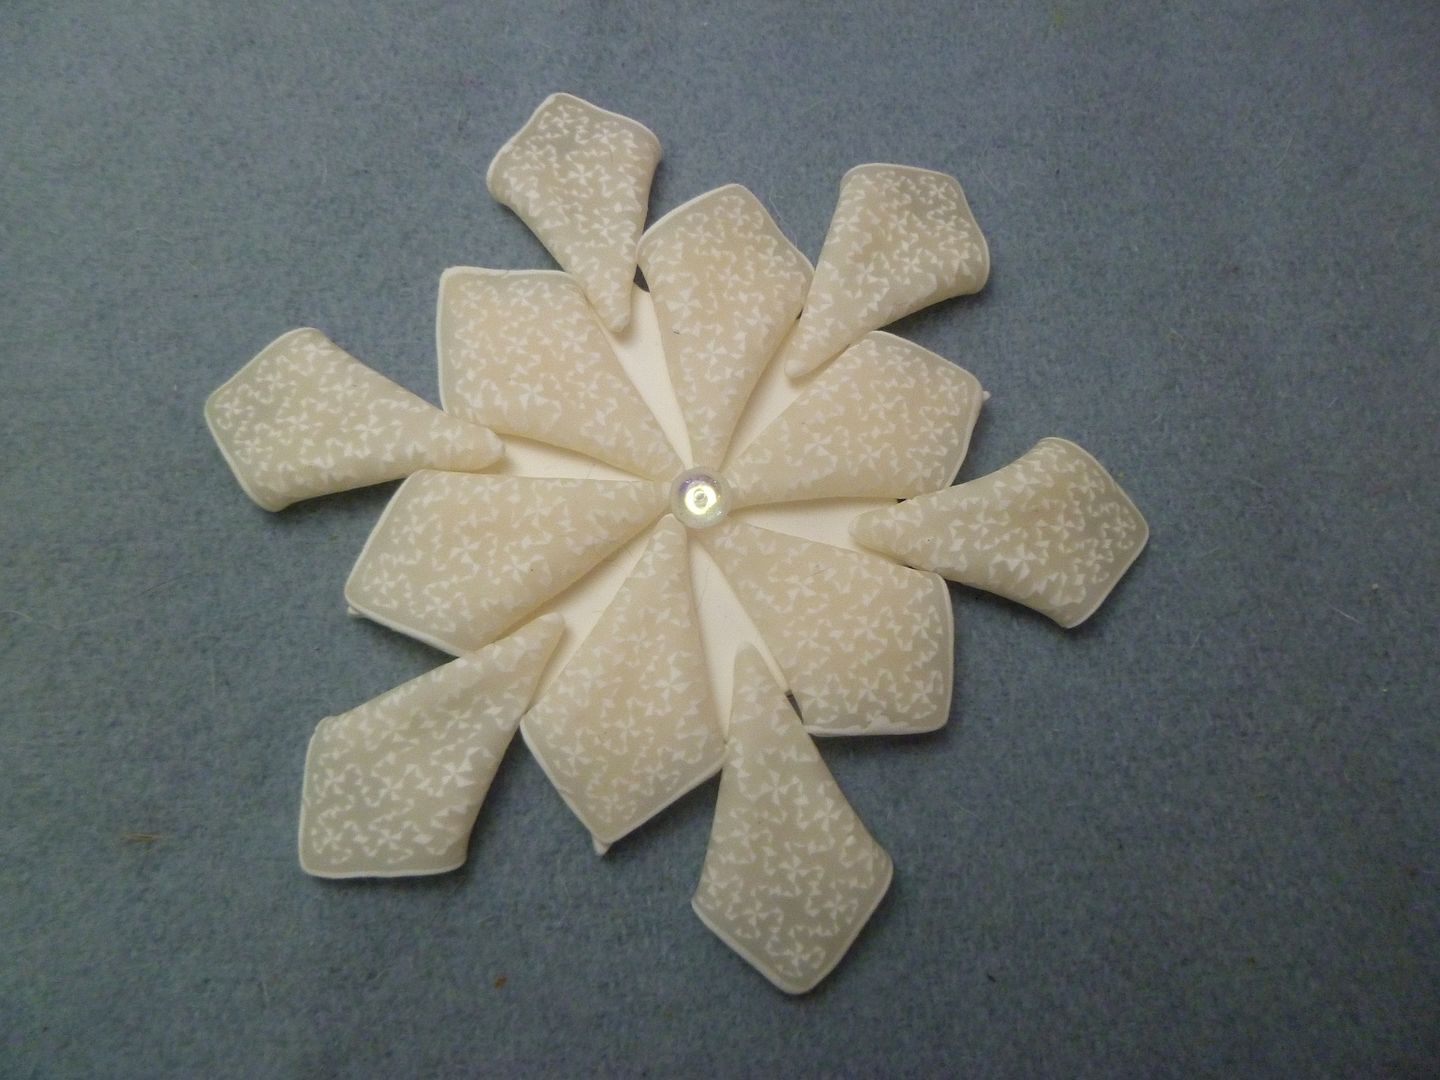
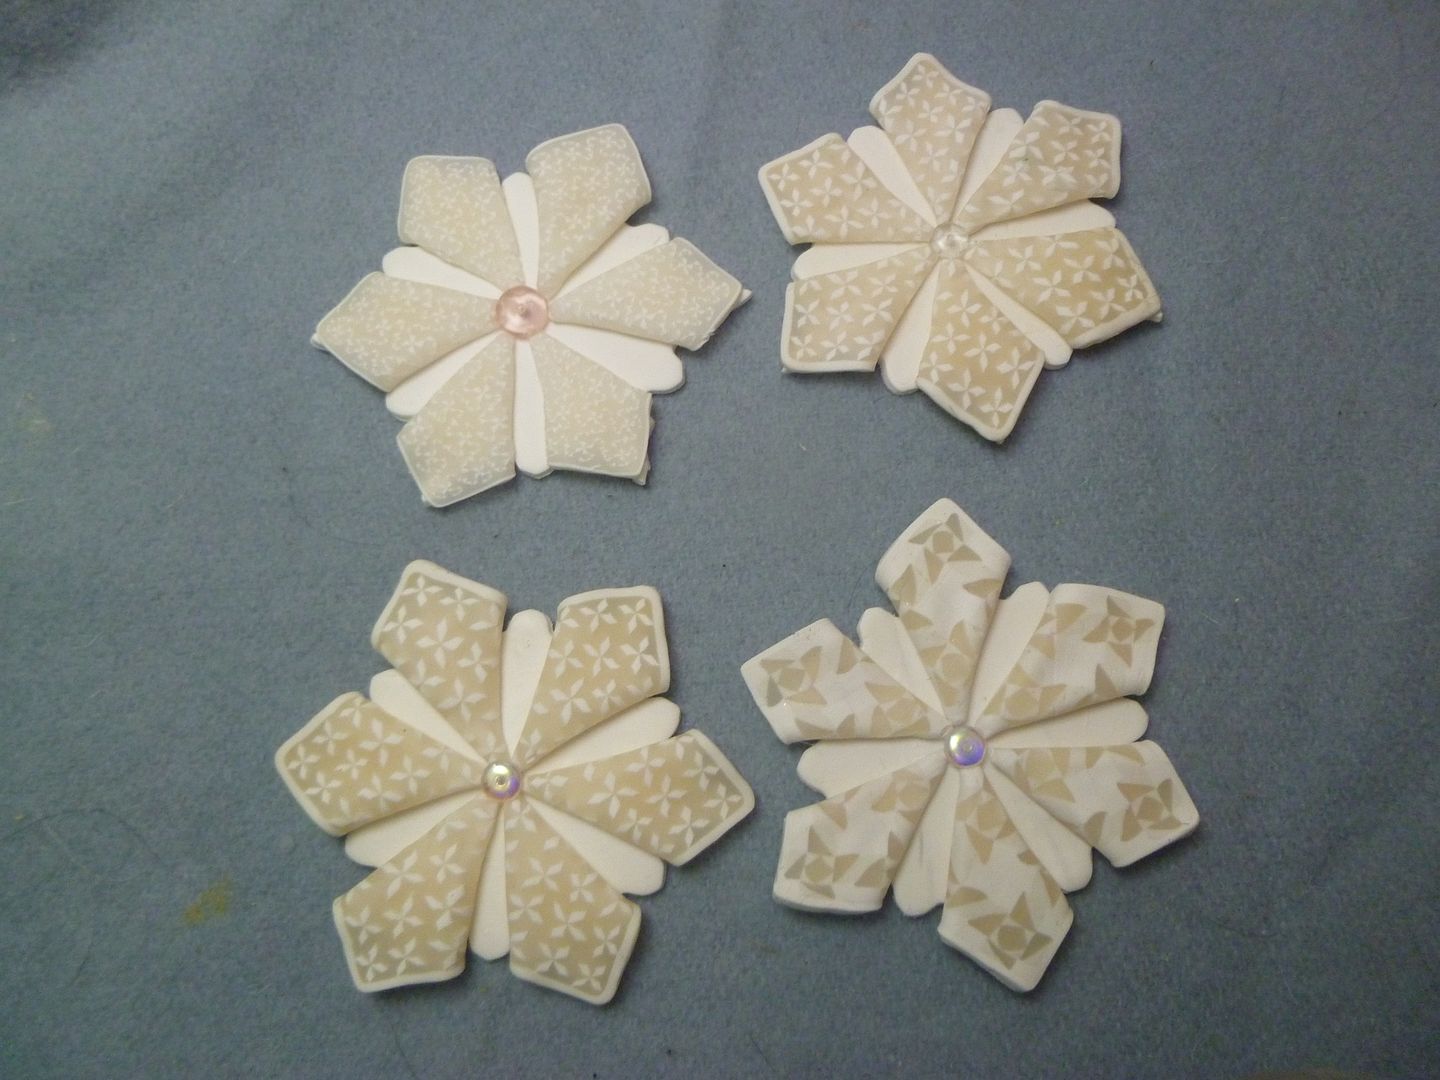
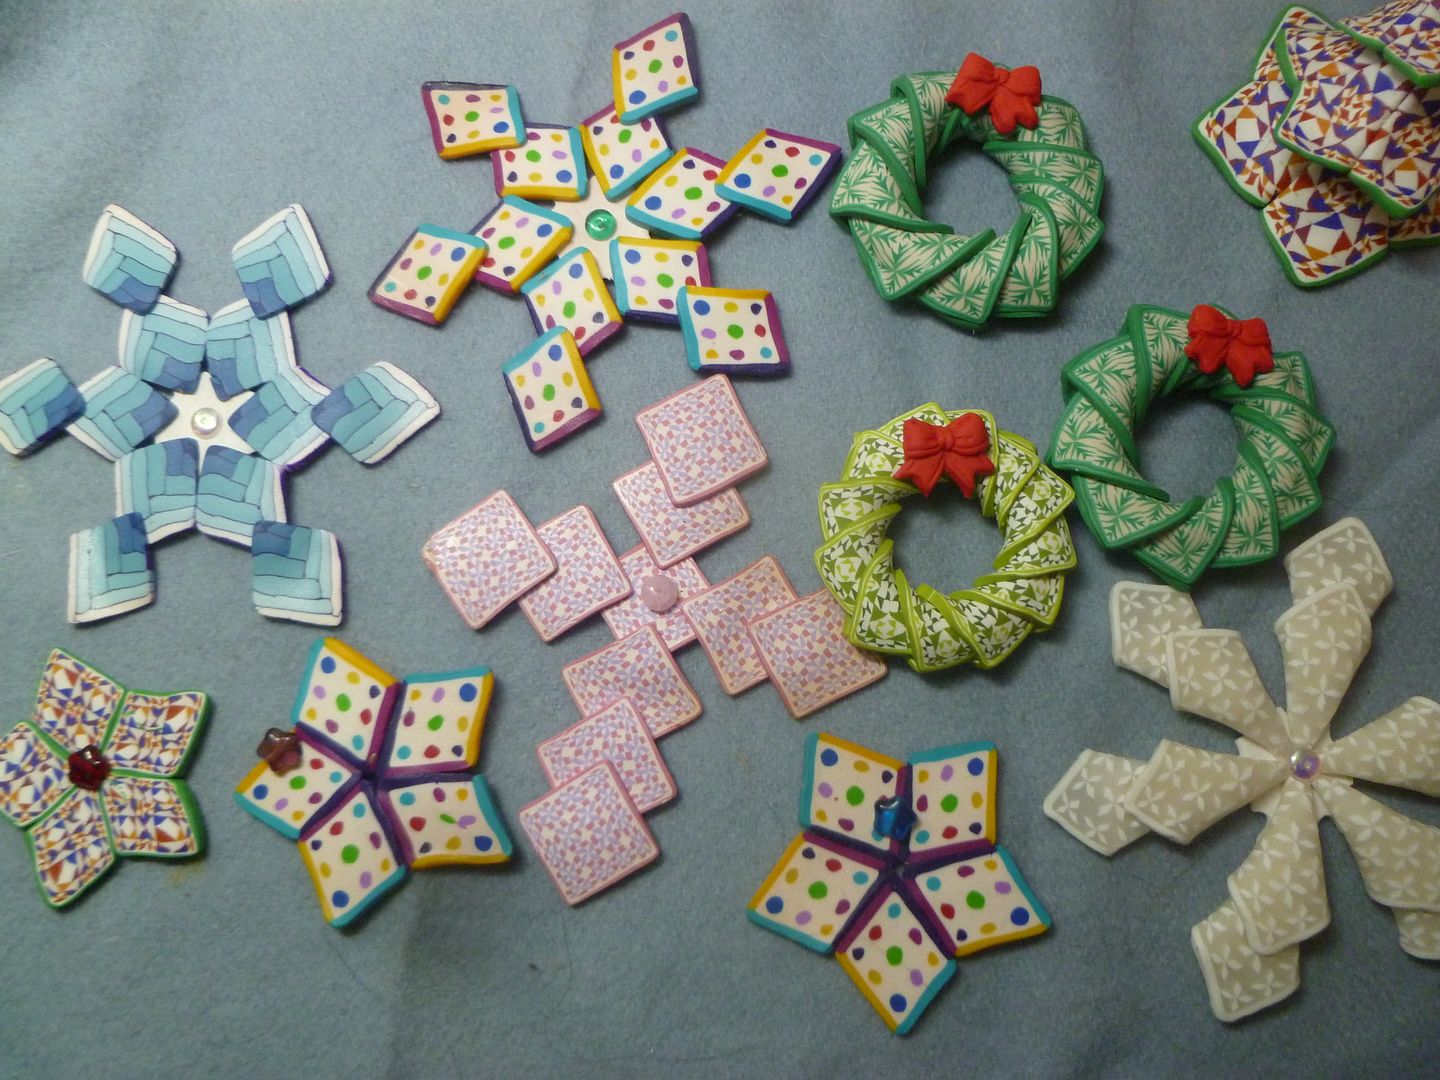
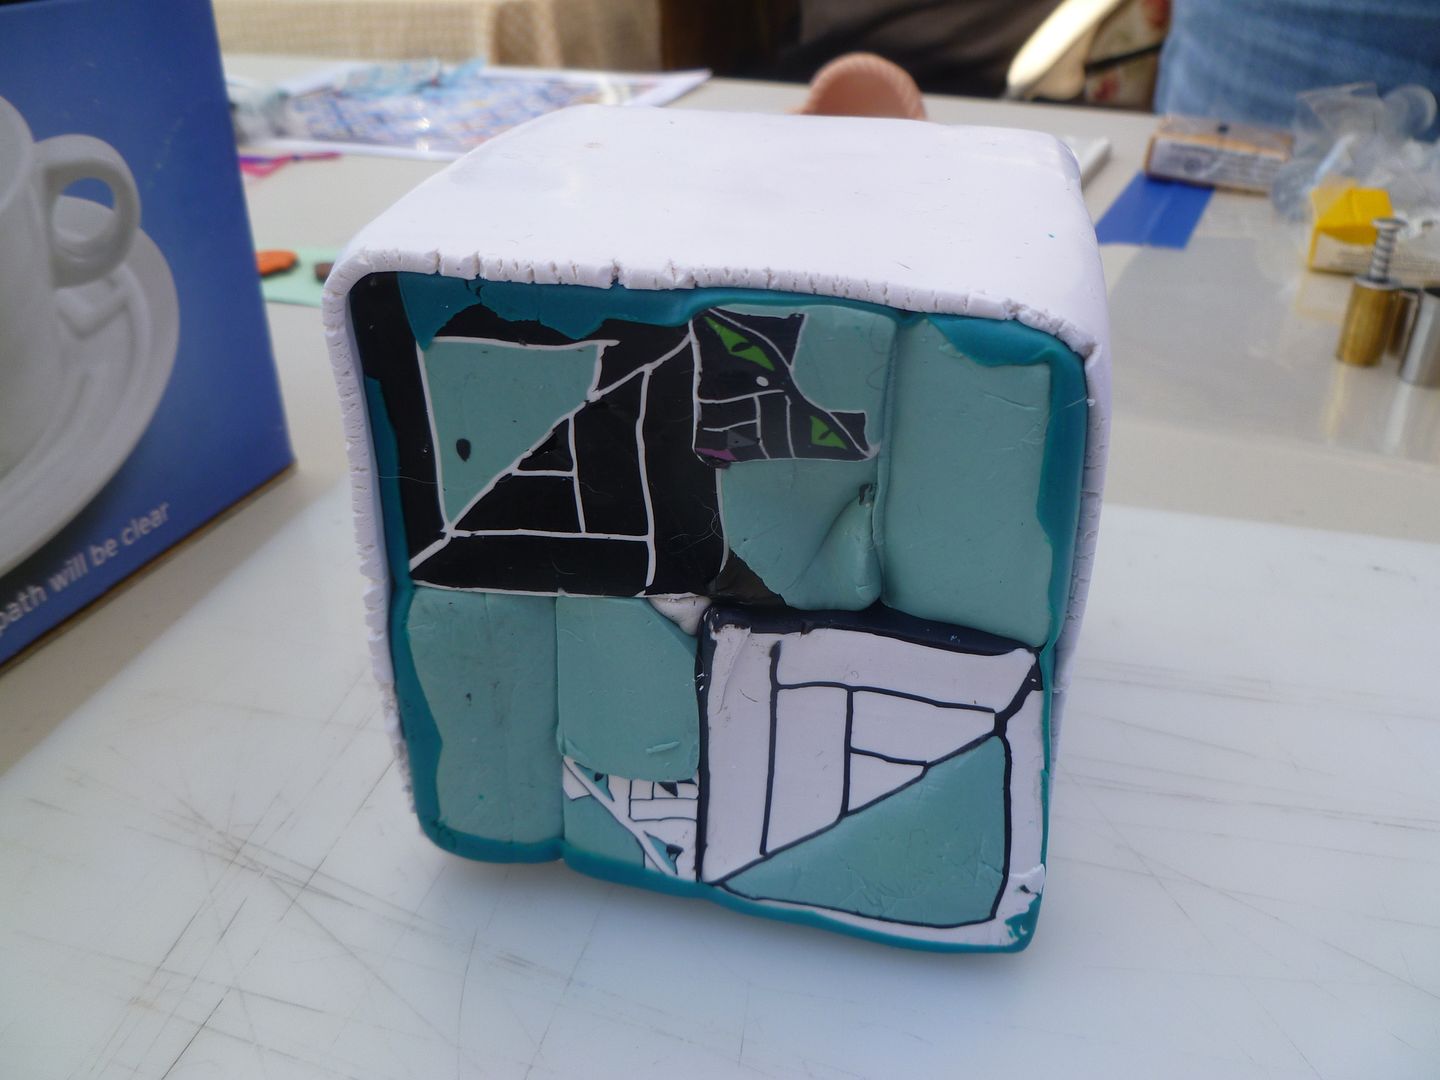
I managed to get a few things accomplished.  Nancy showed us how to do a snowflake cane.  Here's my effort:


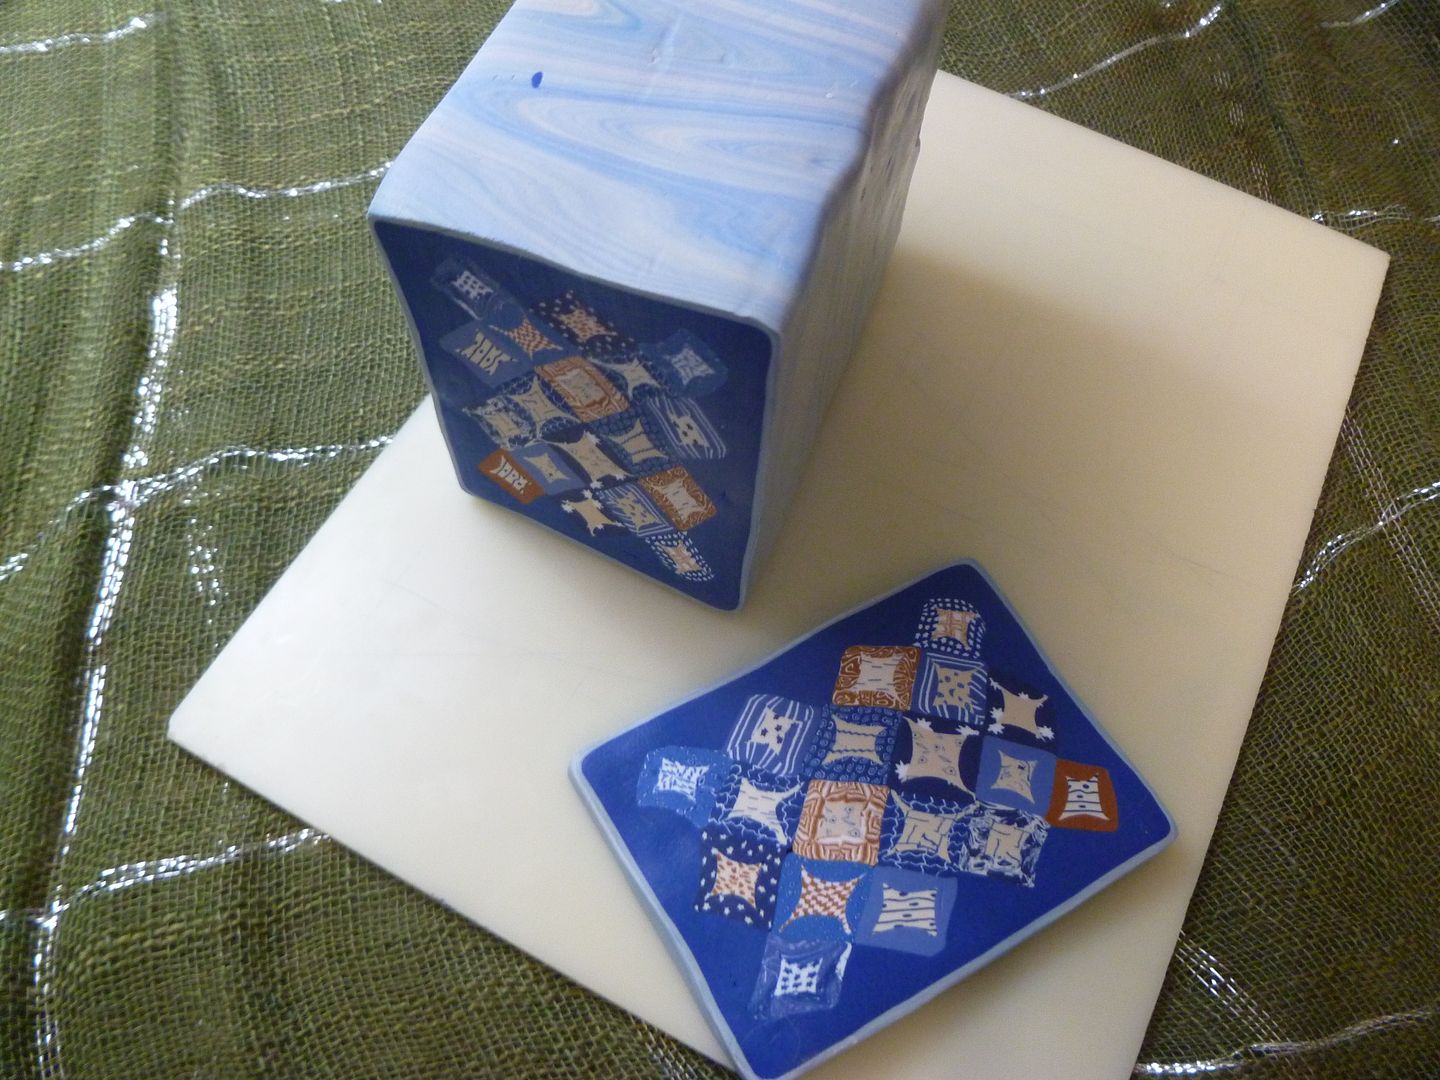
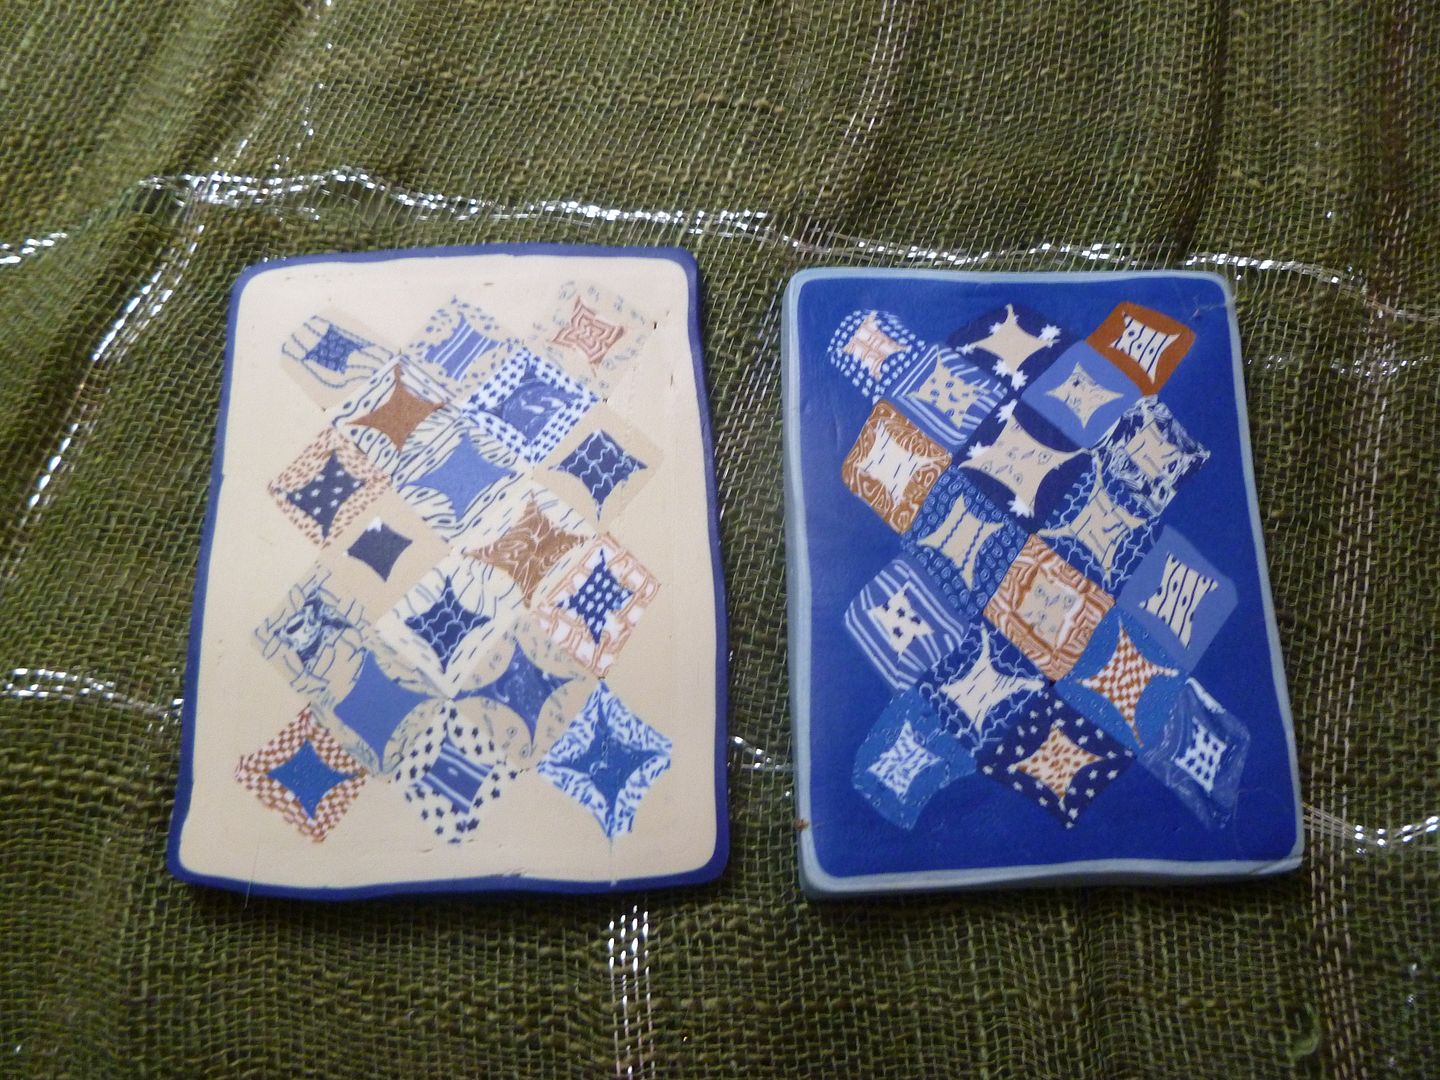
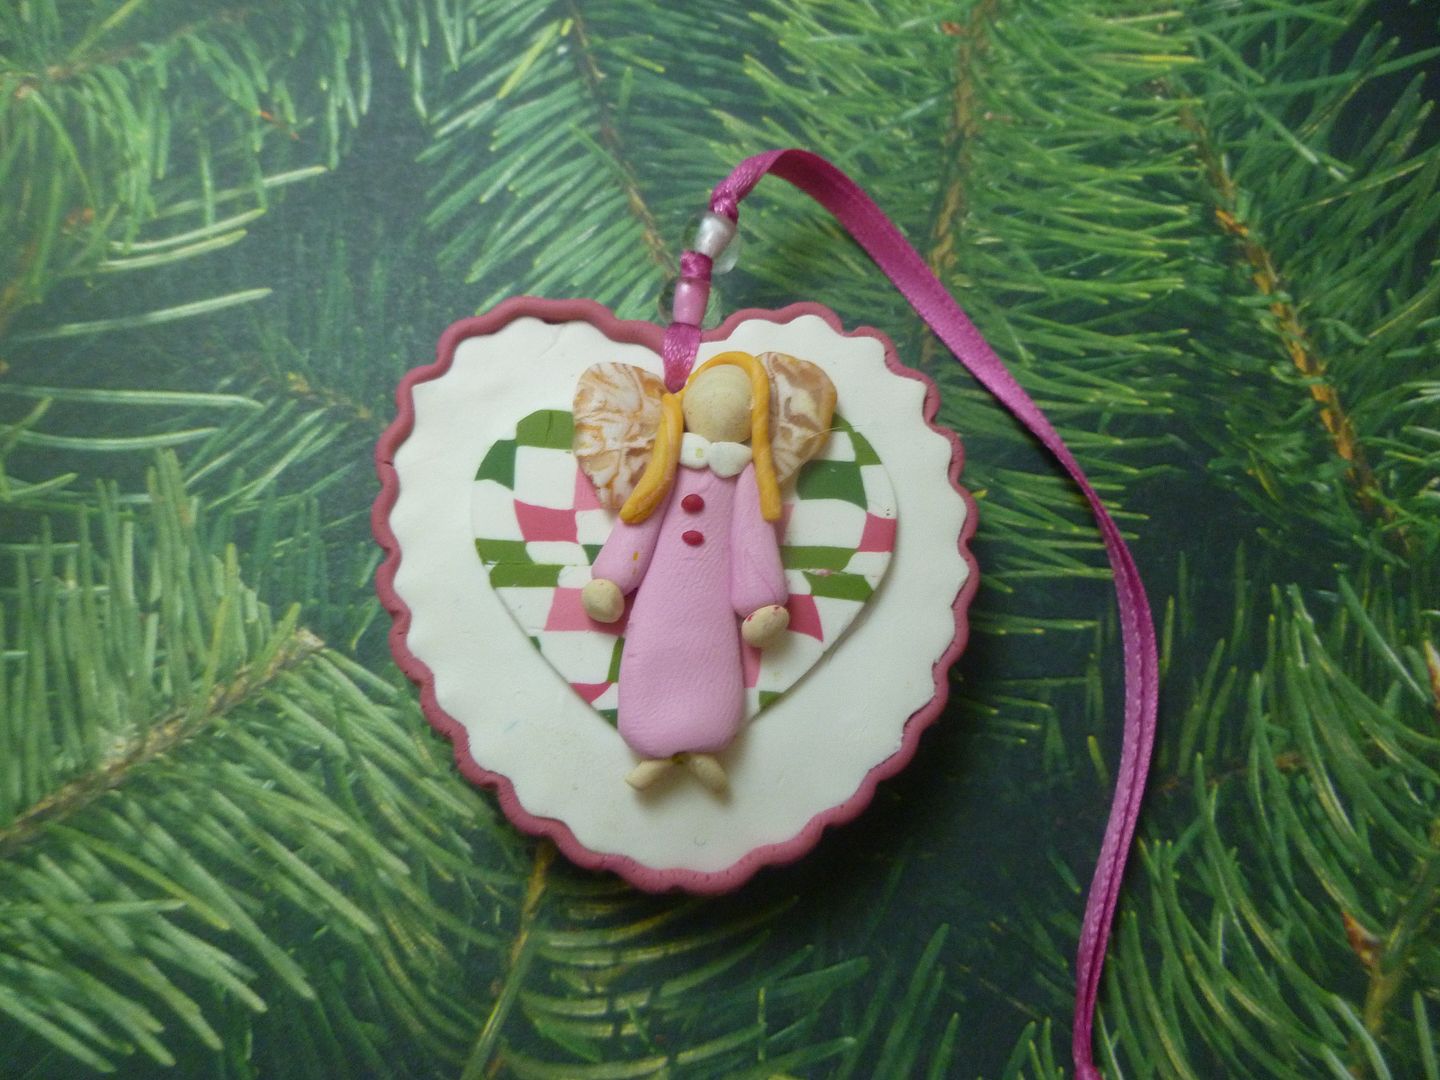
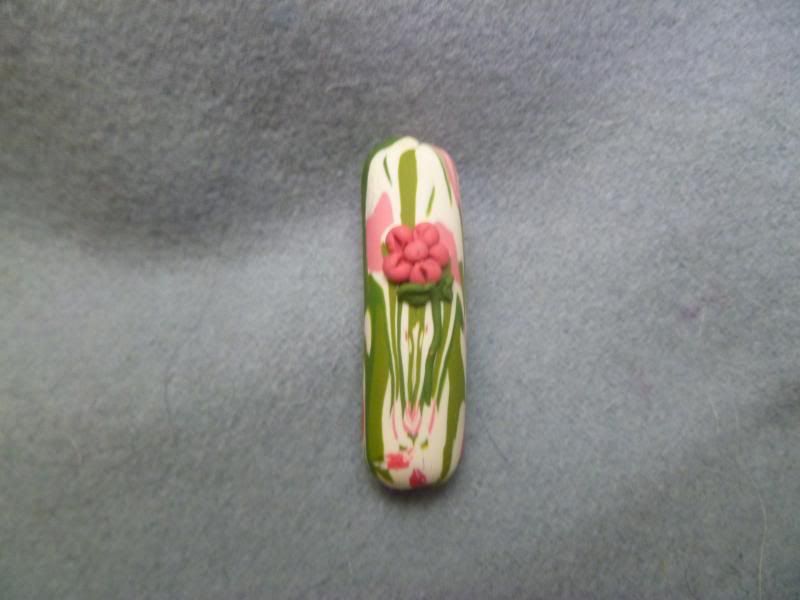
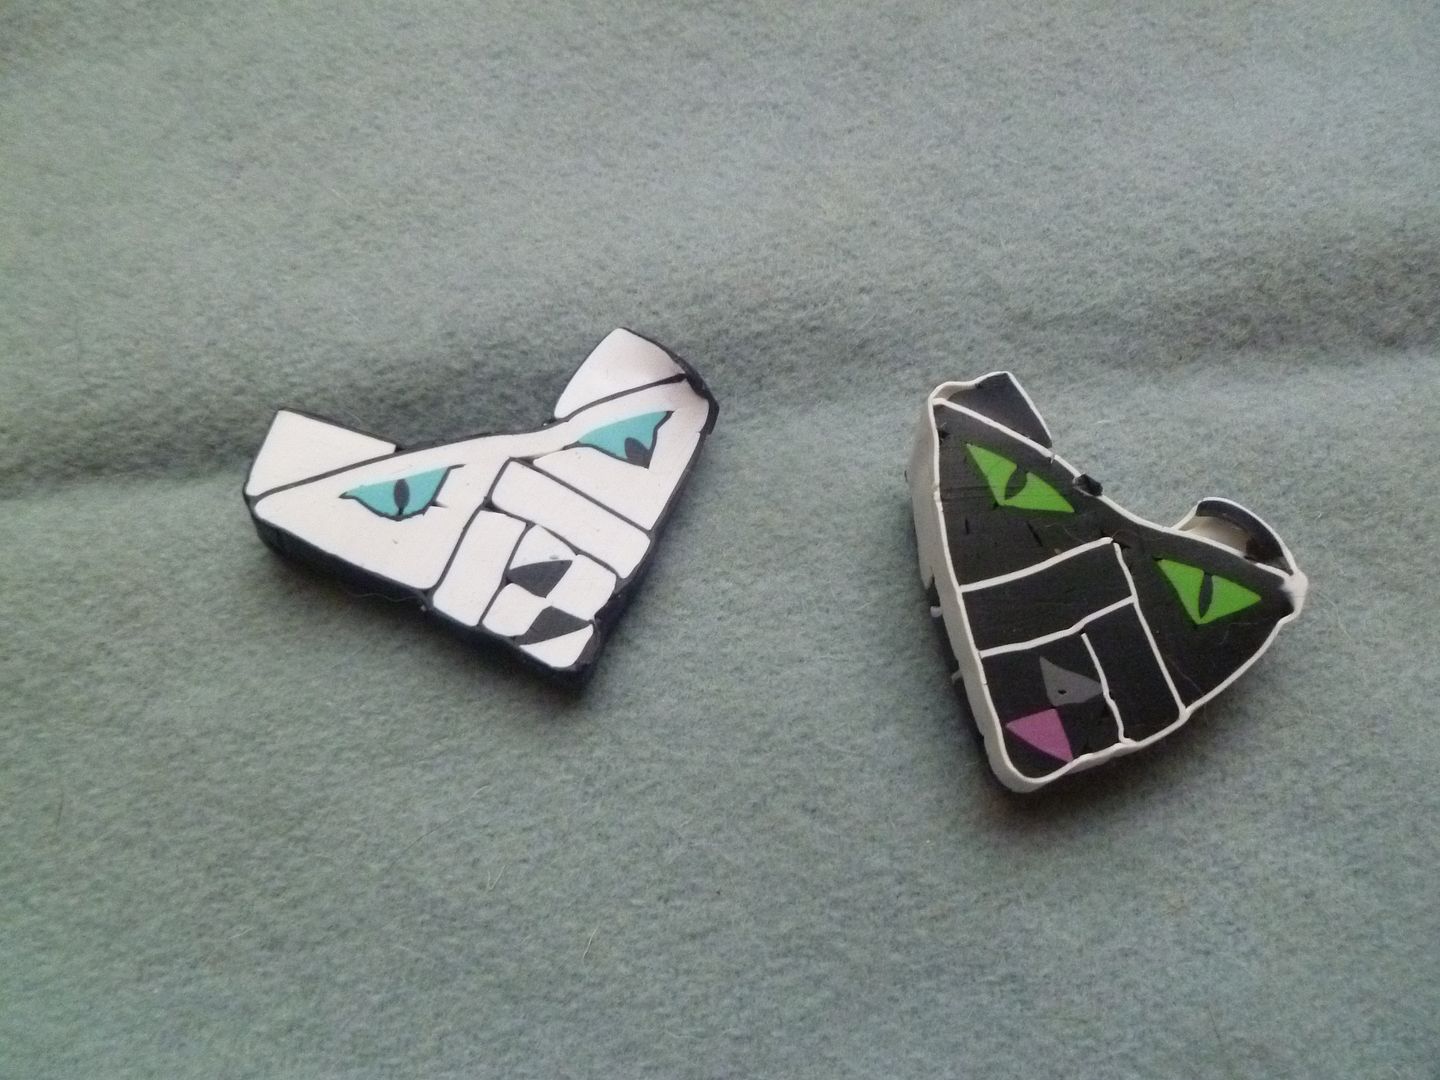
Here's an angel ornament (front and back):


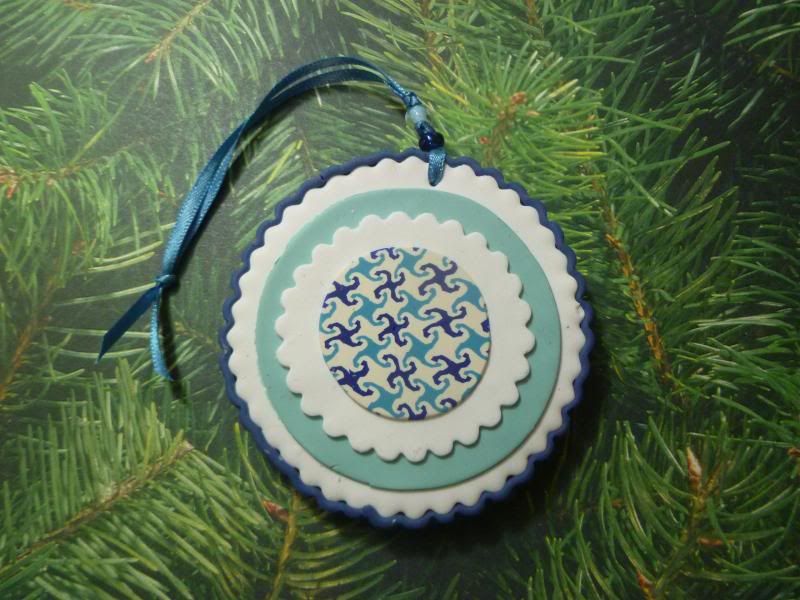
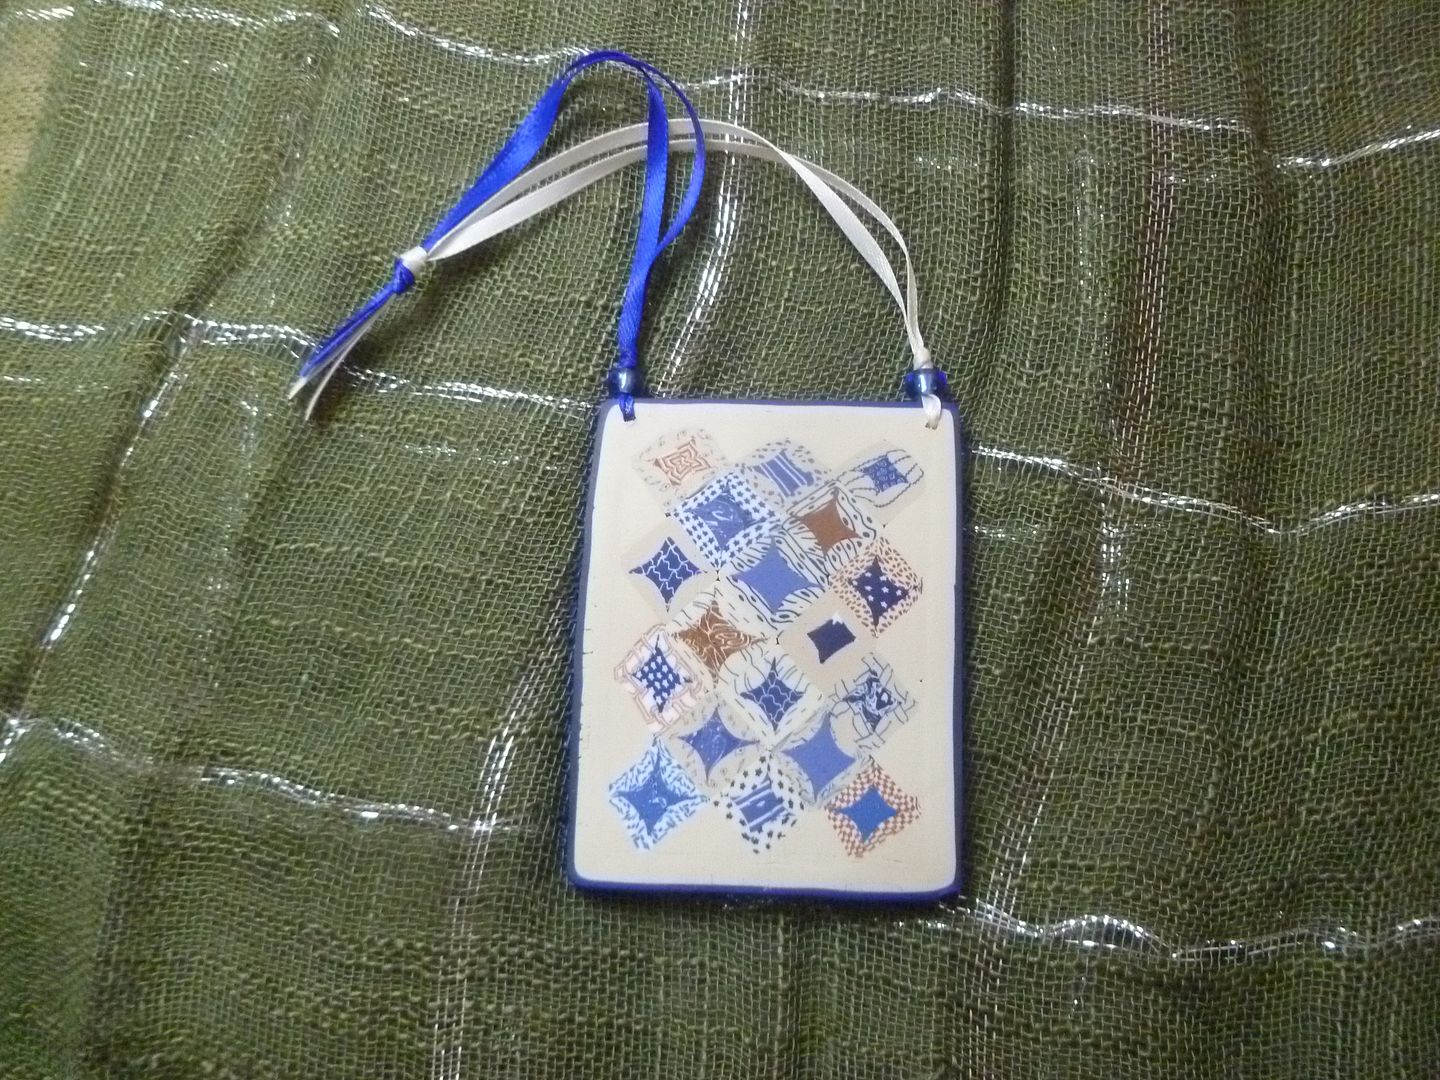
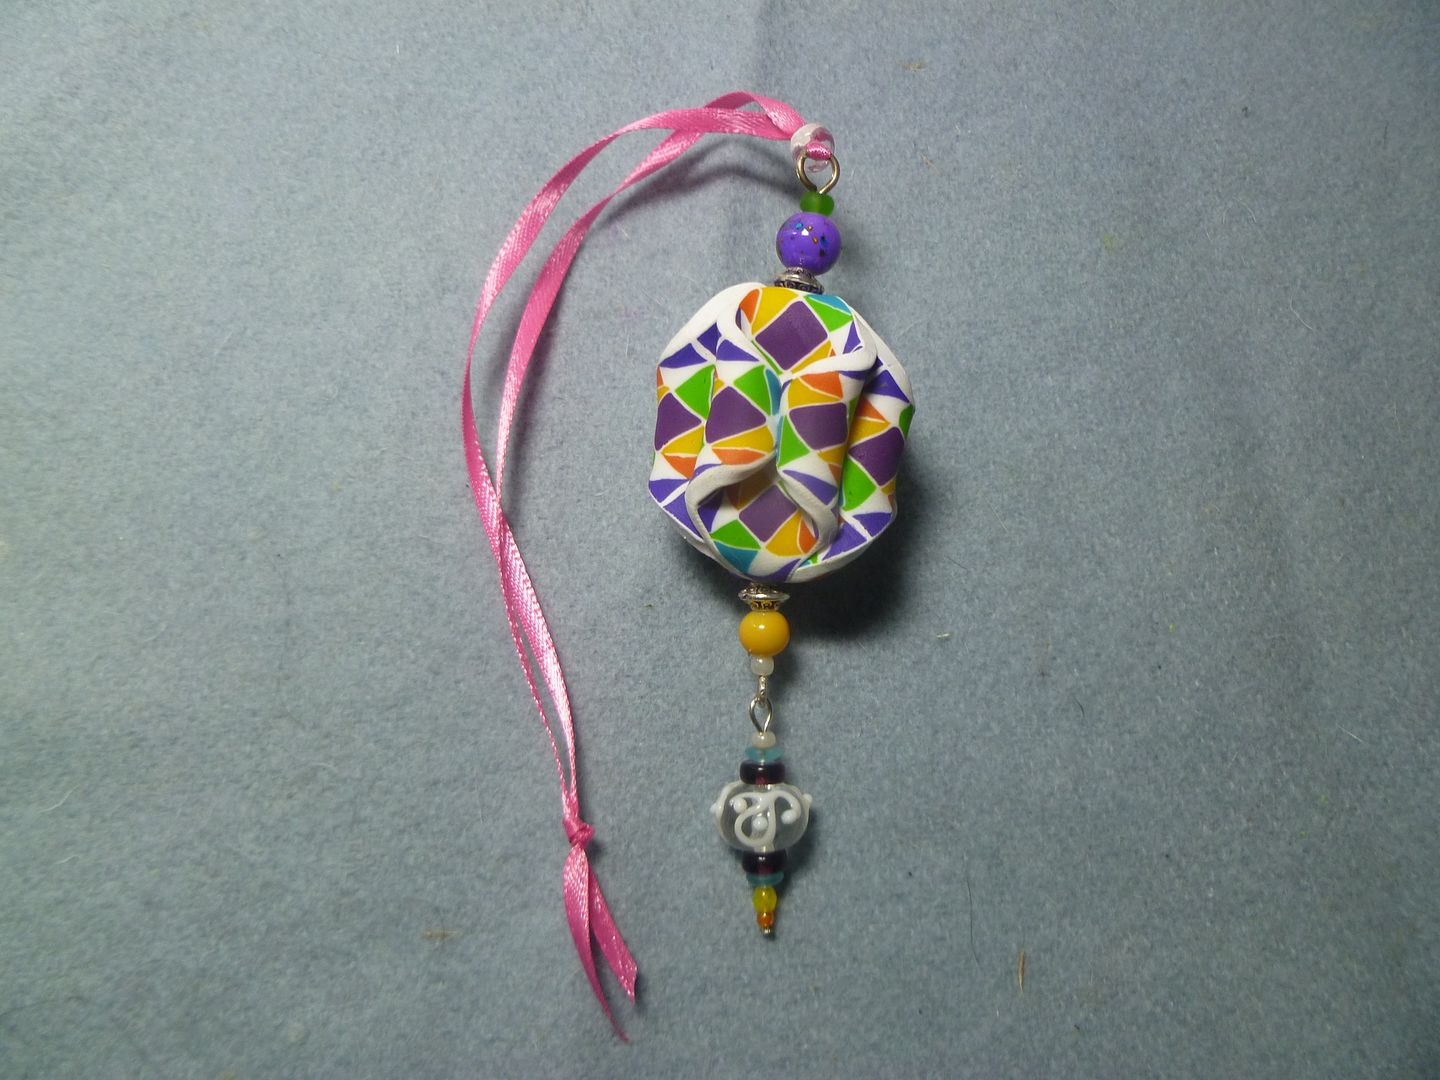
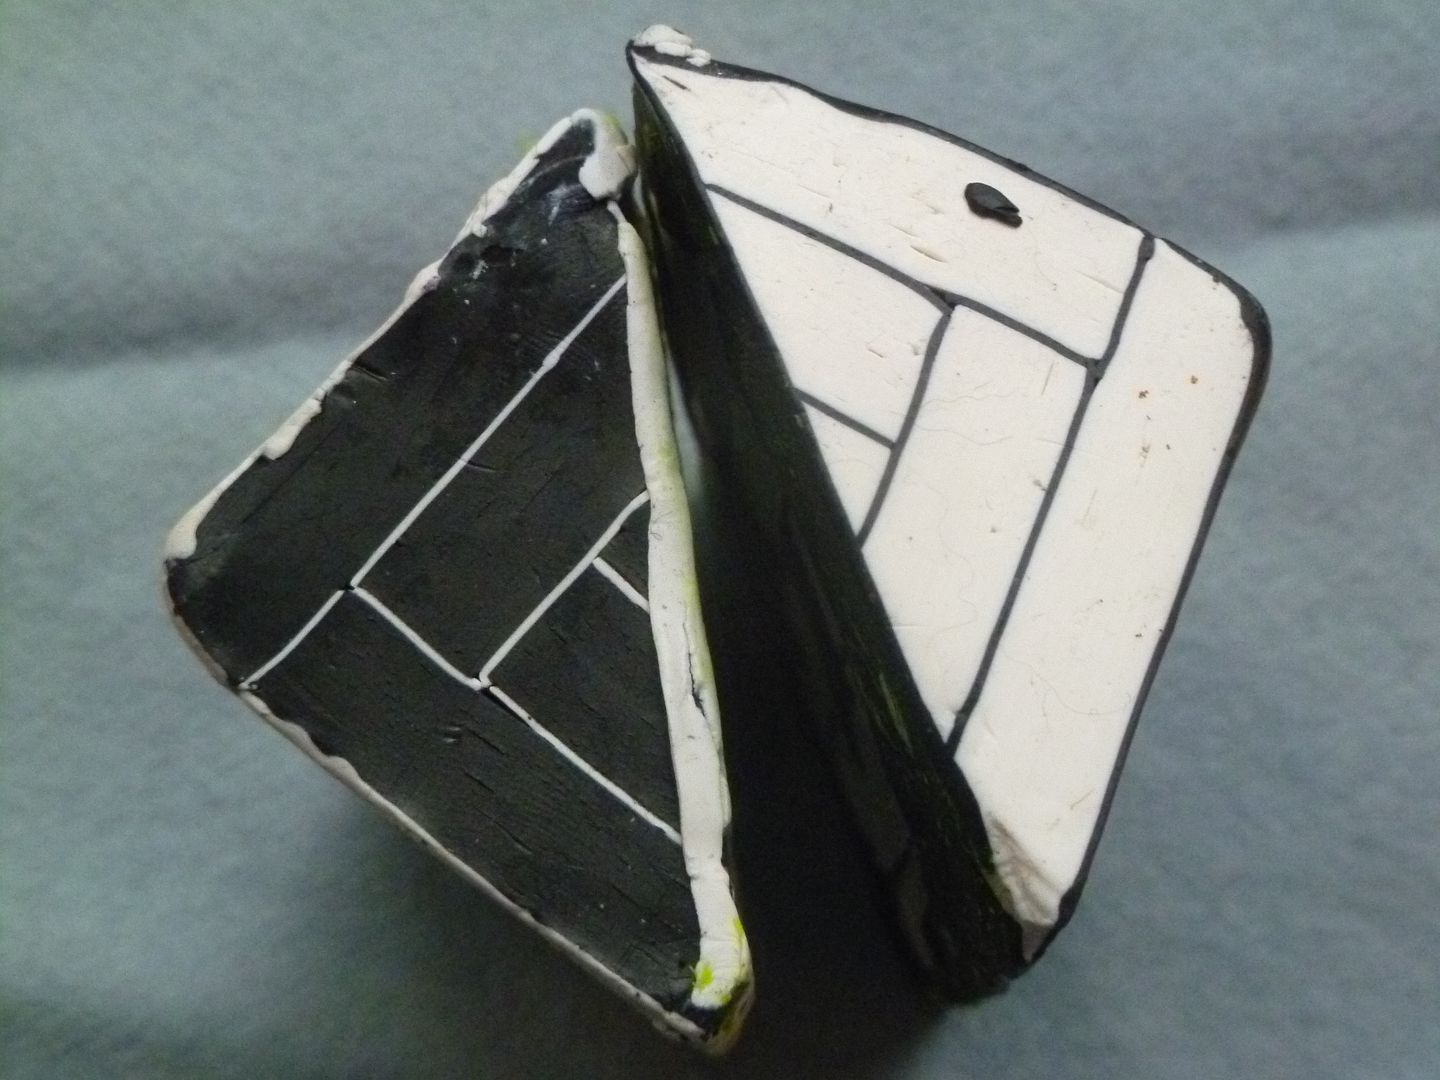
And a slightly larger ornament:

I had a great time, and I'd like to give a heartfelt "Thank-you!" to Shannon for driving.  She has a comfy, roomy truck and it was nice to have company on the way.

Thursday, November 14, 2013

Rob Peter to Pay Paul - Part 3

So I went and reduced each of the squares and put them together sort of like the picture in the magazine:


Here's a pic of the cane before putting on the borders, a slice off the cane, and the end pieces (you can see sort of how it's put together):


 I didn't have much reducing to do...I reduced each piece to near the size I wanted so I could reduce it just enough so the pieces would hold together.  I wanted to minimize distortion and it seems to have worked.

Here's the finished ornament.  I put the borders on the cane and finished it; whacked off a slice and baked it; then put it together:


Finally, here's the ornament with the picture of the quilt:


Now that it's finished, I like it a little better than the other night before it was put together.  I've got to take it to Julie and see how she likes it.

Monday, November 11, 2013

"Rob Peter to Pay Paul", part 2

I was pretty excited after finishing up the various "fabrics" for the quilt cane last night.  I used these cutters to put the blocks together:


Now that the blocks are together, I'm feeling pretty nervous.  They don't look anything like I hoped:


The ones on the right are for the quilt I'm working on; the ones on the left are using the leftover pieces to make sort of a "negative" or opposite quilt.  I don't know...maybe it will look okay after the blocks have been reduced and put together in the quilt.  I'm done for the night, though.  Reducing will have to wait until tomorrow....

Sunday, November 10, 2013

"Rob Peter to Pay Paul" Quilt...

I met Julie Stewart of Keepsake Cottage Fabrics at the Heritage Festival in Bothell last month.  She recently had an article and quilt published in Better Homes and Gardens Quilt Sampler magazine (Spring/Summer 2013 issue).  She designed the quilt using the "Rob Peter to Pay Paul" pattern.  Here's a pic:


Isn't it gorgeous?  I'm trying to recreate it in polymer clay for her.  And I thought I'd record the process here.  I decided to use FimoSoft:


The colors are amazingly similar, so I didn't have to make much effort to match them.  Here's the mixed colors I'm using:


I'd spent the last couple of weeks conditioning clay and mixing the colors.  I think I have maybe twelve or fourteen packages of clay (I don't want to run out--I can't tell you how many times that happens!).  Anyway, I spent this weekend assembling a bunch of canes.  Normally, I would use solid colors, but I like the look of the patterning in the quilt and thought I'd give it a go.  Here's the canes:


The ones for the block centers are on the left and the ones for the outer part of the blocks are on the right.  I figure I need to make 18 blocks (total 36 canes--a few will have to double up).  I decided to make a slightly smaller, simpler version (like I did year before last with the quilt museum's quilt). 

Now I'm ready to assemble the canes into the quilt blocks.  And then the final quilt.  I'd like to finish up before the weekend, but we'll see....

Saturday, November 9, 2013

I meant to do that. No, really...

I love working with white and translucent clay.  Unfortunately, it can be a little touchy.  Observe:

 It's the same pattern (Oklahoma Twister...taken too far, of course *roll eyes*), but the first one was not what I intended.  I've been using my toaster oven and I put a batch of six ornaments in.  I tented them with foil (I've heard that can help inhibit discoloring), but evidently parts of my oven are much hotter than other parts.  Four of the six ornaments burnt, including this one.  So I backed the temp off a bit and moved the oven thermometer around to find the right temperature.  The second one turned out the way I wanted.

Now some people like the darker color...it's kind of antique-y looking.  I like it sometimes, too.  Look at this one:


I love the way it looks...kind of like a vintage handkerchief.  Usually, though, I prefer the white:


 It's a fiddly business, working with white and translucent.  Sometimes you can come up with some neat effects...other times, it's just burnt.

Thursday, November 7, 2013

More ornaments...

I've spent the last couple of nights making ornaments.  I made ten tonight and ten last night.  Here are a couple of pics:

More wreaths...

Some tree components...

And a bunch of snowflakes.  Here's a few small ones...

I made quite a few larger snowflakes in three different styles...I think I'll save them for a post tomorrow!

Monday, November 4, 2013

A New (Old) Ornament...

I made a couple of this style of ornament years ago.  They're kind of hard to get right, so I haven't made any since.  I dusted them off this year after I sold my favorite one.  Maybe I can get them consistent.  We'll see....


Sunday, November 3, 2013

I've been busy...

...making ornaments:


...and making canes (LOTS of canes):


...and a by-product of making canes--Natasha beads:


Saturday, November 2, 2013

A little ambitious...

A while back, I was doodling on some graph scrap paper and came up with this:


It took longer than it should have, but at the last two clay days, I started putting the components together.  First, the bodies:


Then, the heads:


Then the long, tedious task of mixing yet more background clay.  It finally came together:


And I finished and reduced it a bit at the Country Village Harvest Festival:


Now I have to decide what to do with it (although, I will say...LOTS of natasha beads!)....