I STARTED Early--Took my Dog--And visited the Sea--
The Mermaids in the Basement Came out to look at me
--Emily Dickinson

Tuesday, August 1, 2023

Coin Swap!


I joined a coin swap group and here is my first effort!  Late as usual, but I'm pretty happy with them.

Friday, March 24, 2017

Bullseye Cane Bonanza, Part Five: Feather Cane

Finally, the feather cane.  It is a beautiful cane that is surprisingly simple to make...lots of steps, but not really all that difficult.  


I'm just using three colors for this one (I've used five or six brighter colors for more contrast and a livelier look)


As usual, wrap a couple of logs with a sheet of clay (I'm using a thinner setting for this cane)


Reduce the cane until it's several times it's original length (I'm reducing to about a quarter inch in diameter)


Flatten each cane so that it will fit through the pasta machine


Roll through on the thickest setting...you'll get a long, flat noodle-looking thing


Cut in about one inch lengths


Offset and layer each piece in the color pattern you like...do one side and then reverse for the other side; save one piece for the top part of the feather; when I demoed this at a clay meeting, Kim said she makes the pieces longer and makes one side and then cuts it in half.  Less work and better matching.  Oh, she's right (as usual!)


Roll a medium thick sheet of clay for the middle vein of the feather; place the two layered pieces on either side of the vein and insert the top piece (it might need to be trimmed or reduced a bit to fit)


Compress and reduce as desired.  Ta-da!  A feather cane!

Here's a group picture of the canes in this series....


Hope this helps and thanks for stopping by!

Wednesday, March 22, 2017

Bullseye Cane Bonanza, Part Four: Leaf Cane

If you're going to make flowers, well you're going to want to make leaves.  They're pretty easy to make, although there are a couple of tricky parts that are hard to explain.  Good thing I took pictures!


Roll a shortish, fatish log of green (or whatever color you want your leaves to be).  Wrap with a darker color green (or whatever color, etc. etc.)


Stand the cane on its end and slice into four pieces as shown (a shorter, fatter cane makes this step easier)


The goal of the next step is to put the veining in the leaf...you want a contrasting color between each of the pieces you cut.  The way I do it is to put three slices on the vein color and trim even with the cane pieces


Then reassemble the pieces


Here's the hard part to explain.  You want to cut the cane on the diagonal...hopefully this picture shows what I mean


Put the vein color on one of the cut sides and trim to fit


Flip one of the pieces so the veins on one piece go a different direction than the other.  Again, hopefully the pic shows what I mean.


Smooth the cane and reduce as desired.  Ta da!  A leaf cane!

Tuesday, March 21, 2017

Bullseye Cane Bonanza, Part Three: Complex Cane

By adding layers (and complicated layers), you can make a bullseye cane look fairly complex.  It's not really hard, but can take a bit of time and planning (especially with all the clay conditioning...wish I could farm that out to someone!).


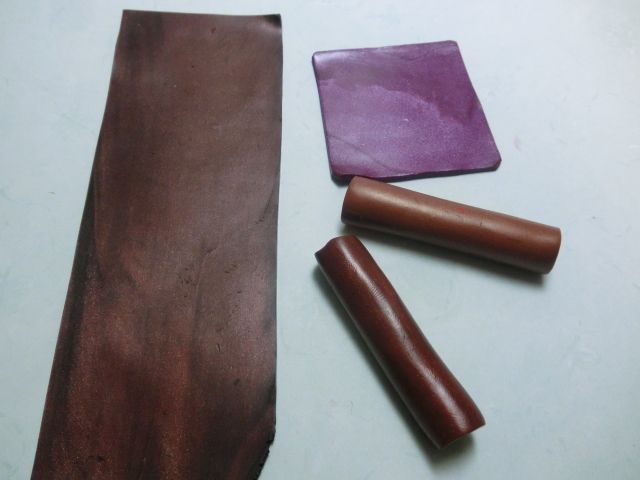
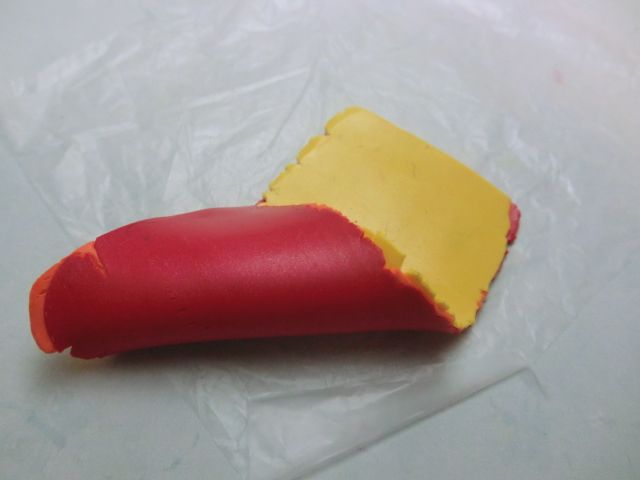
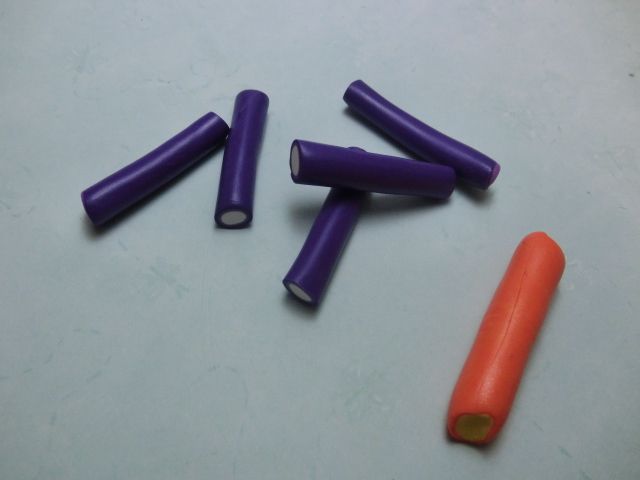
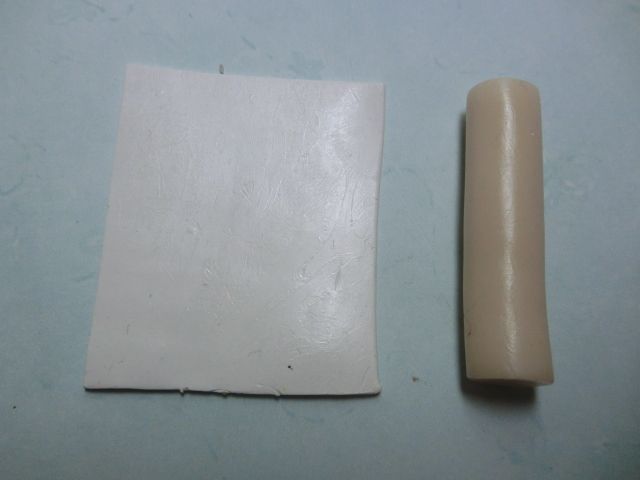
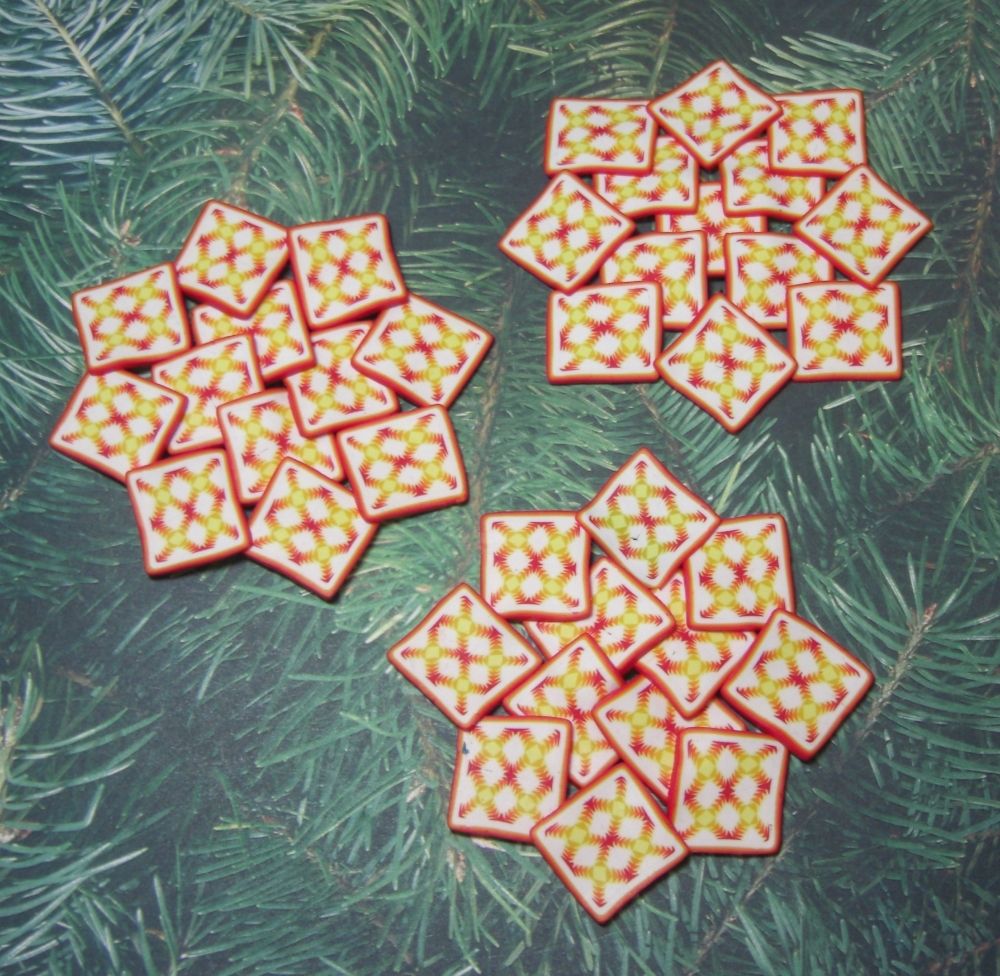
I decided to go with a yellow, orange, red theme this time around.  Here's the conditioned and rolled out sheets...they vary in thickness, which you can see in the finished cane. 


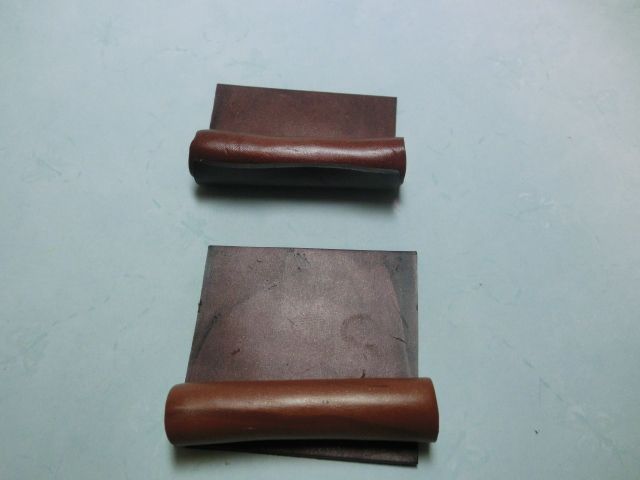
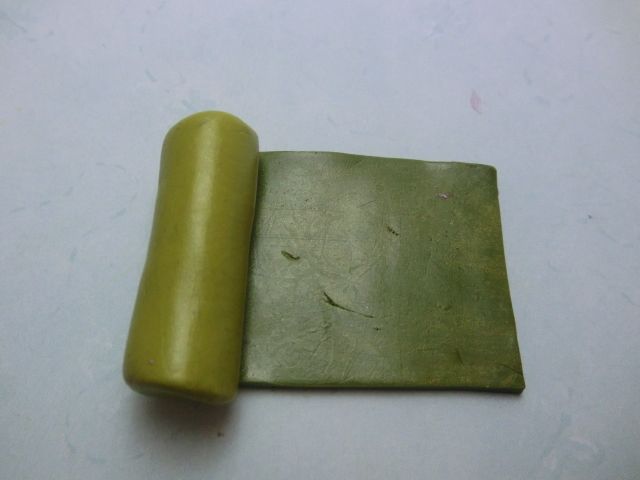
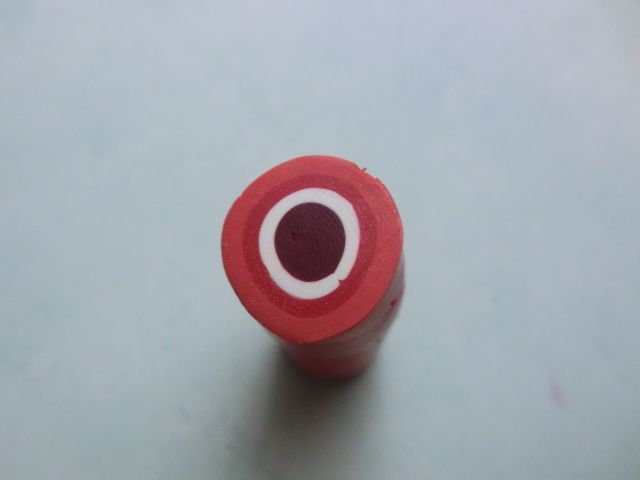
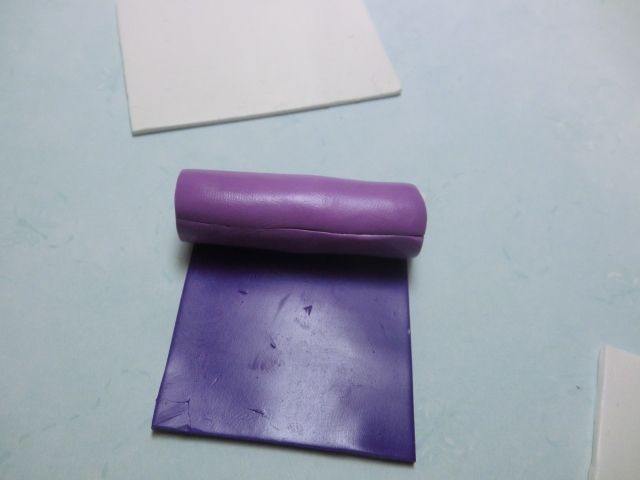
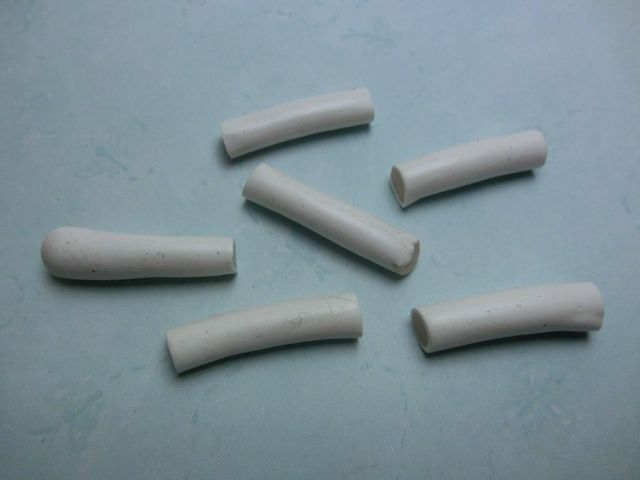
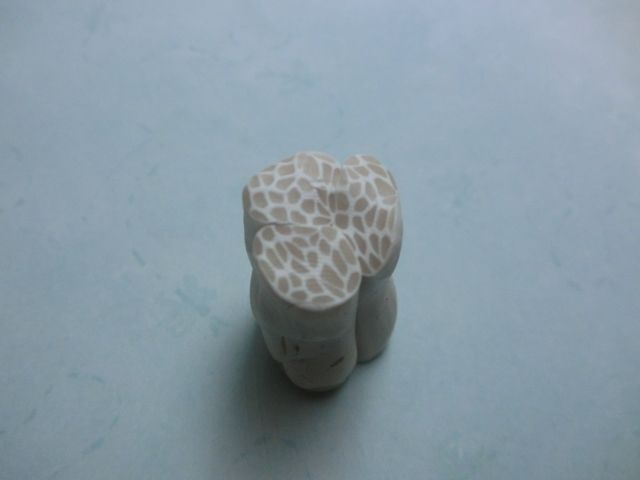
Roll your center with a sheet of clay


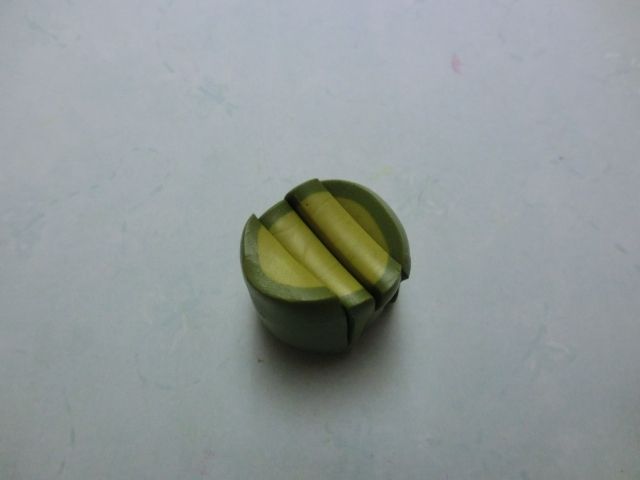
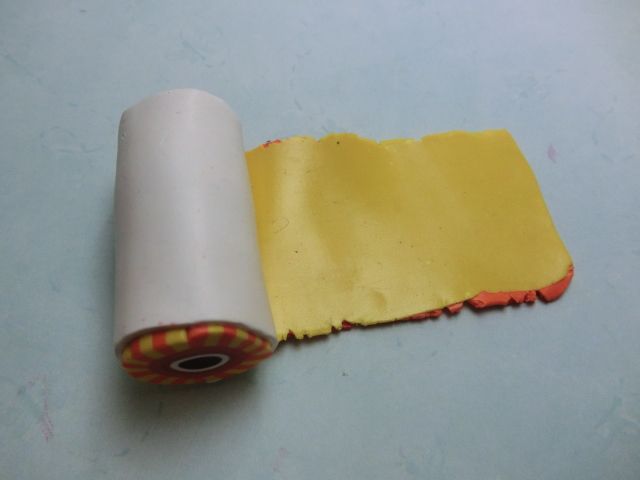
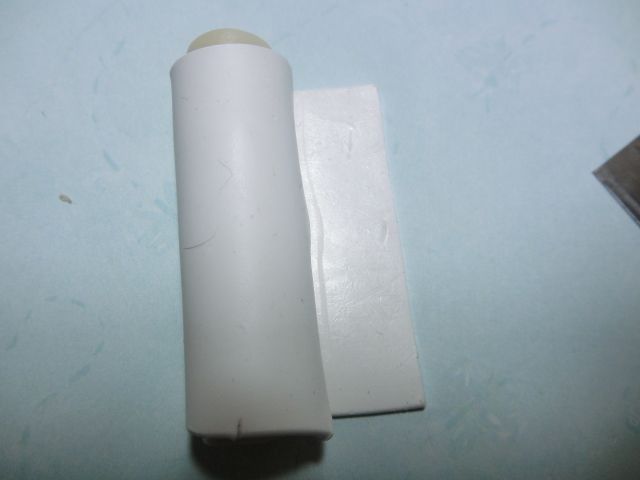
Then roll that in a thinner sheet of clay, followed by a thicker sheet of clay


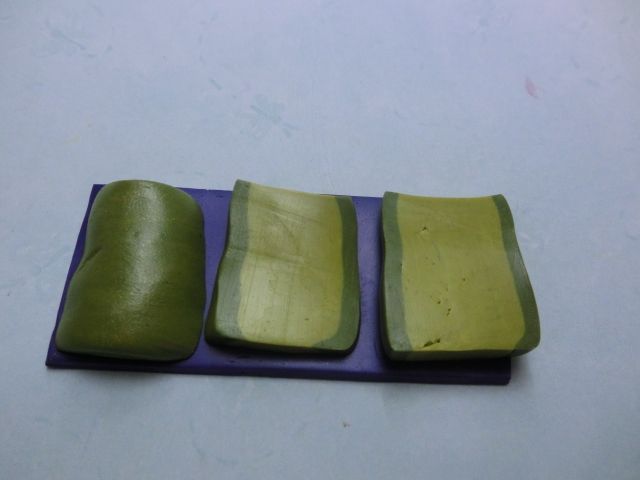
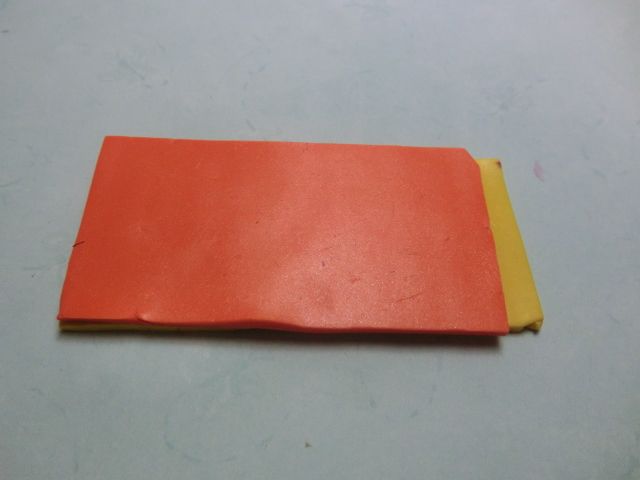
This next couple of steps can be a little tricky...hopefully, I can explain it clearly.  Roll two different colors on the thickest setting.  Stack on top of each other


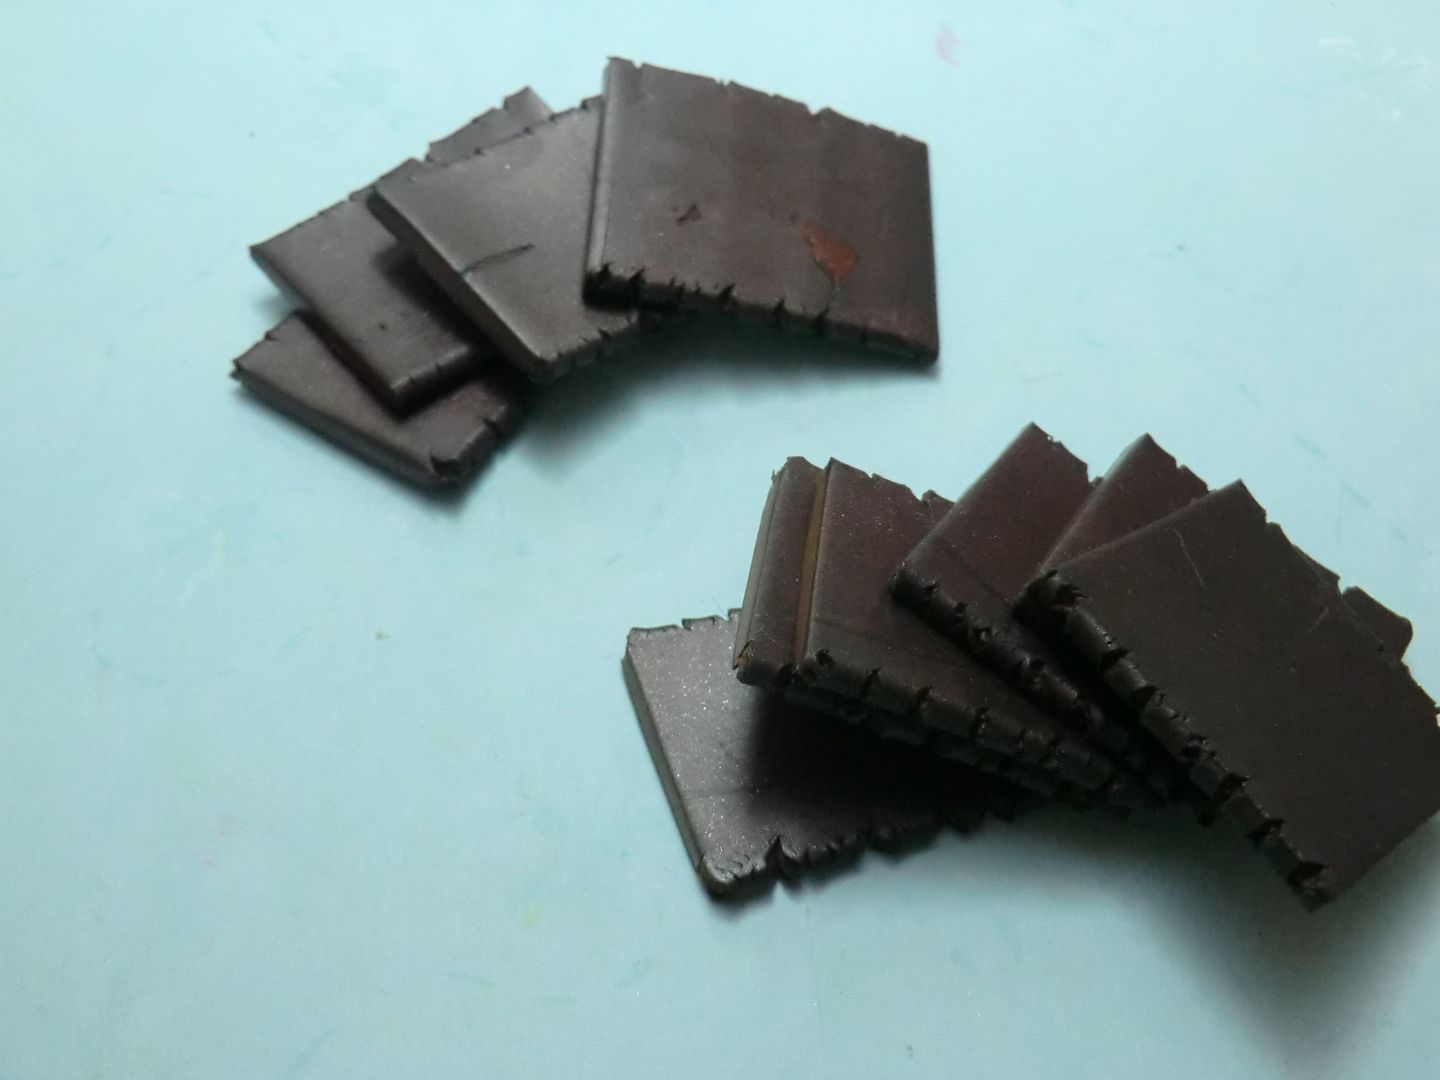
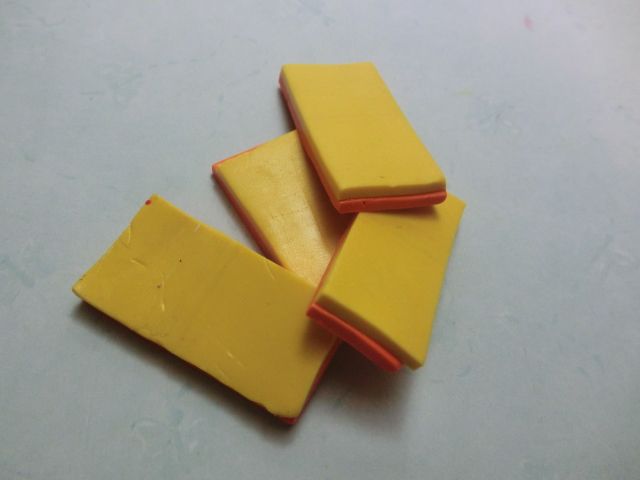
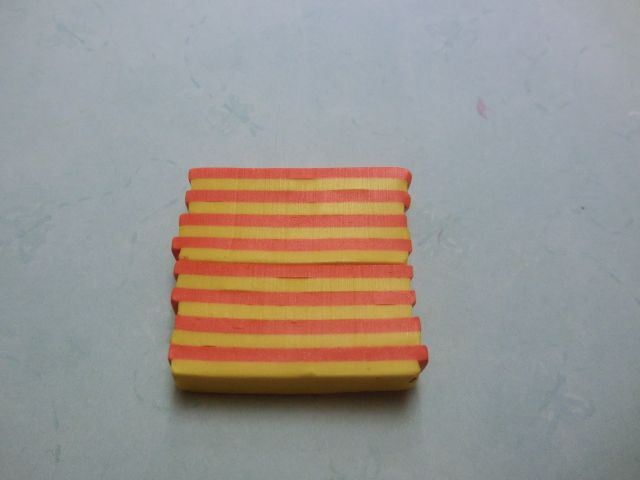
Cut into several stacks (I used four here)


Stack on top of each other


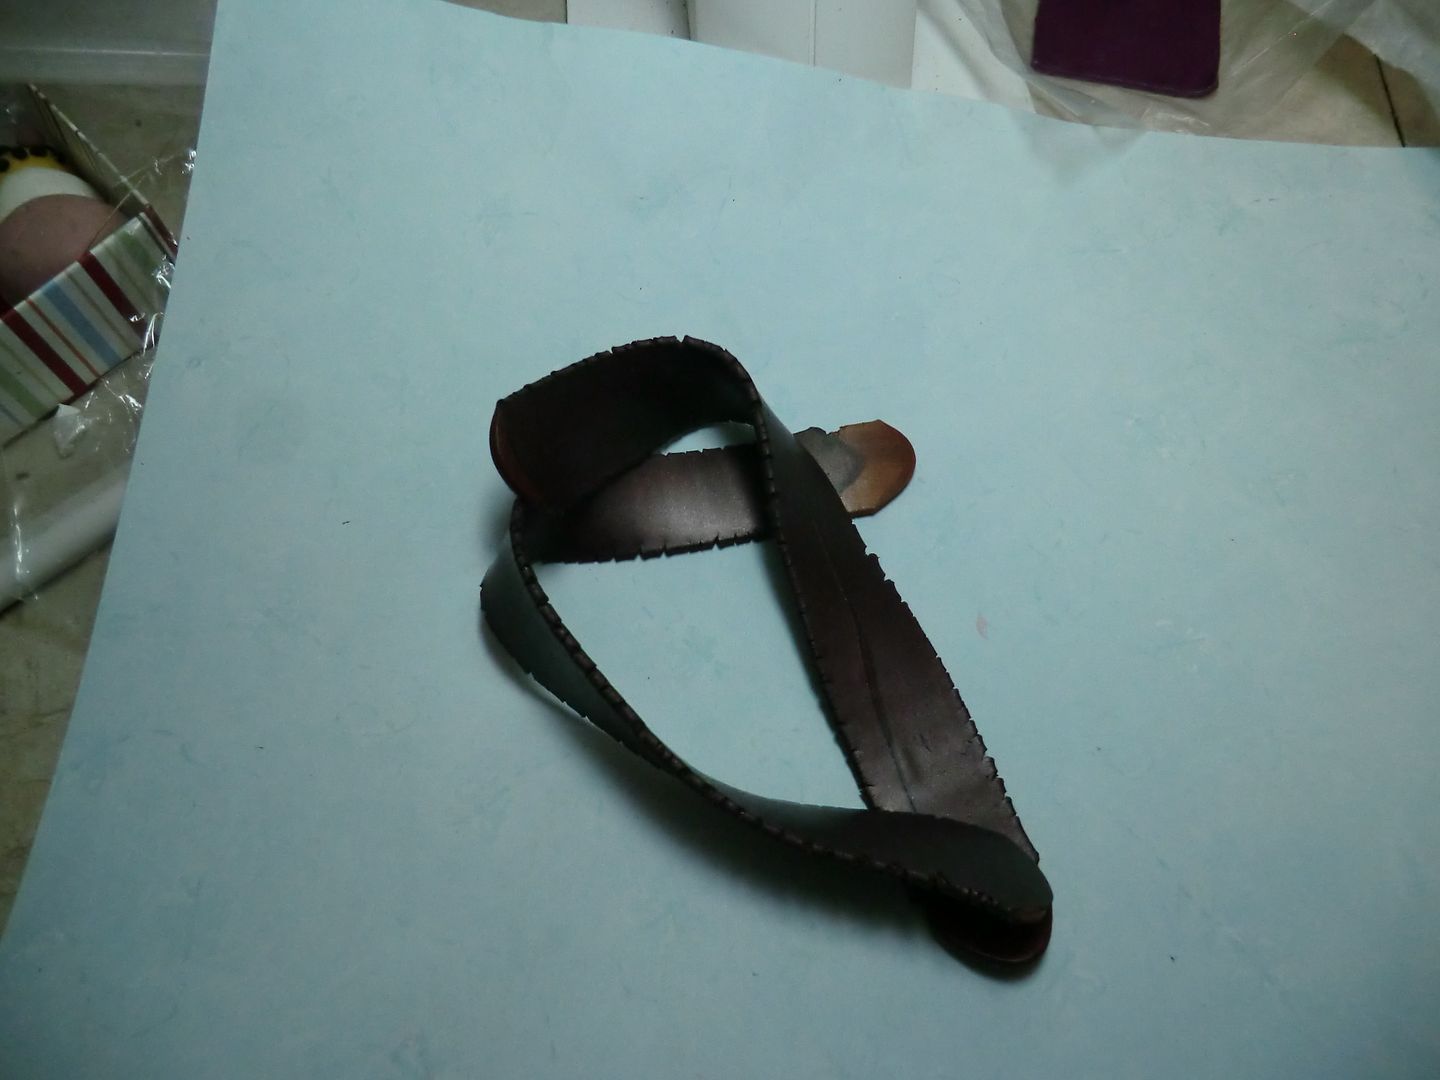
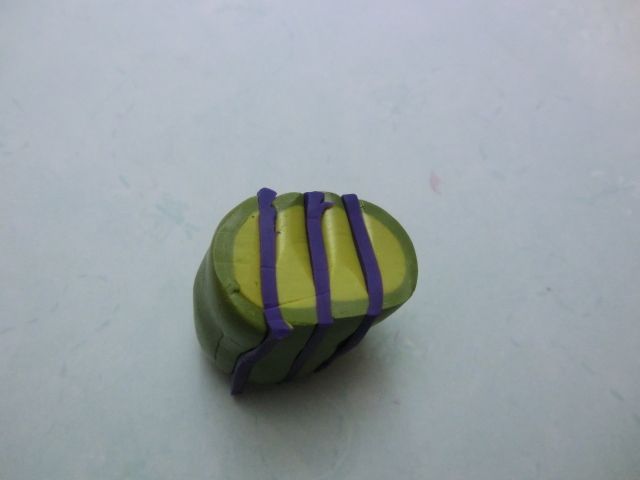
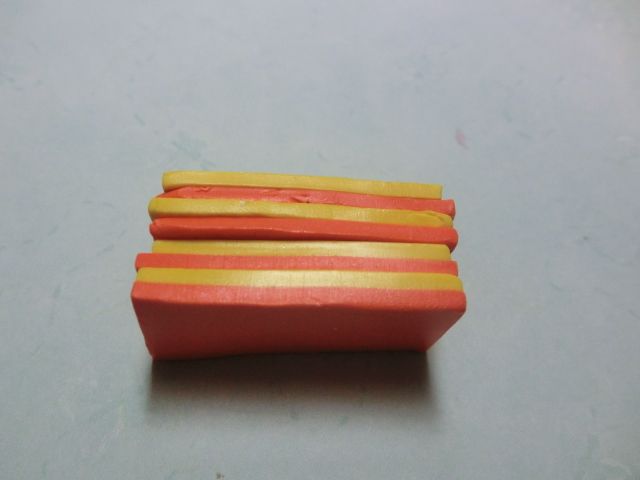
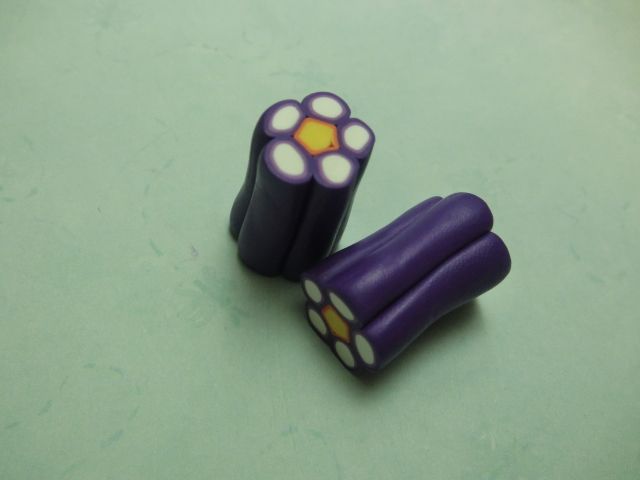
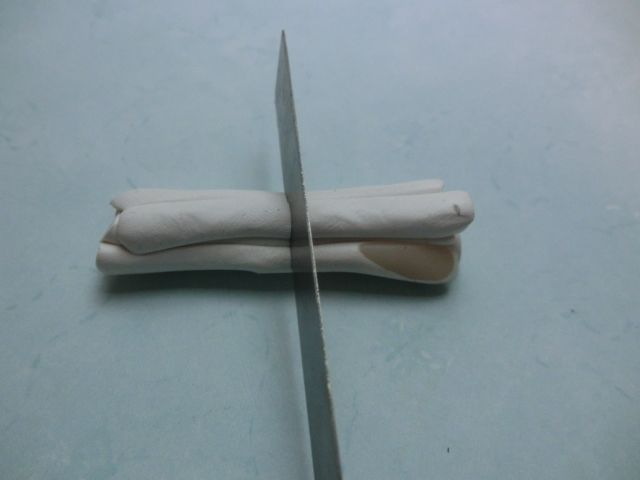
Then slice the stack in half and stack the two halves on top of each other; do it again one or two times (depending on how thick your stack is).  Roll the stack through the pasta machine with the stripes going vertical (you want the clay stack layer to be even thickness without distorting the lines)


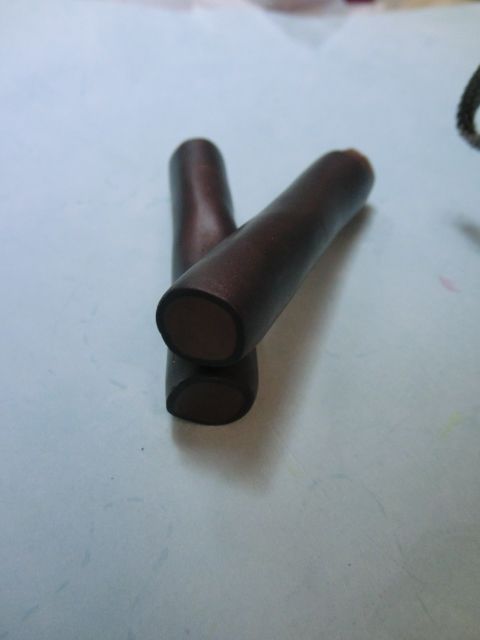
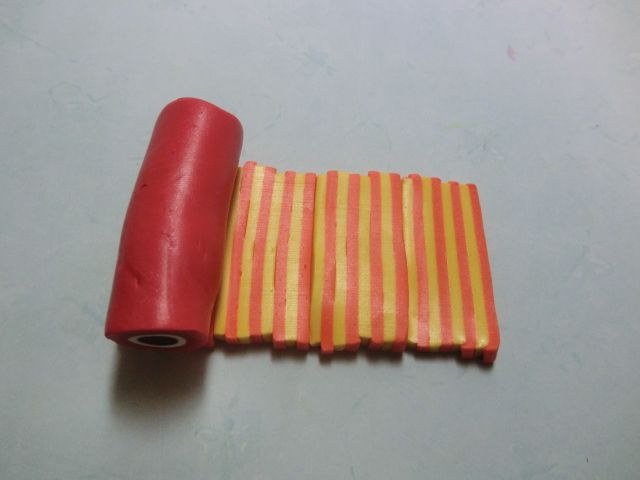
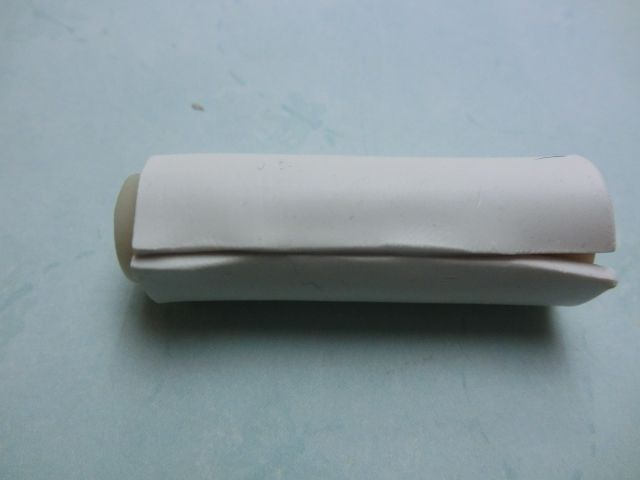
Trim the edges if it's too long for the roll (or roll out the cane to make it fit the sheet...either way works).  Roll the cane in the striped sheet, trimming off excess (if it's too short, reduce the cane before wrapping)


Smooth the layer onto the cane (usually it will gap apart in a couple of places...just mush it back onto the cane and smooth)


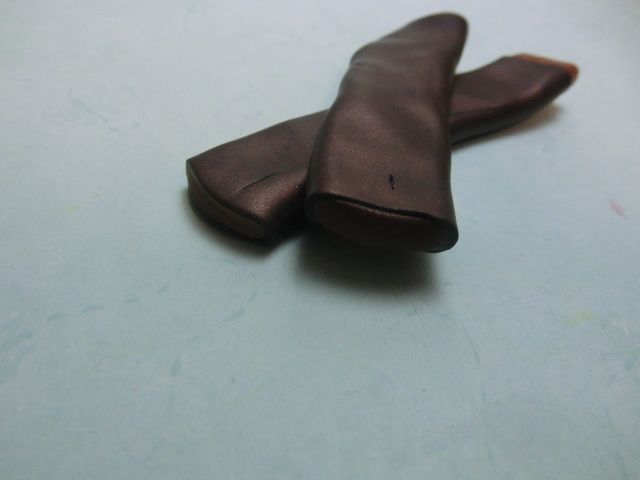
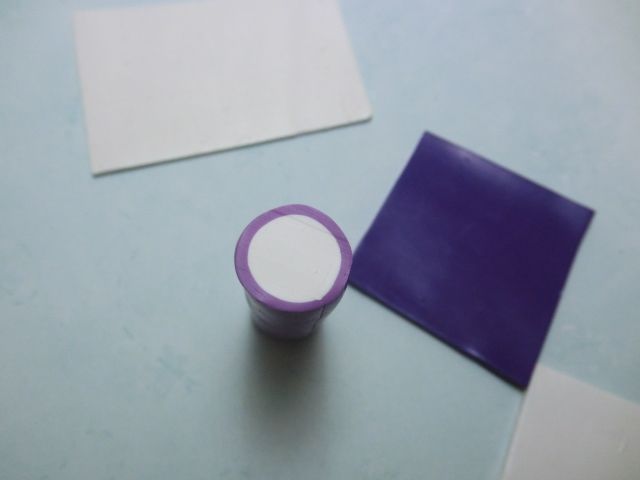
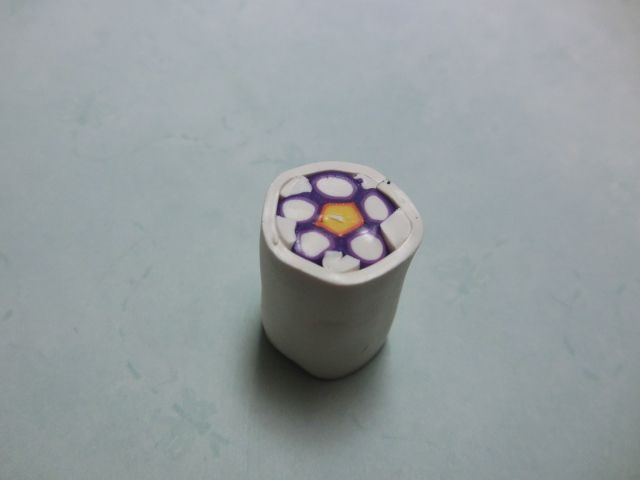
Wrap the cane in a sheet of medium thickness.  Roll two or three colors on a very thin setting, then stack the sheets and roll on a setting that is one or two steps thicker.  When you're dealing with very thin sheets, it's often easier to stack them and roll the cane with the stack, then rolling each sheet individually.  Of course, I may just find it easier because I'm a klutz (Lol!)


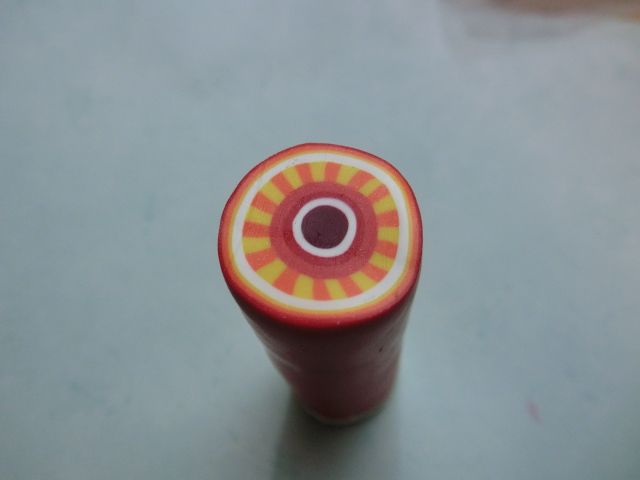
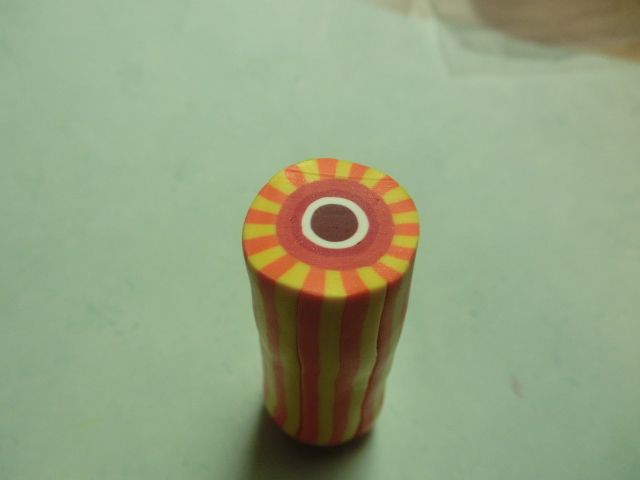
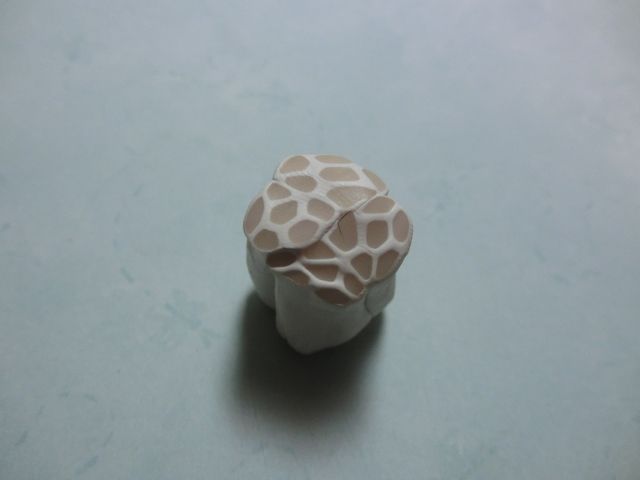
Roll the cane in the resulting sheet


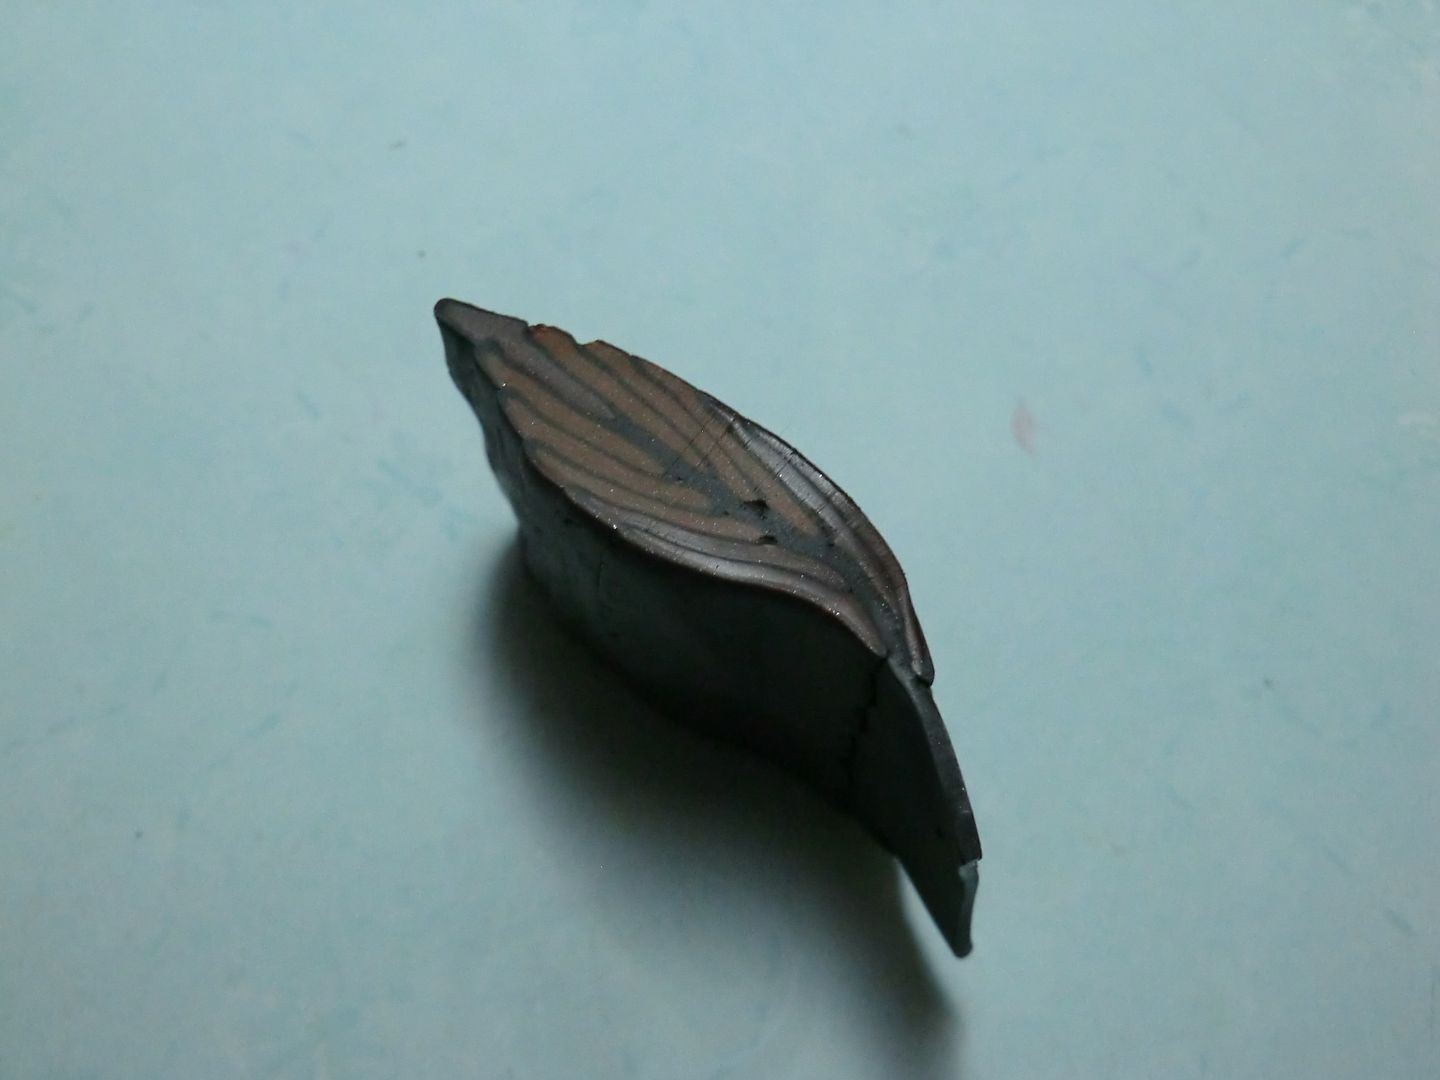
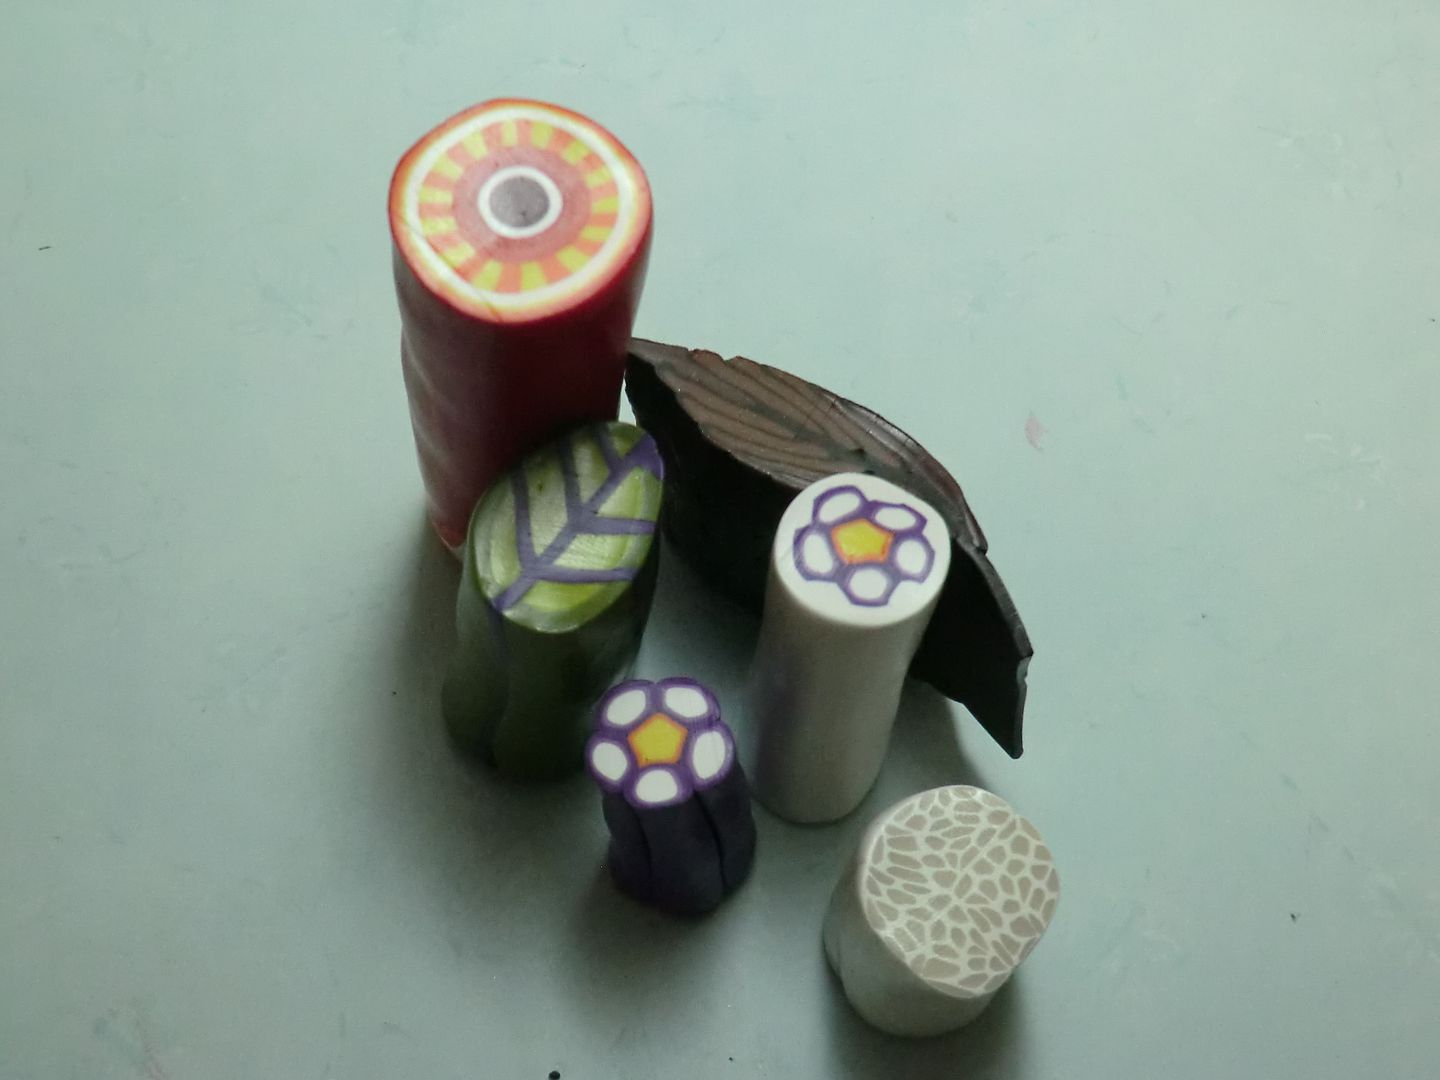
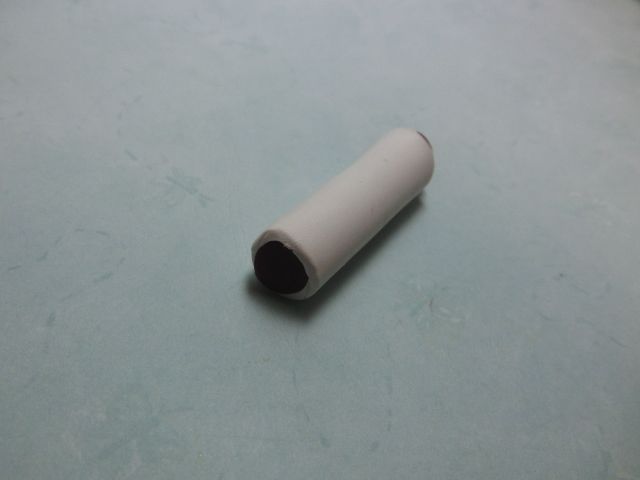
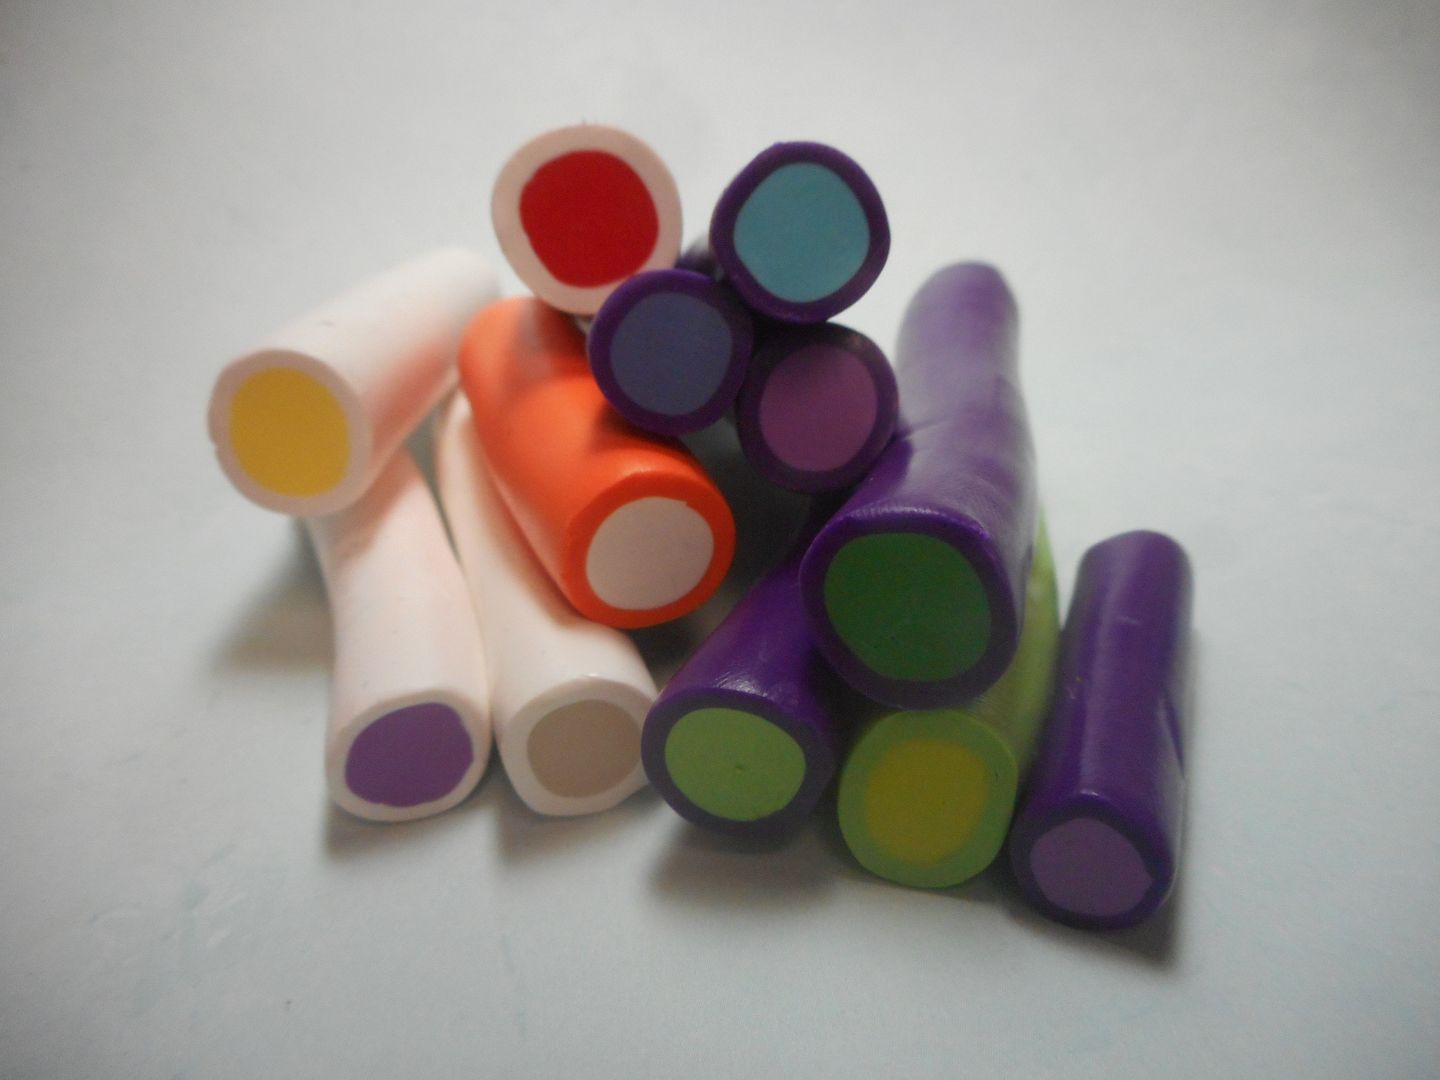
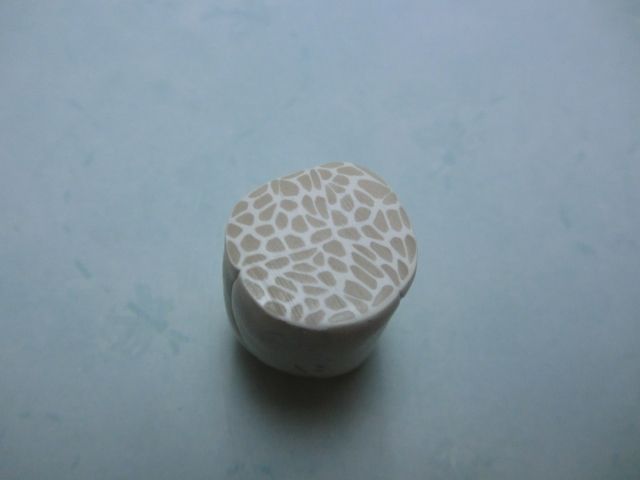
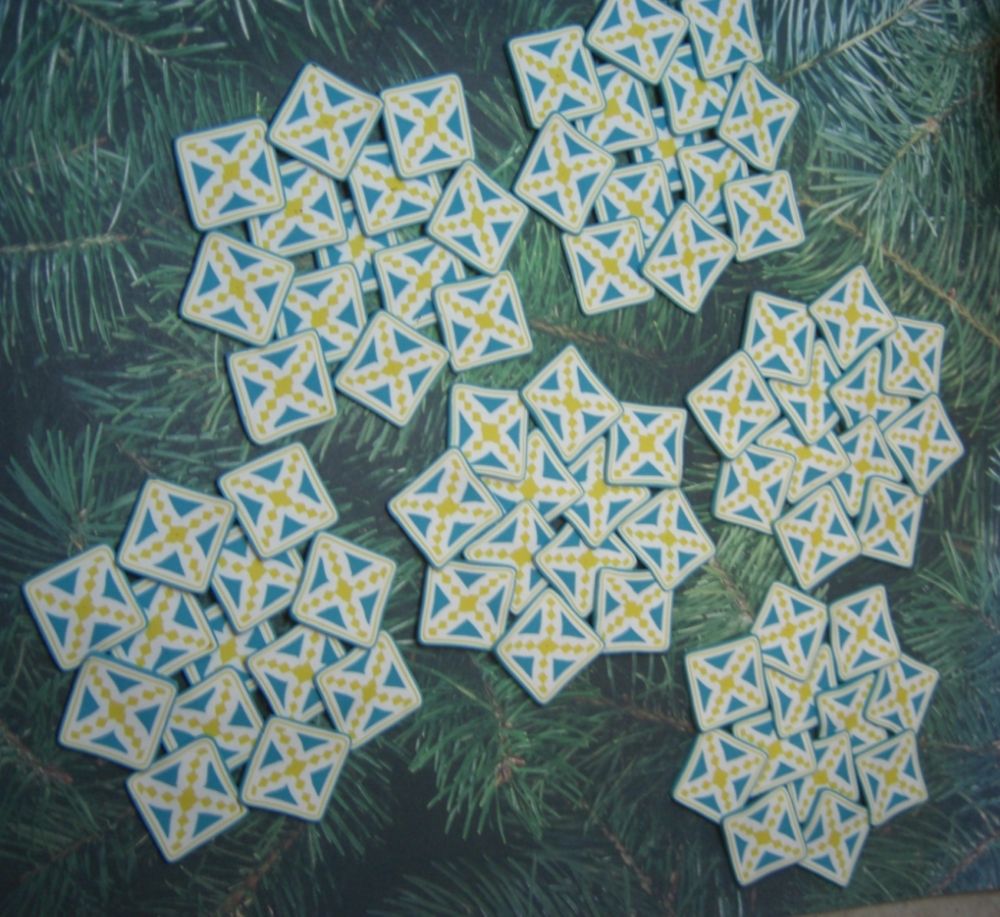
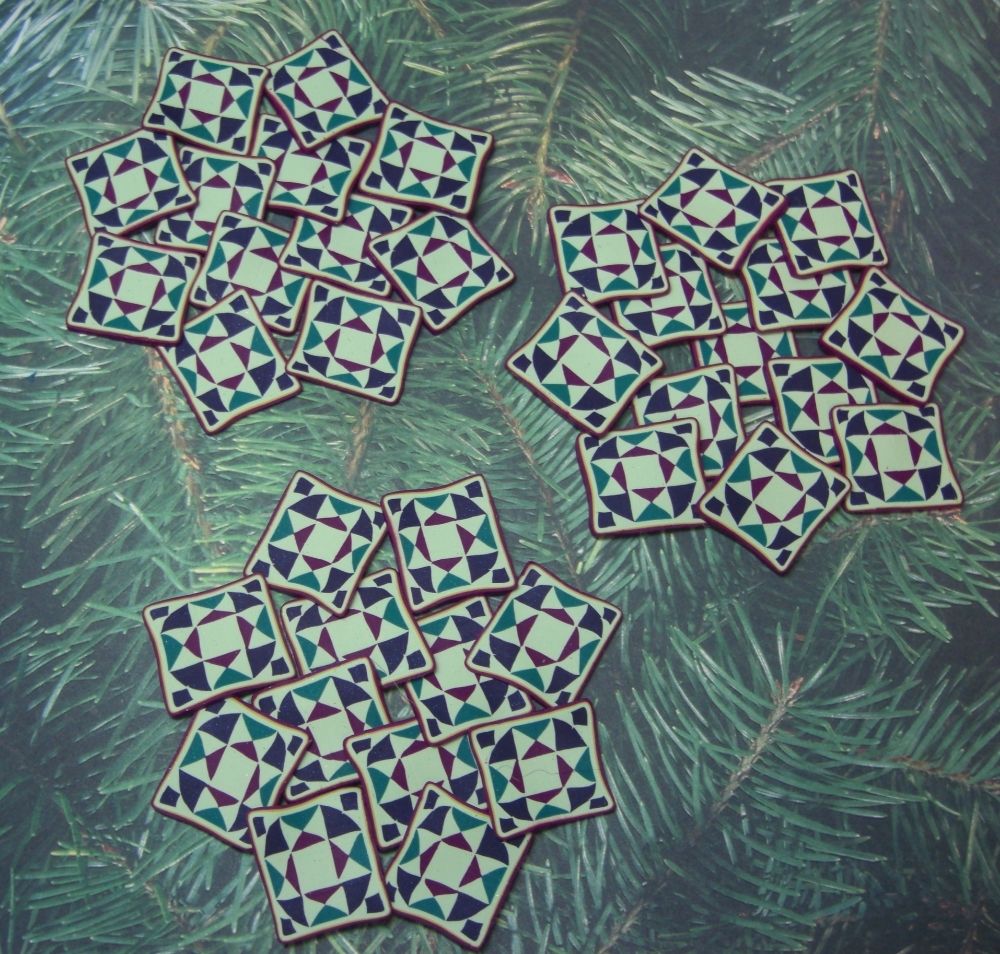
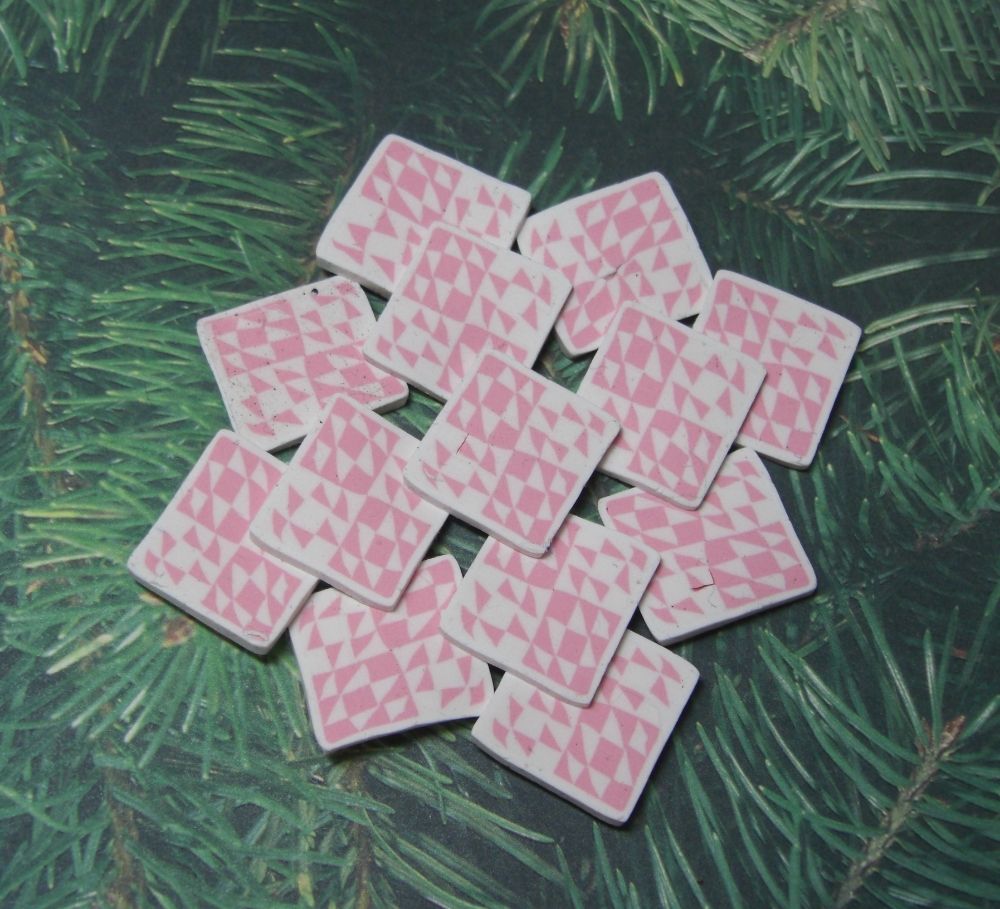
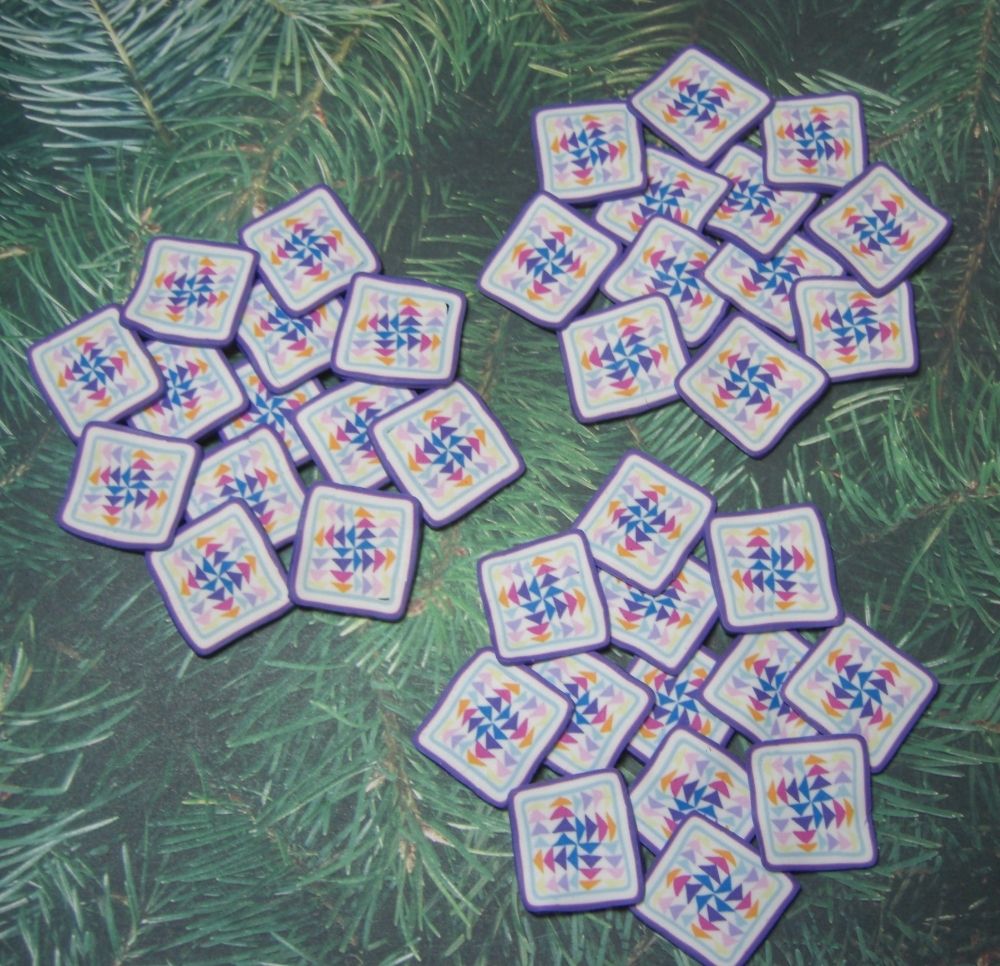
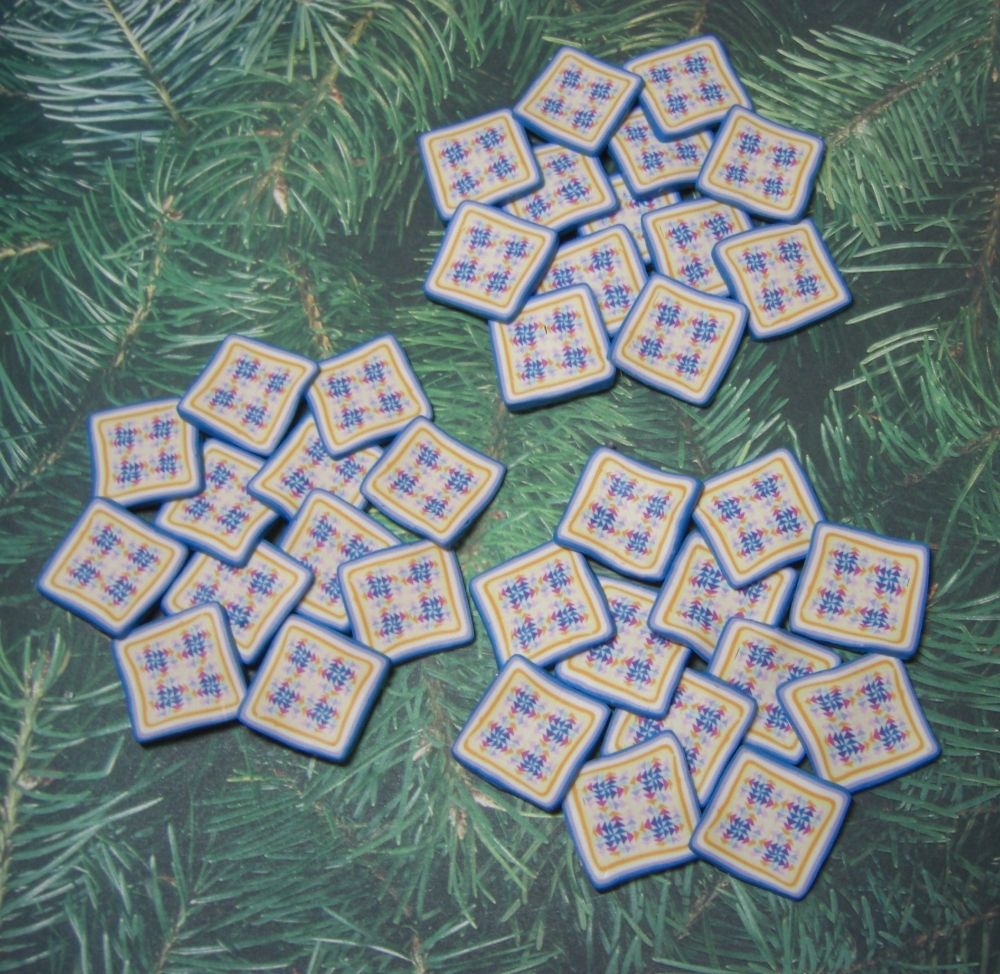
Ta-da!  A complex bullseye cane!

Monday, March 20, 2017

Bullseye Cane Bonanza, Part Two: Flower Cane

A basic flower cane is a bullseye cane for the center, and another bullseye cane (cut four or five or more lengths) for petals.  As with any bullseye cane, it can be as simple or as complicated as you want.  Let's go for simple this time, okay?


Start with the flower center.  I'm using yellow wrapped with orange:


For the petals--a little more fancy...two (count 'em, TWO) colors of purple:


Reduce to a little bit smaller than the center cane (this can vary, depending on how many petals you want...smaller for more, larger for less); cut the number of petals you want, the same length as the flower center:


Place the five (more? less?) petal pieces around the center cane and lightly compress.  There are two options at this point.  You can have a flower without packing.  It's a little tricky to reduce...a matter of pulling the cane rather than compressing and rolling.  Or you can pack the cane with a background color and roll it to reduce.


To pack the cane, form small background triangles to put between each petal:


Then wrap a sheet of background color around the result:


Reduce as desired (and wrap with another color if you like).  Ta-da!  A flower cane!

Bullseye Cane Bonanza, Part One: The Lace Cane


Behold the bullseye cane.  A simple cane, really.  Roll a log of clay; roll out a sheet of clay; wrap the log with the sheet and...ta-da!  A bullseye cane.  But it's also a versatile cane.  Pull up a chair and I'll show you.

First up...the Lace Cane.


You can use any color(s) you like for this cane, but I like the white/translucent combo.  After it's baked, sanded and polished, there is a lot of nice depth to the finished object.  So. Roll a log of translucent clay and roll out a sheet of white clay (I used a log of translucent about 1/2 inch in diameter and a sheet of white on a medium thick setting.


Wrap the log with the sheet of clay to make a bullseye cane.  A tip...lay the log on the end of the sheet and roll until the end of the sheet covers the log and just touches the top of the sheet.  Roll back...see the very slight indentation on the sheet?  That's where you want to make the cut.


Make the cut, then finish rolling the log in the sheet.  The edges should just meet.  If it needs trimming, do it now.

Reduce the cane until it's about five or six times the original length; cut the cane into five or six equal lengths. 


Put the pieces together rather haphazardly...nice and neat is NOT the goal.  We're looking for something a little more organic and irregular:


Reduce to two or three times it's length and cut into a couple (or three...or more!) pieces.  Again, we're going for a rather irregular look.  Put the pieces together and reduce once again (I don't usually trim the ends until the final assembly of the cane):


Aaaannd, one more time!


Roll the cane smooth.  You can reduce another time or two, or reduce a time or two less.  It depends on how fine or coarse you want your lacy cane to be.
Lace Cane...ta-da!

Monday, April 27, 2015

The breakdown...

So here's a close up/breakdown of my recent ornament frenzy:

Sagebrush:

Diagonal Four Patch Chain:

Aunt Dinah:

Bear's Paw:

Mosaic:

?? (I'll have to look this one up):

Wild Goose Chase:


Another one I'll have to look up:

This one, too...

Flying Geese:


Phew!  I think that's it.