
It's a little sloppy looking, so why don't we cut the ends off to even it up a bit. There--a nice bead you can put on a necklace and be proud of.

But...maybe we can change it up a bit. Sometimes, when I'm tweaking a Natasha bead, I'll put it on a needle to make it easier to shape without losing the bead hole. Press gently on opposite sides of the end of the bead, then rotate and do the same on the other two sides.
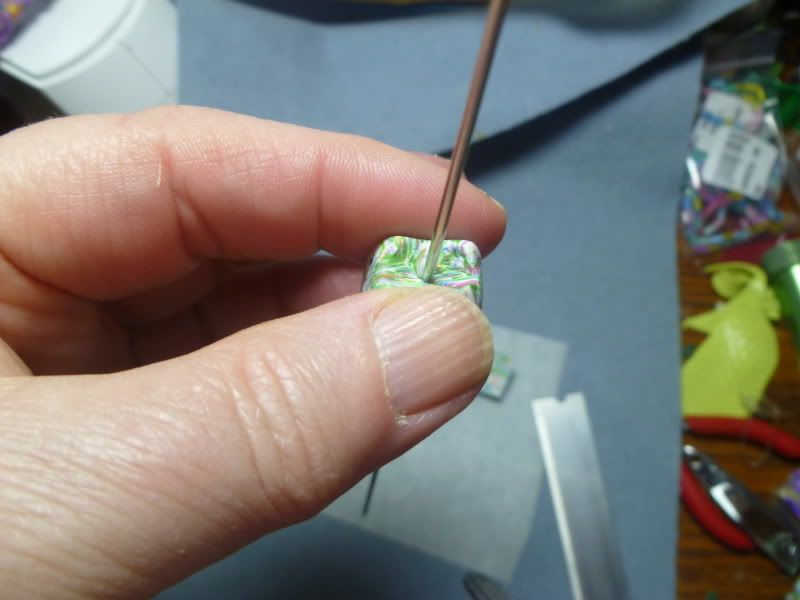
Keep pressing and rotating until the corners reach up and touch each other and the needle. You don't need to slam it into position--if you press it slowly and gently, there is less distortion and it looks a bit better.

The finished bead...
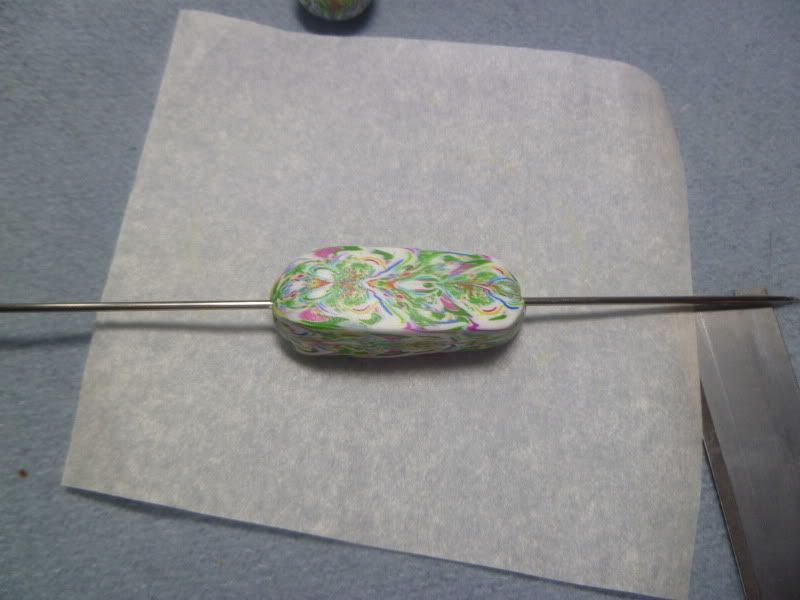
I stretched the bead out a bit. Now at this point, you can bake your bead. But there are a couple of other things you can do with it before that. I'll post about them over the next few days....
No comments:
Post a Comment