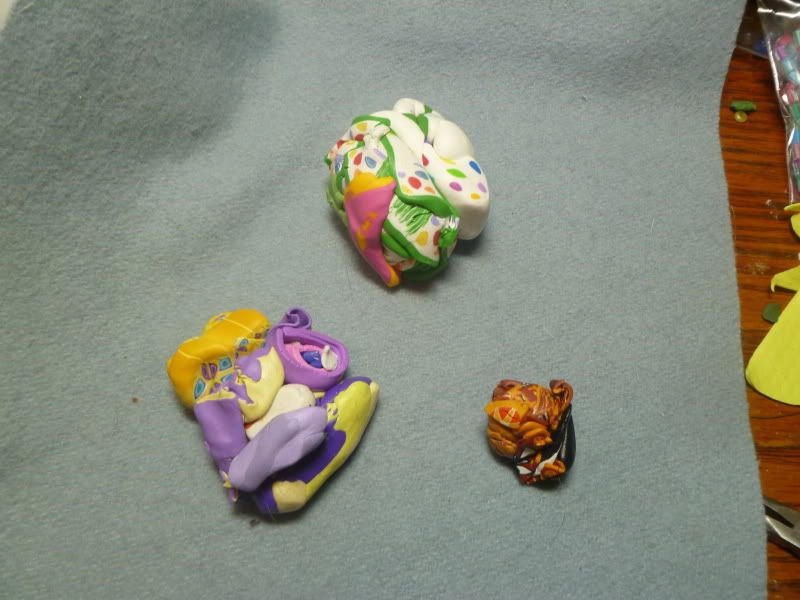
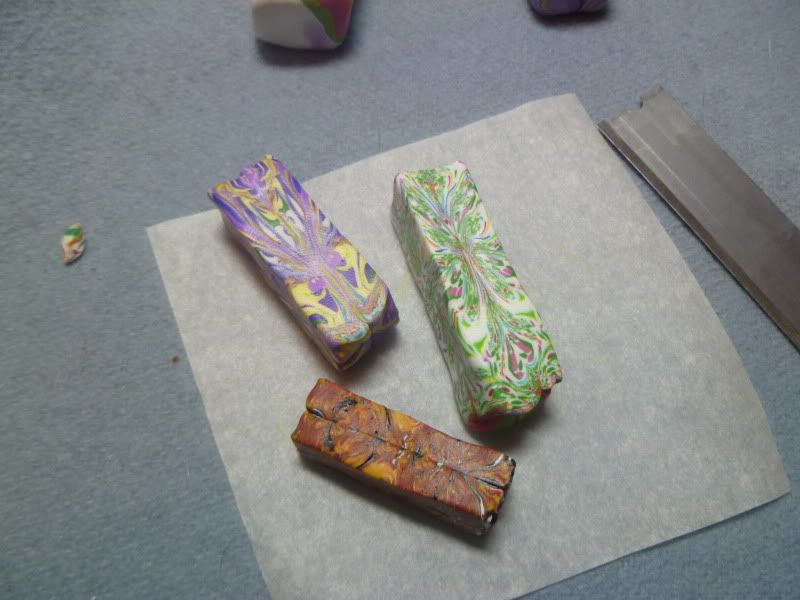
First, grab some scrap clay--any color, any number of colors (well, at least two), cane ends, mokume scraps, fresh colors--whatever you want. Here's three scrap piles for example.
I kind of like coordinating colors, but you'd be surprised at the coolest beads you can make with colors that you'd never think would go together. So go ahead and experiment--you can always use the ones that don't turn out for bead guts or whatever you use scrap clay for.
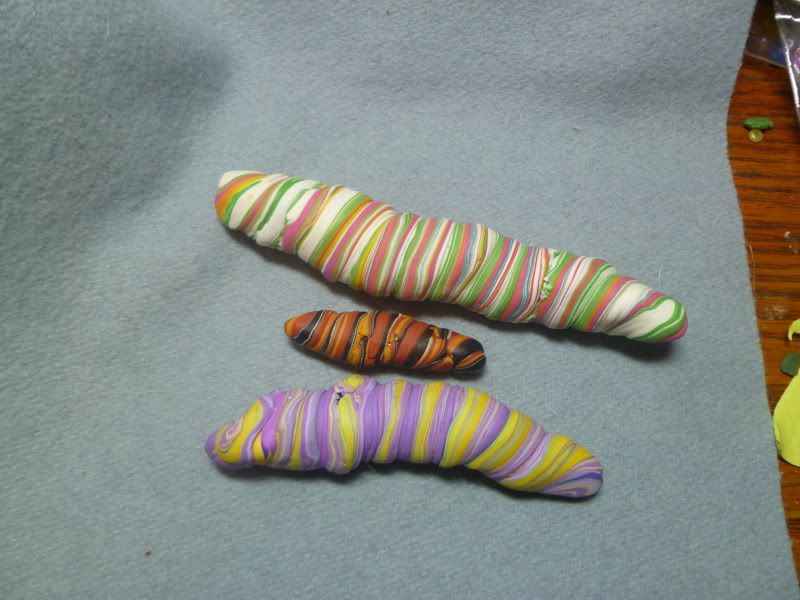
Roll the scraps together and fold over a couple of times and then roll into a smooth log. Twist the log, and twist, twist, twist. Sometimes the clay cracks and breaks apart--just roll it back together and twist a little more.
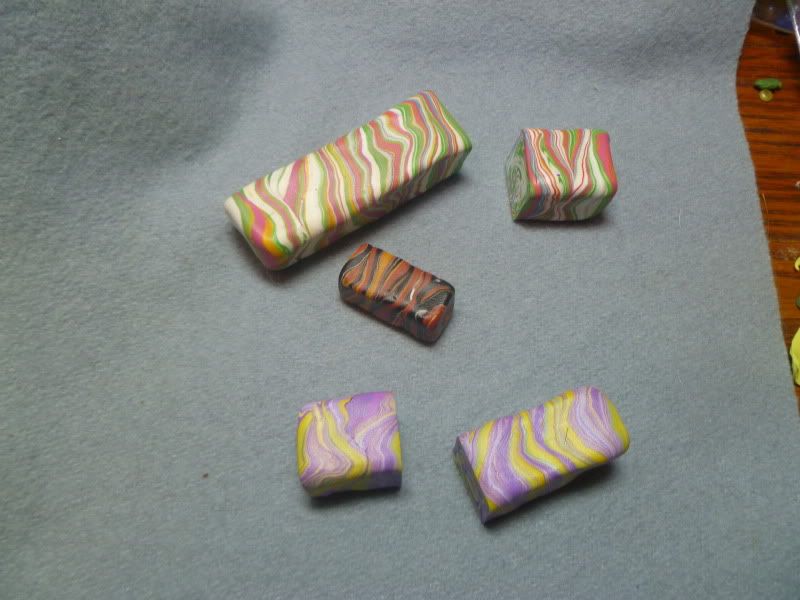
Roll the log smooth and then form into a square bar.
If you have a big bar, just cut off a piece that is the size you want for a bead (if it's too big, you can cut it down later).
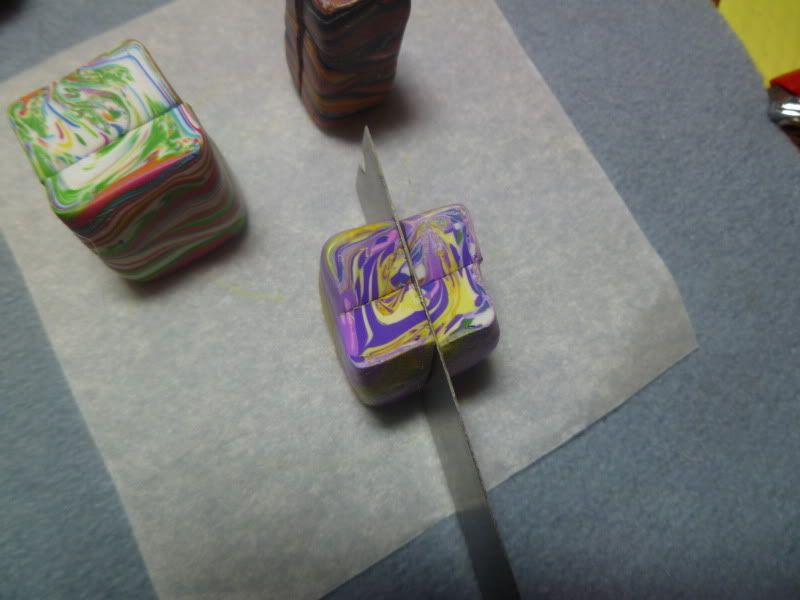
I tend to make my beads a little differently than most of the tutorials I've seen--it just seems to work for me. Set your piece on end; I find that a squat little piece works better than a taller, thinner piece--it can always be stretched out later.
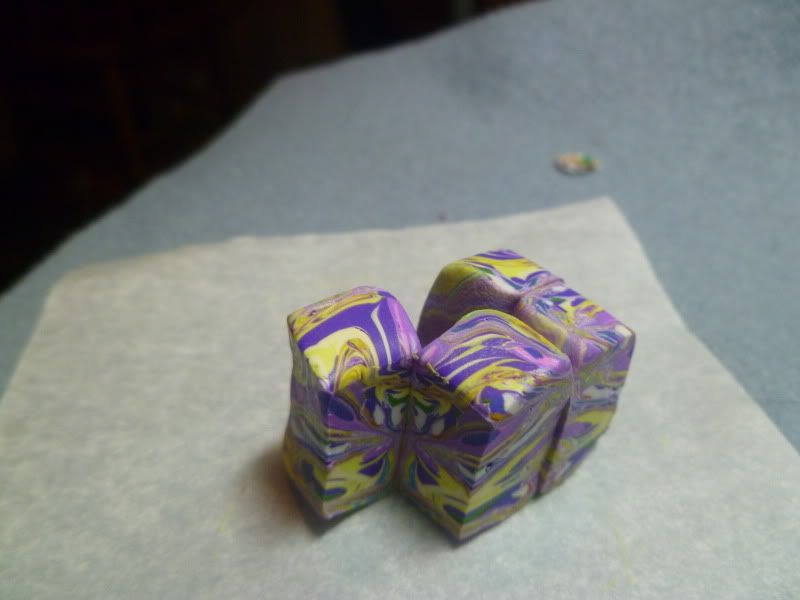
Cut down through the piece, cutting it in half (but don't move the resulting pieces just yet). Rotate the piece (it helps if it's set on a piece of parchment paper, or something that can be rotated) 90 degrees and cut through the piece again. You'll have four pieces still together.
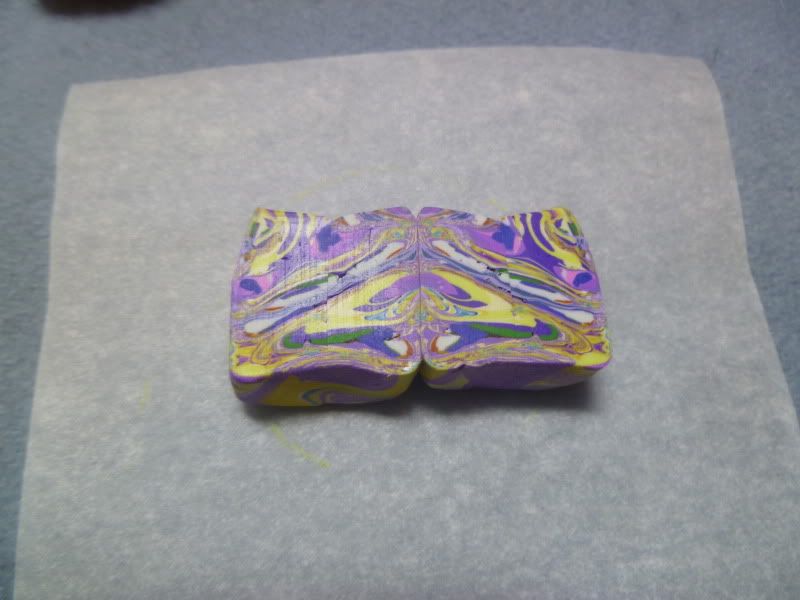
Now for the reveal! Place your piece on its side and open it up.
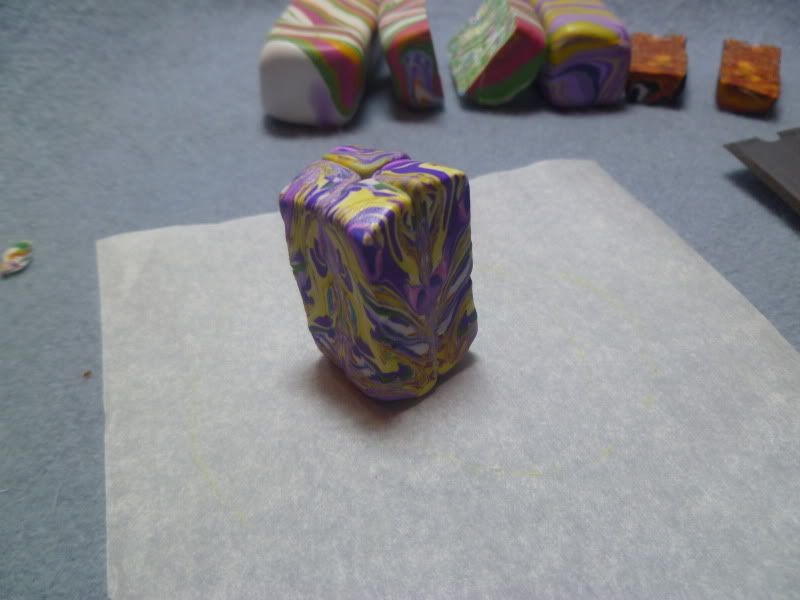
Cool, huh? Now rotate the other two sides around to the back and compress the four pieces together and smooth the joins. Stretch the bead to your desired length.
At this point you've got a cool looking bead. Poke a hole in it...but wait! There are all kinds of things you can do with the bead at this point. Stay tuned for future posts!
*Natasha beads are also known as kaleidoscope beads, magic beads, inside-out beads, Rorschach beads, mirror-image beads, and who knows what else beads. I learned it as a Natasha bead, so I'm sticking with that....

No comments:
Post a Comment