- I STARTED Early--Took my Dog--And visited the Sea--
- The Mermaids in the Basement Came out to look at me
Sunday, April 27, 2014
So what do you do with all those cane ends? Part One
I'm so glad you asked! Now I'm sure there are a LOT of people out there who are very patient and careful with their canes and have almost no waste. Um...not me. I'm far too impatient, so I tend to have a lot of waste at the ends (see above). Never fear, though, I've come up with a few things to do with them. Buckle up, kiddies...this will take a while.
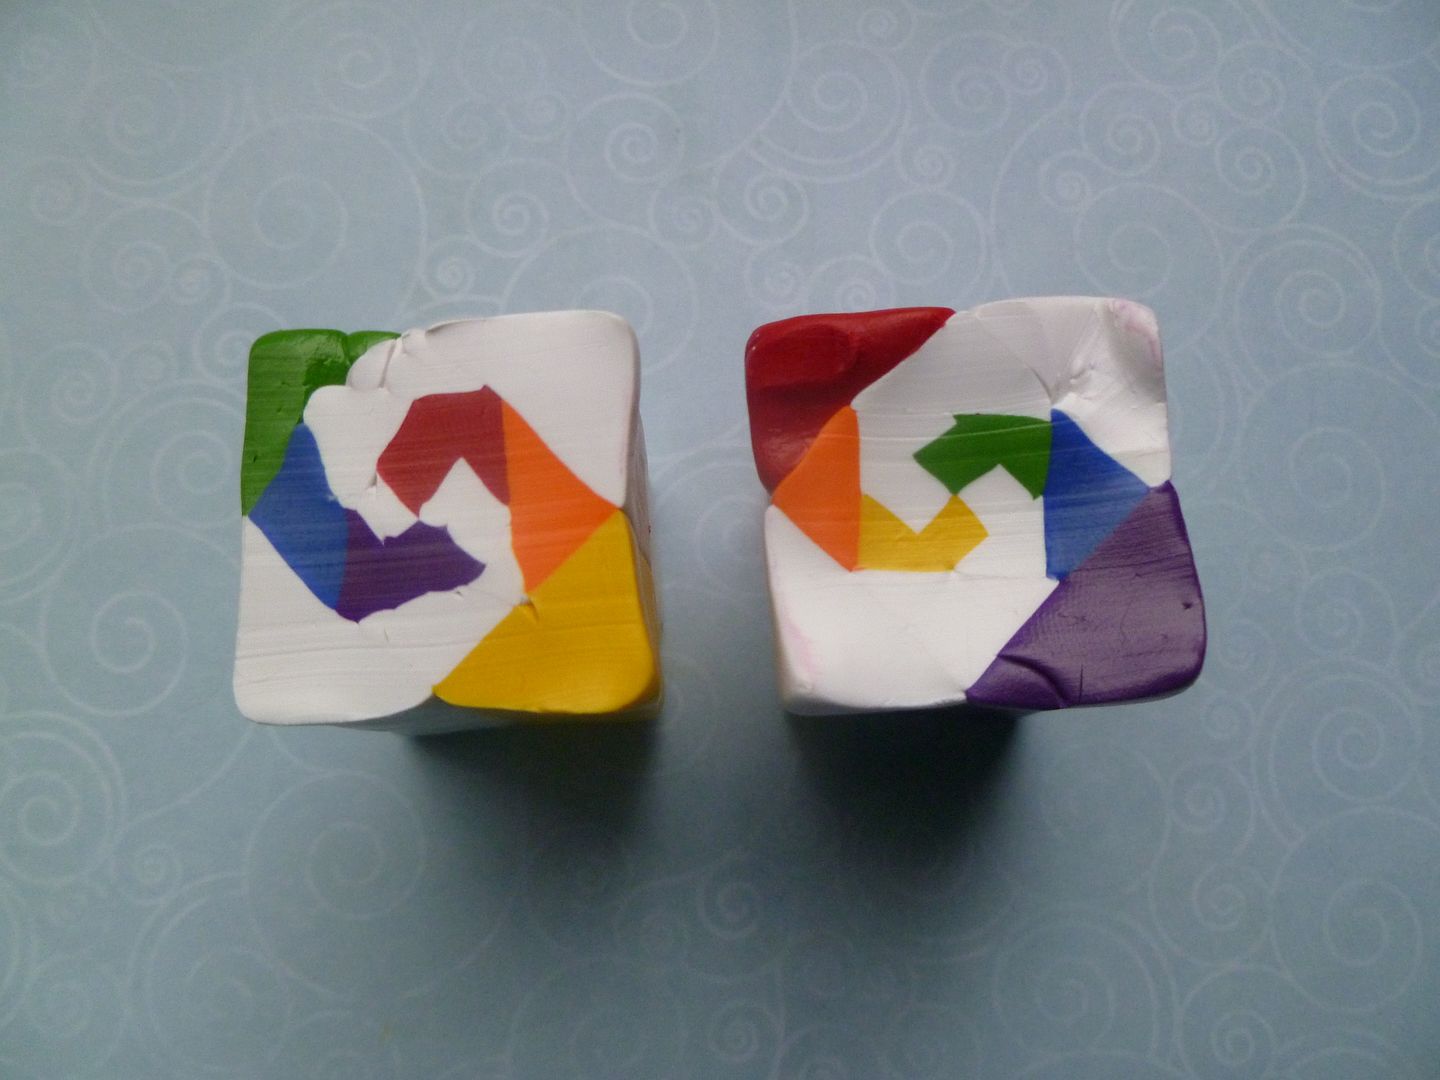
So let's take a closer look...here are the cane ends from the rainbow cane I did a bit ago:
I'm going to flatten these things and run them through the pasta machine. I'm going for the crushed ikat, but like almost everything else, there are choices. I'm going to compress one so the colors are on the outside ends and one so that the white is on the outside ends. Here, let me show you:
Heh. How fortunate that I have two pieces each, so I don't need to make a choice. Anyway, flatten them good and then run them through the pasta machine:
Fold them over:
and over again:
then once more through the pasta machine:
Hmmm...let's see what that looks like, shall we?
If you like the look, go ahead and cut and stack them up; otherwise fold and run through the machine again. I wound up running them through one more time and then started cutting and stacking:
Ack! Choices again! I think this post is getting pretty long...I'll get into the options in part two....
Saturday, April 26, 2014
Little Wolfie...
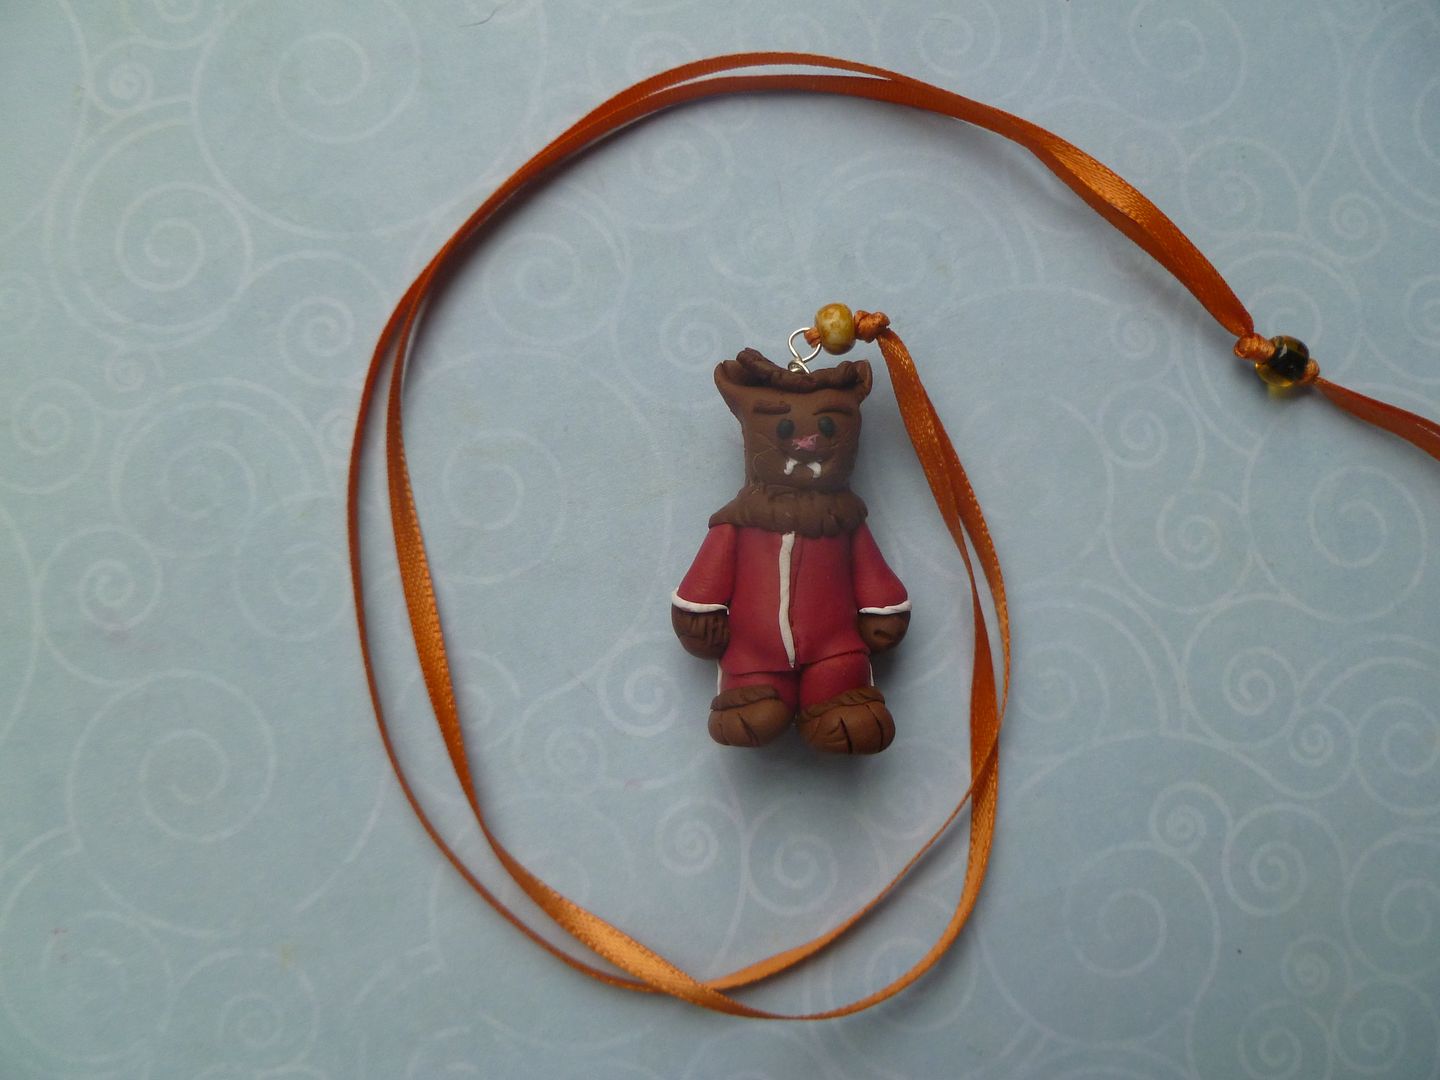
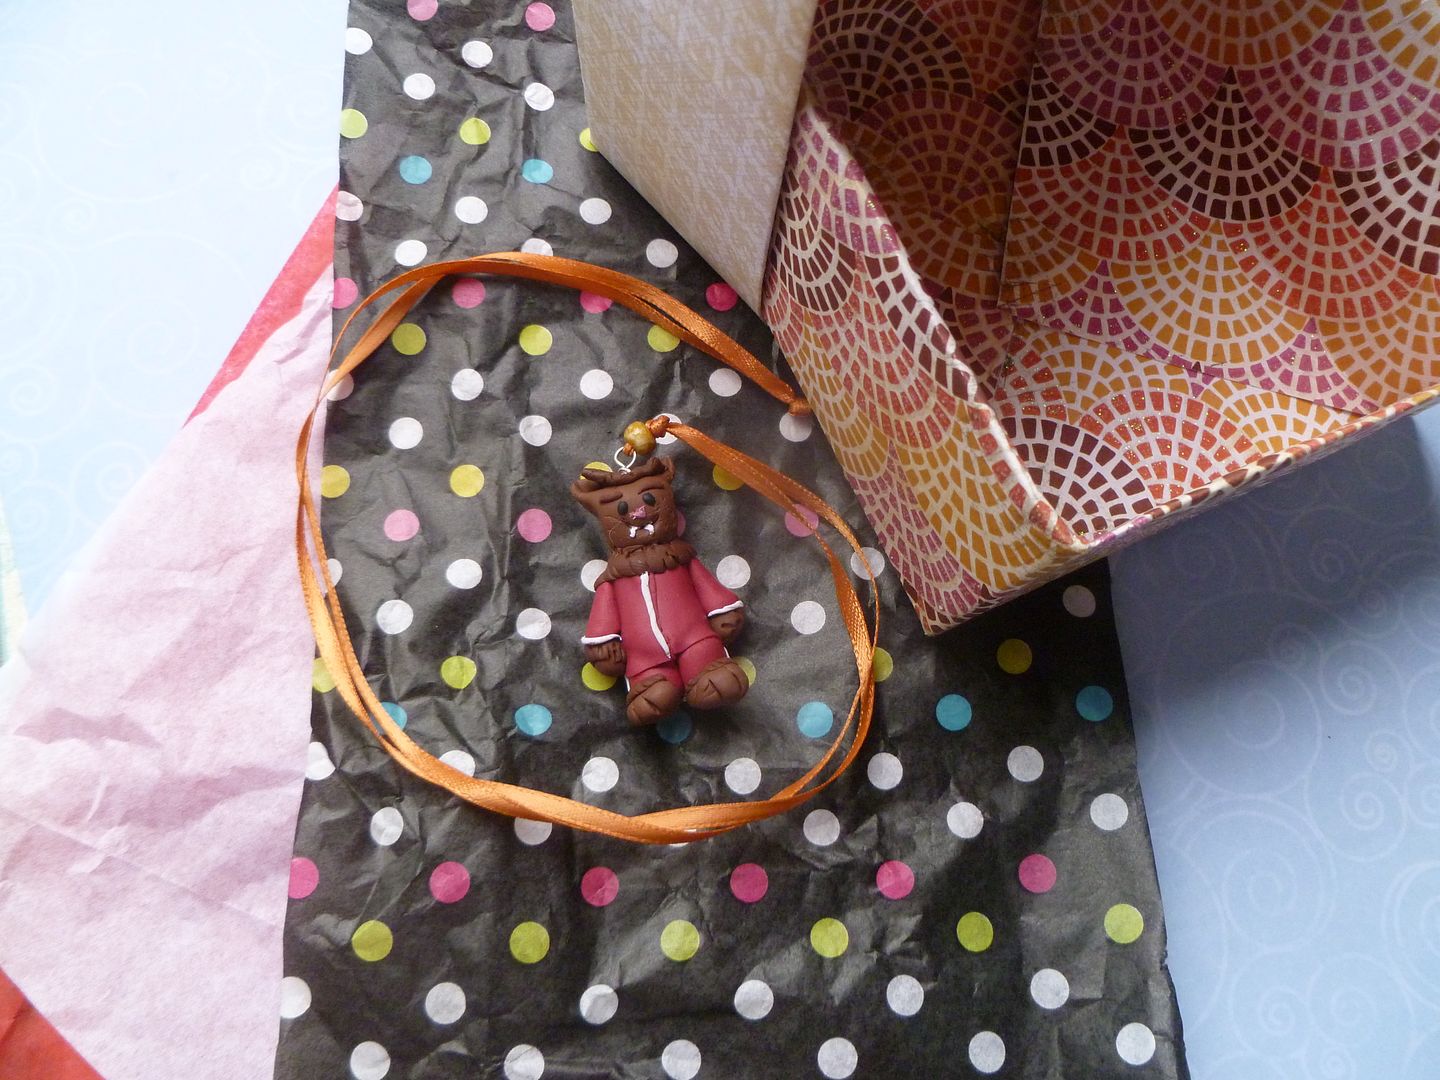
Remember last year (for the Emerald City Comic Con) when I made a "Little Vampire" necklace for Rebecca at Lunasea Studios? Well this year I made a little wolfman:
...Getting it right!
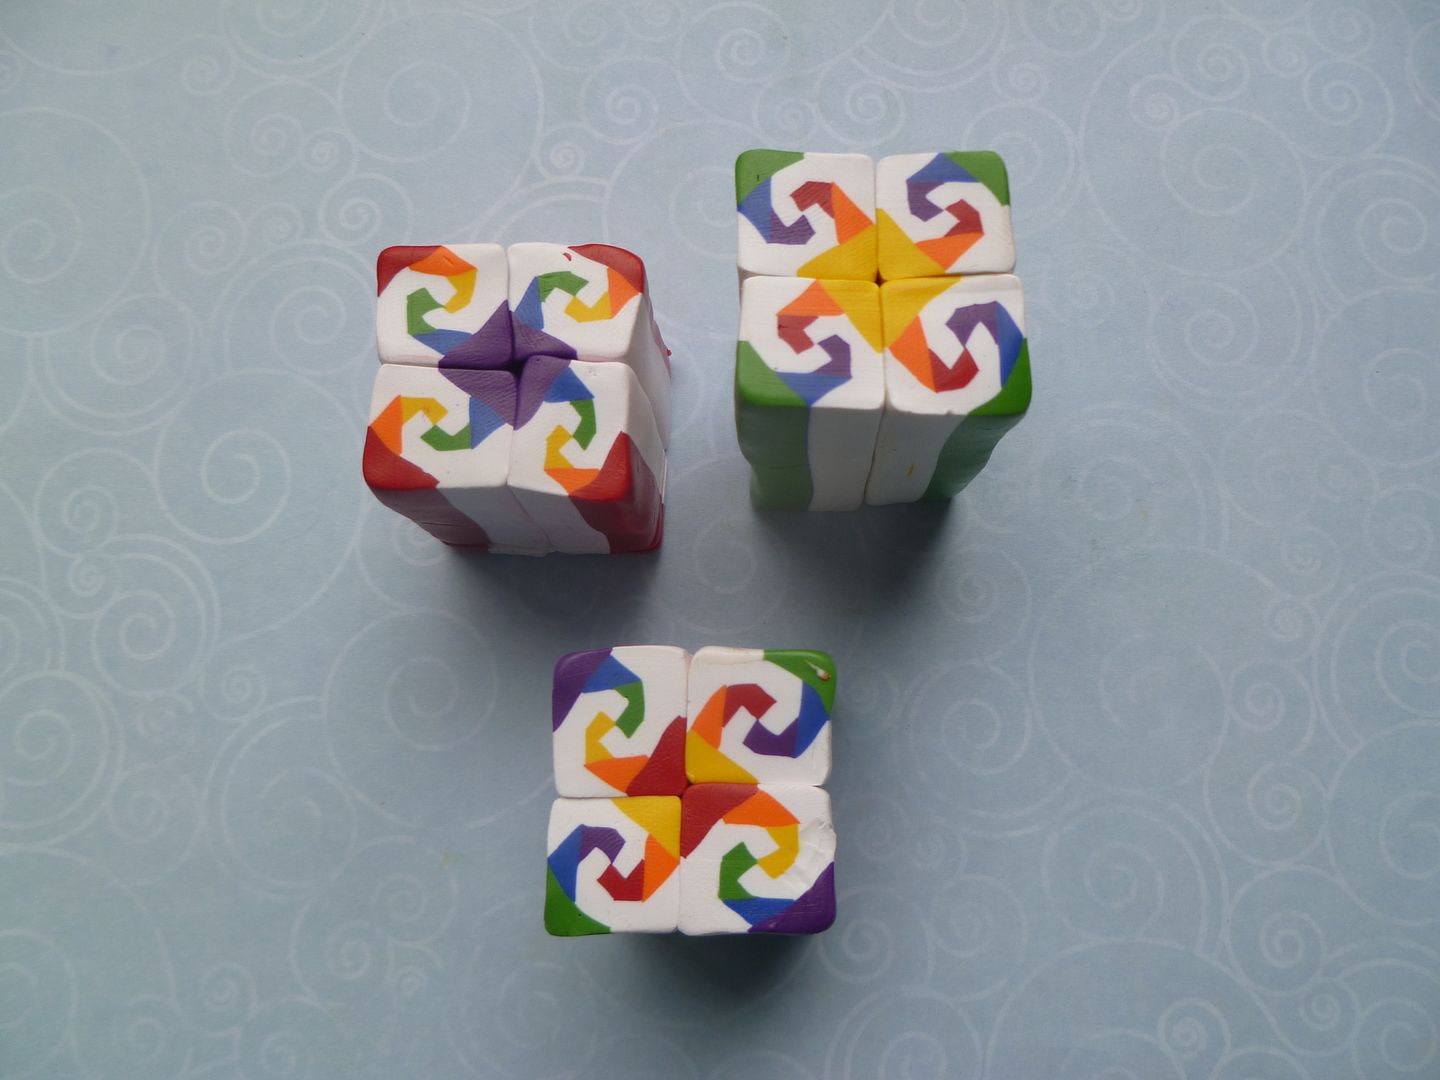
After shading from light to dark in the orange and purple snail's trail cane, I thought...hmmm, what if I used a rainbow of colors:
I put the cool colors on one side and the warm colors on the other. I made two different canes, green/blue/purple and yellow/orange/red and then red/orange/yellow and green/blue/purple.
Here's how it turned out; (I had enough cane left to make a third cane combining the two...it's on the bottom):
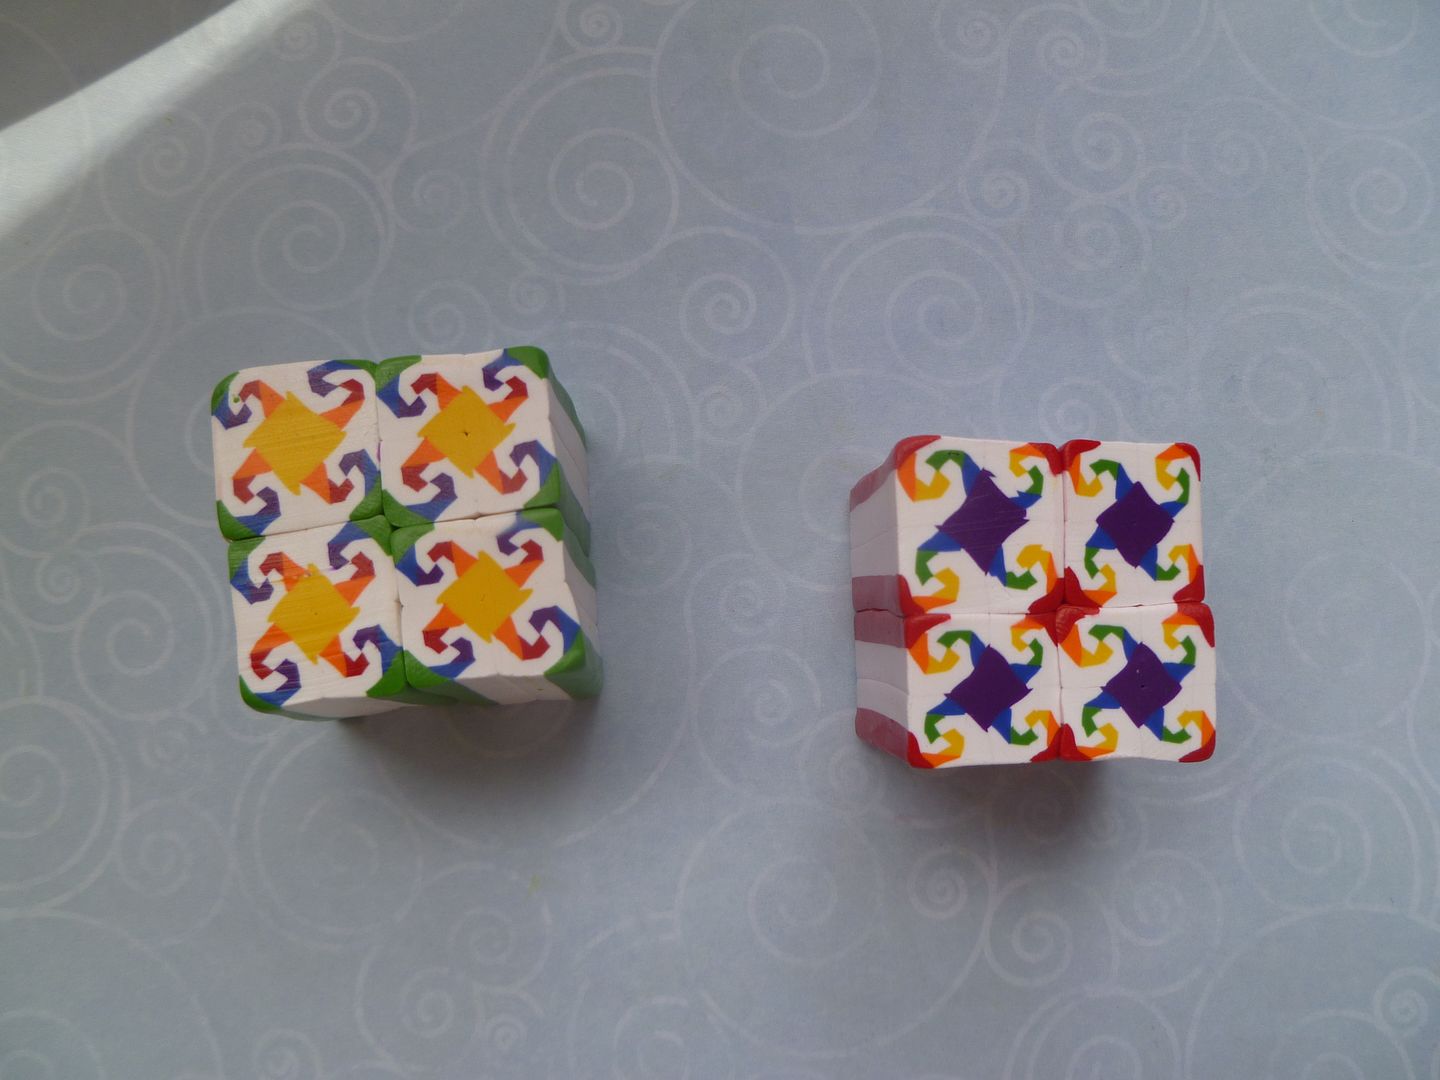
And after one more reduction:
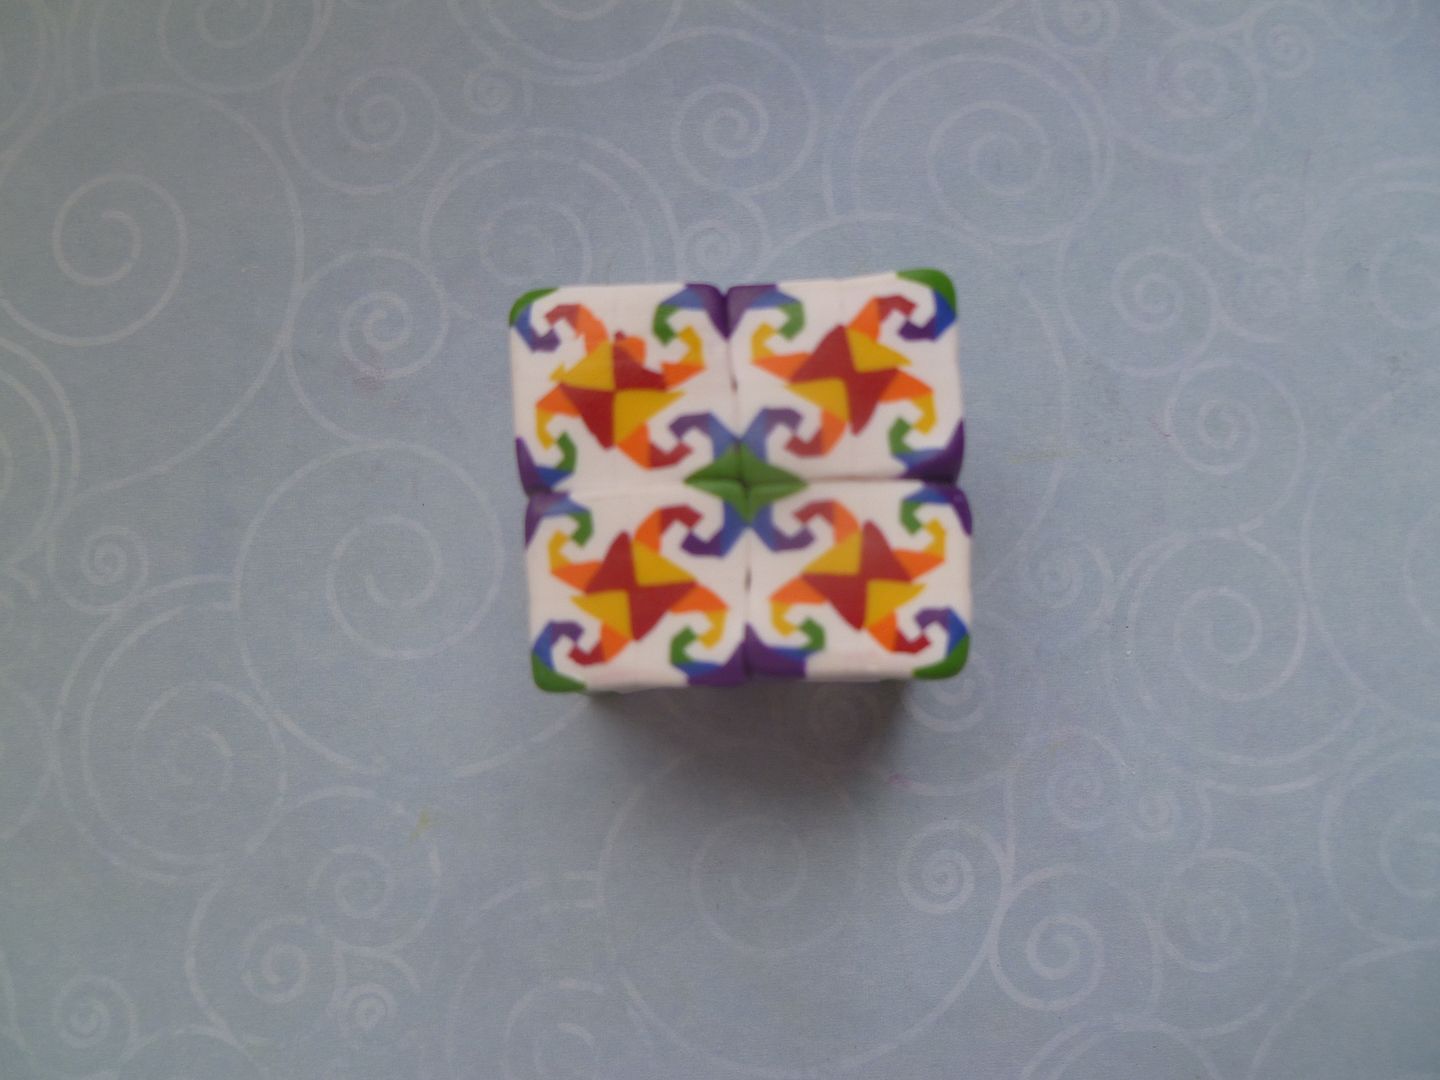
I put the combo cane together a slightly different way:
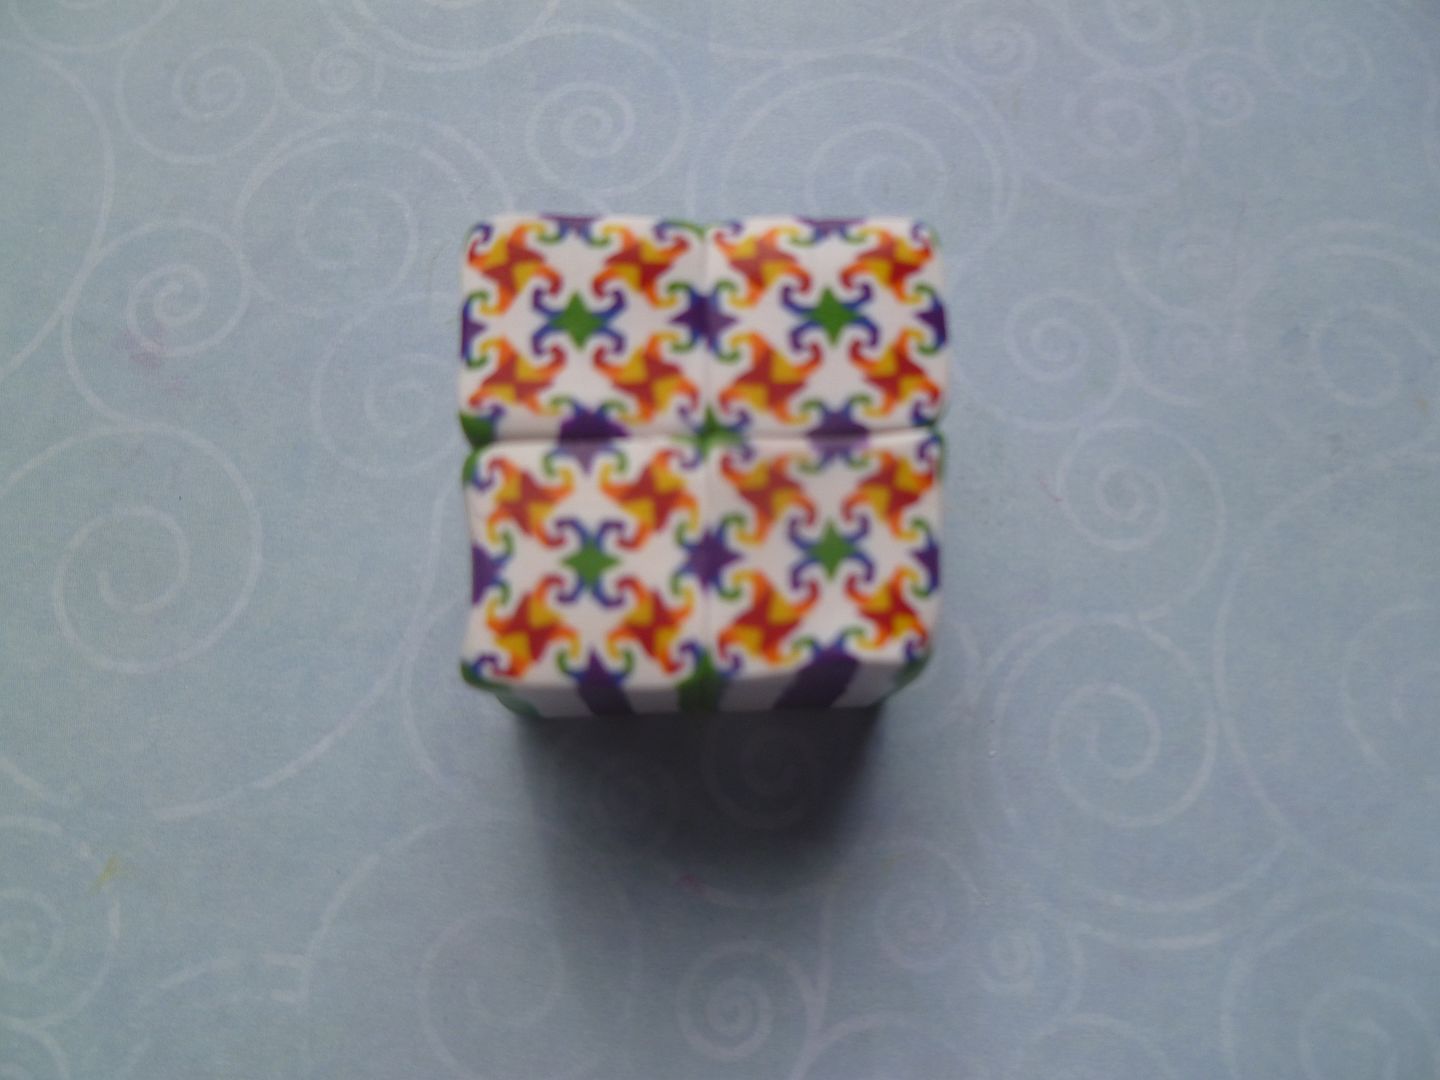
And reduced it one more time:
I've gotta say...I totally love these rainbow color combinations. I'm not sure I could pick a favorite....
I put the cool colors on one side and the warm colors on the other. I made two different canes, green/blue/purple and yellow/orange/red and then red/orange/yellow and green/blue/purple.
Here's how it turned out; (I had enough cane left to make a third cane combining the two...it's on the bottom):
And after one more reduction:
I put the combo cane together a slightly different way:
And reduced it one more time:
I've gotta say...I totally love these rainbow color combinations. I'm not sure I could pick a favorite....
Getting it wrong...
So I had some spare colors and thought they might look good together. I wanted the orange and white side by side, but that left the green and blue together. Unfortunately, the green and blue are very close in value, so the more you reduce it, the more the green and blue will blur together. I should have put orange and white opposite...it would have more definition.
Wednesday, April 9, 2014
Santa Claus...
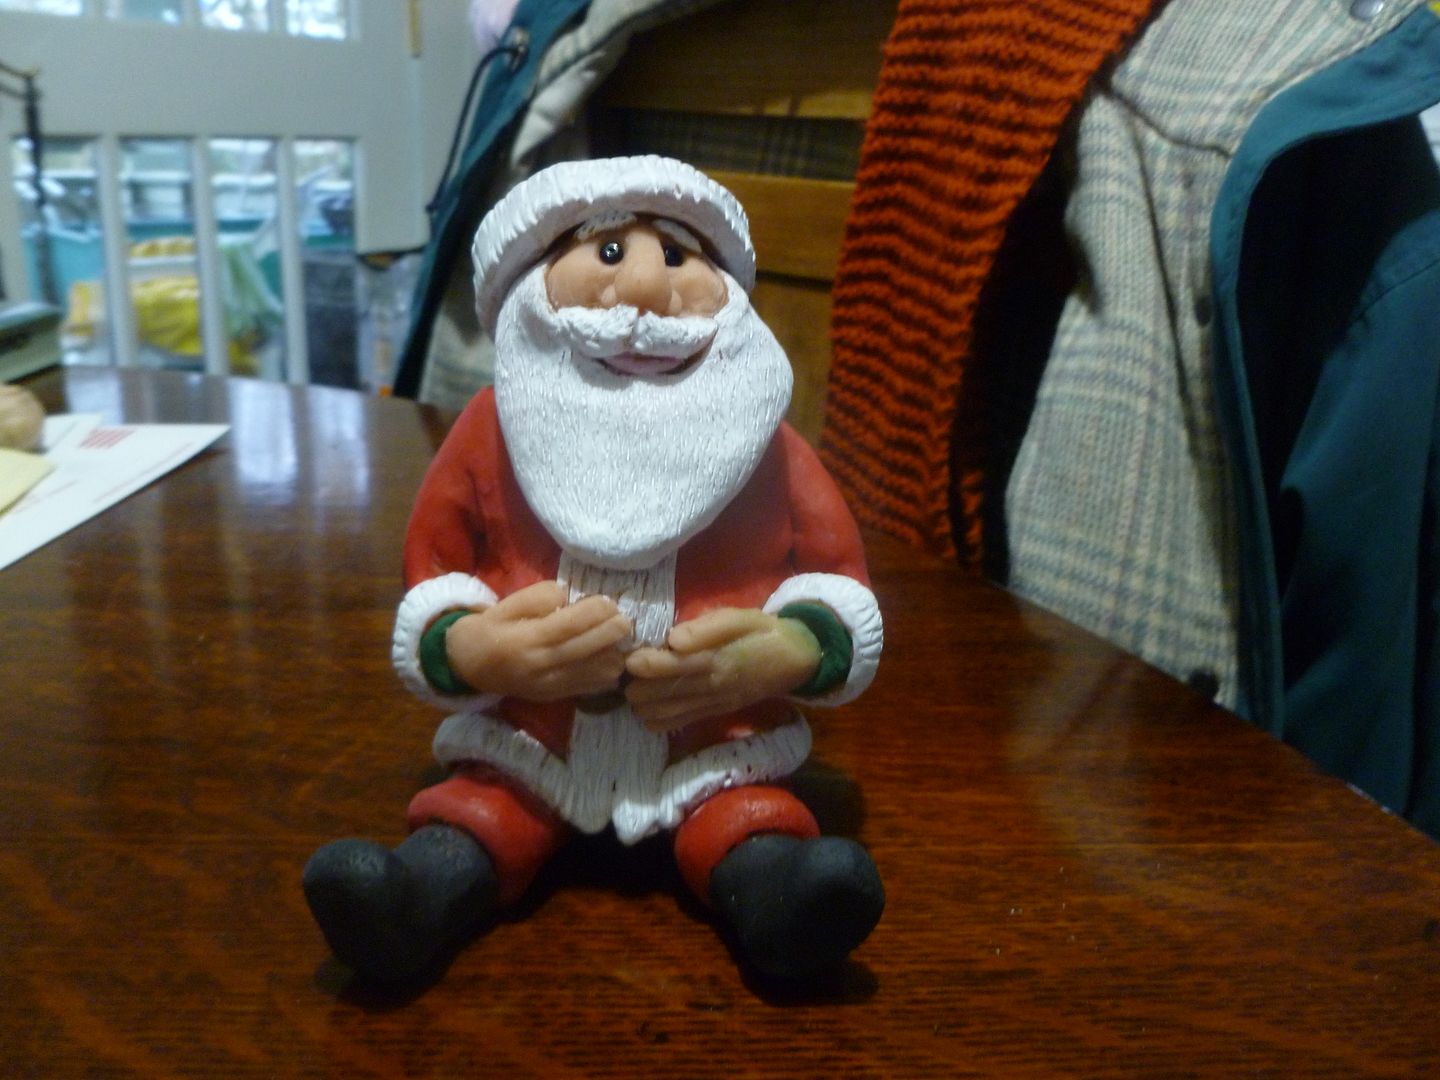
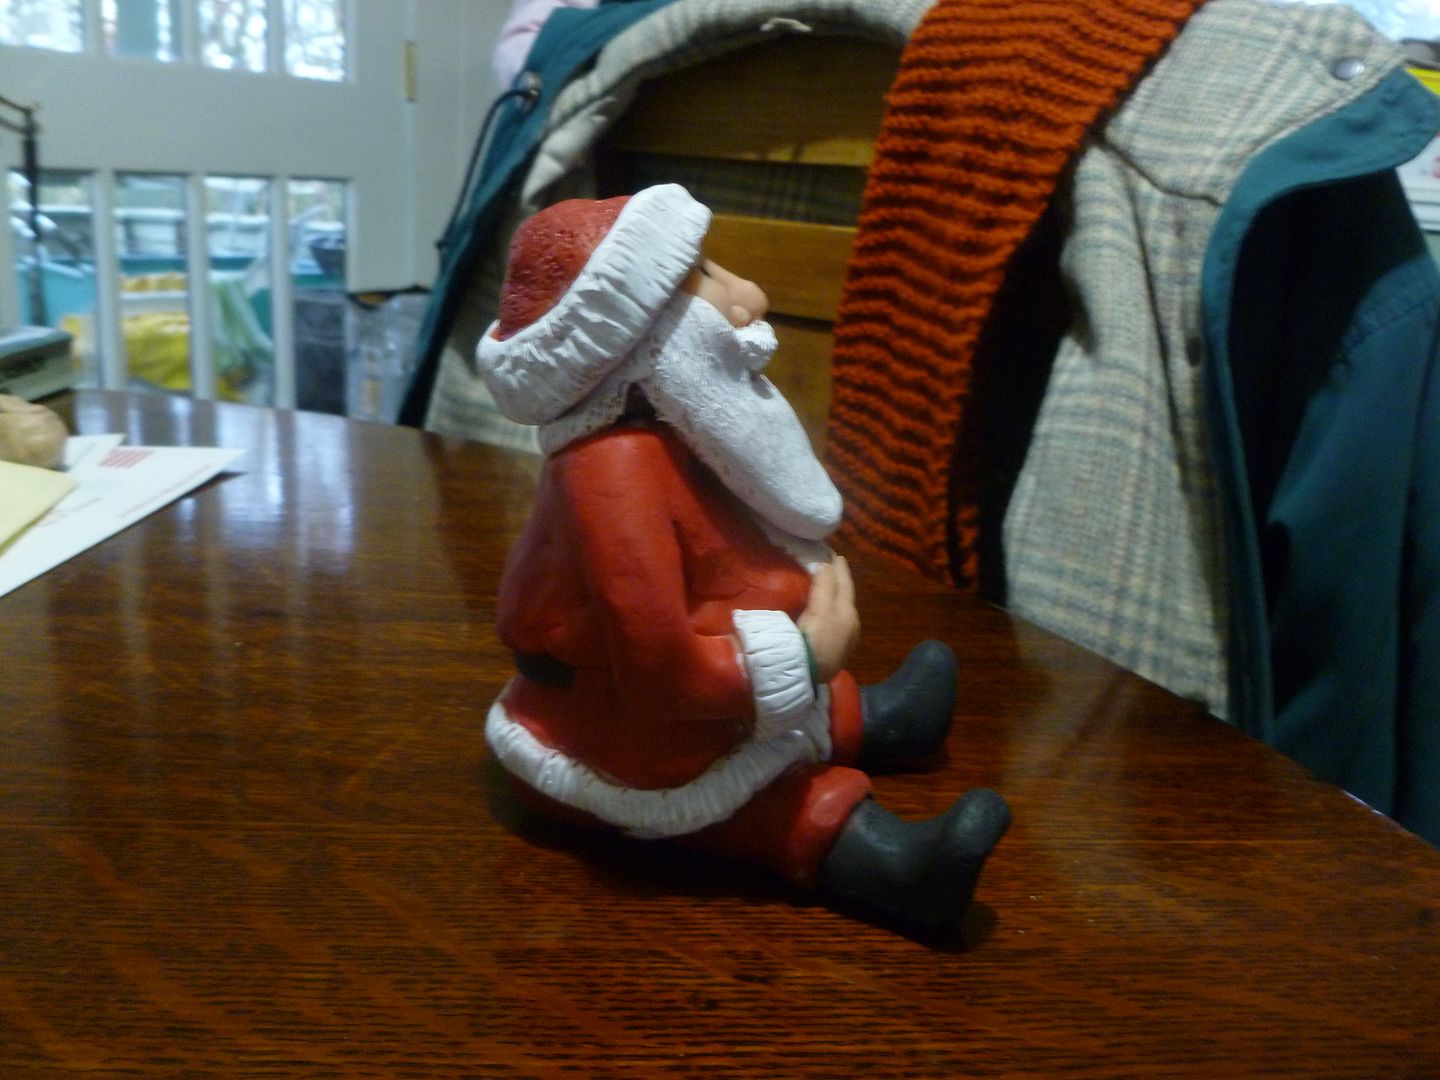
I finally finished up the Santa Claus I made at Clay Camp last year. I gave it to my mom before I remembered to take pictures. Lucky for me, I know where she lives....
Anyway, here it is; all textured and painted:
Snail's Trail variations....
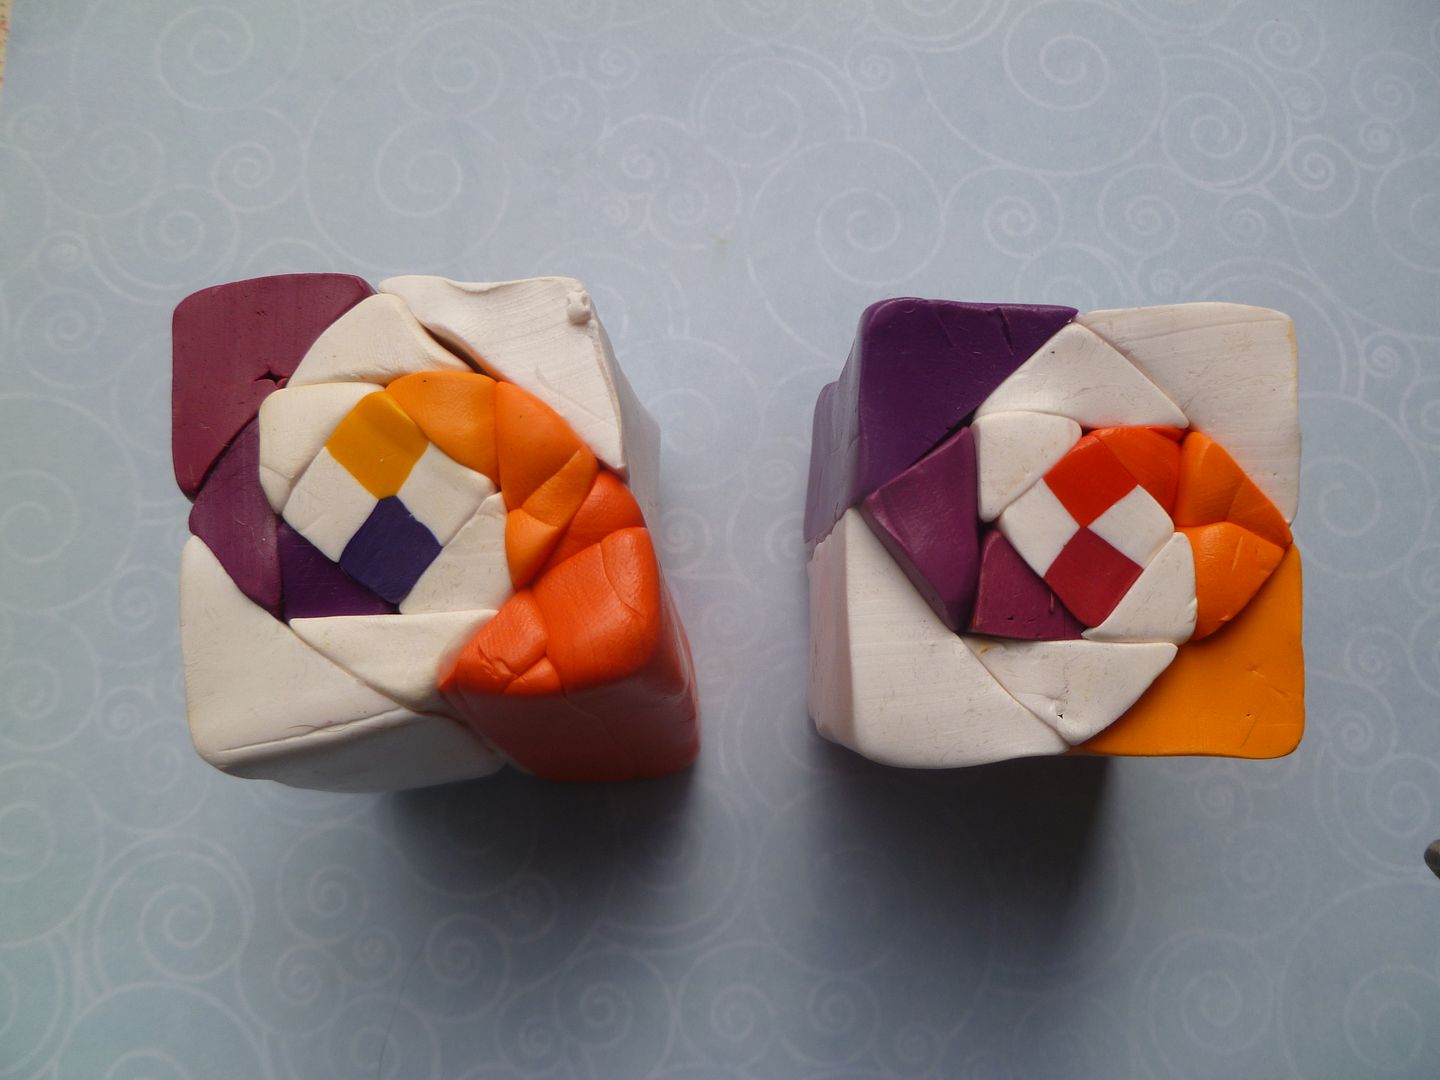
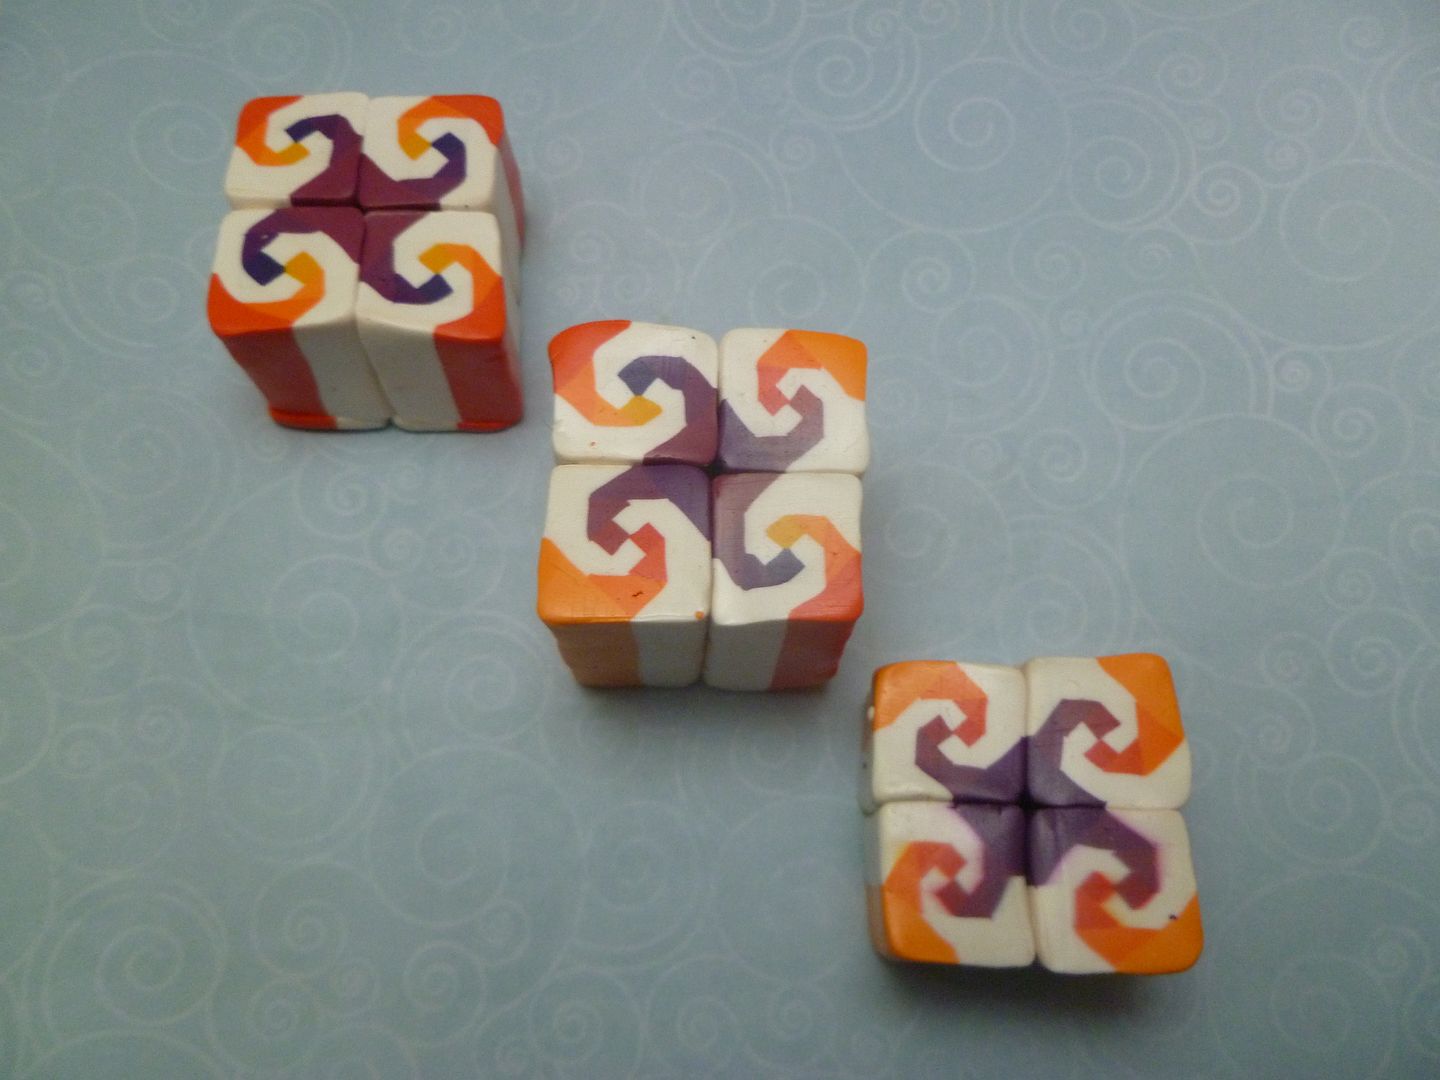
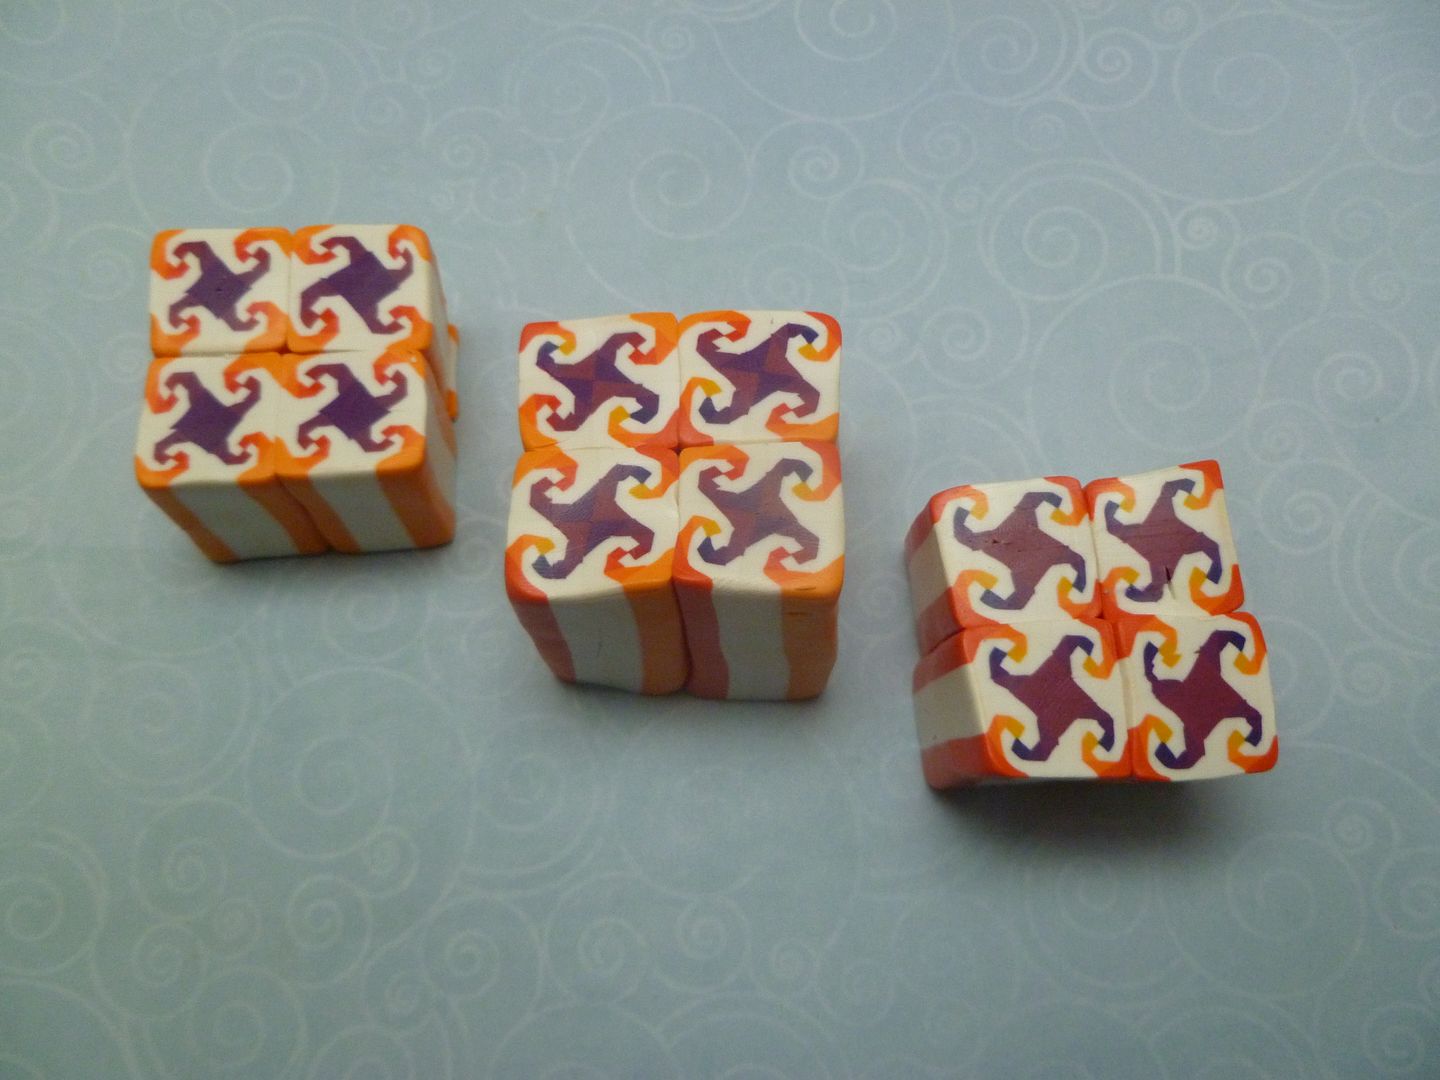
I tend to get interested in some technique or idea and just run it into the ground. Take the snail's trail quilt pattern for example. I can't seem to leave it alone. I decided to make a cane that would shade from light to dark and another one from dark to light...then I used the leftovers and combined the two:
Saturday, March 1, 2014
Four-color Snail's Trail Quilt Pattern, part two
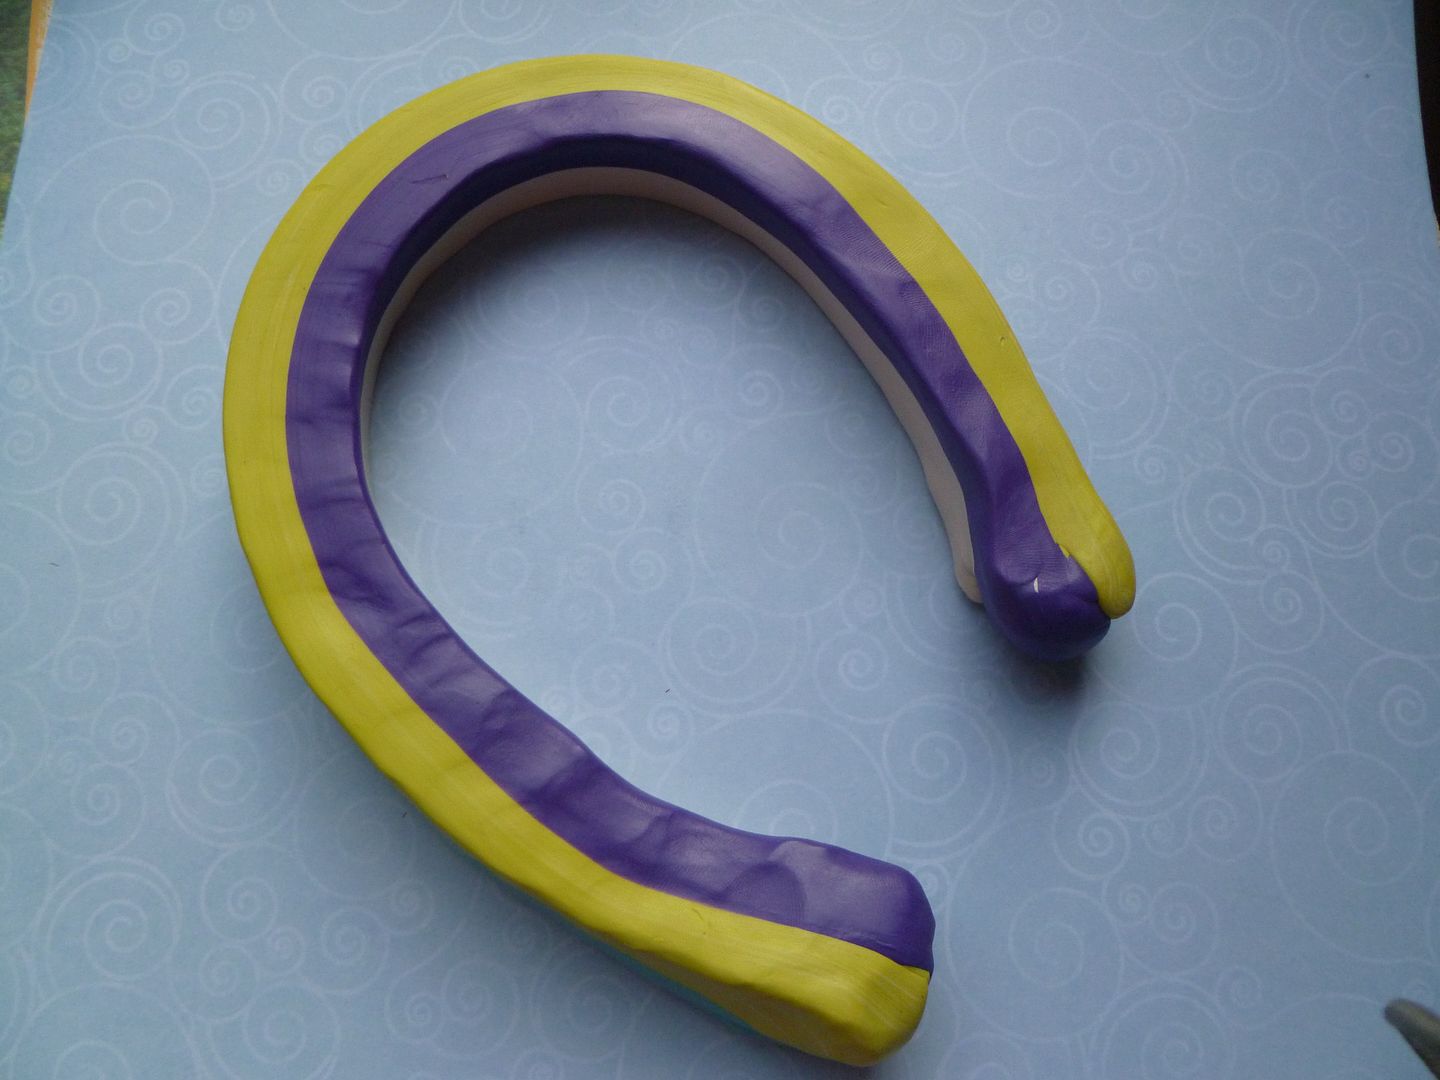
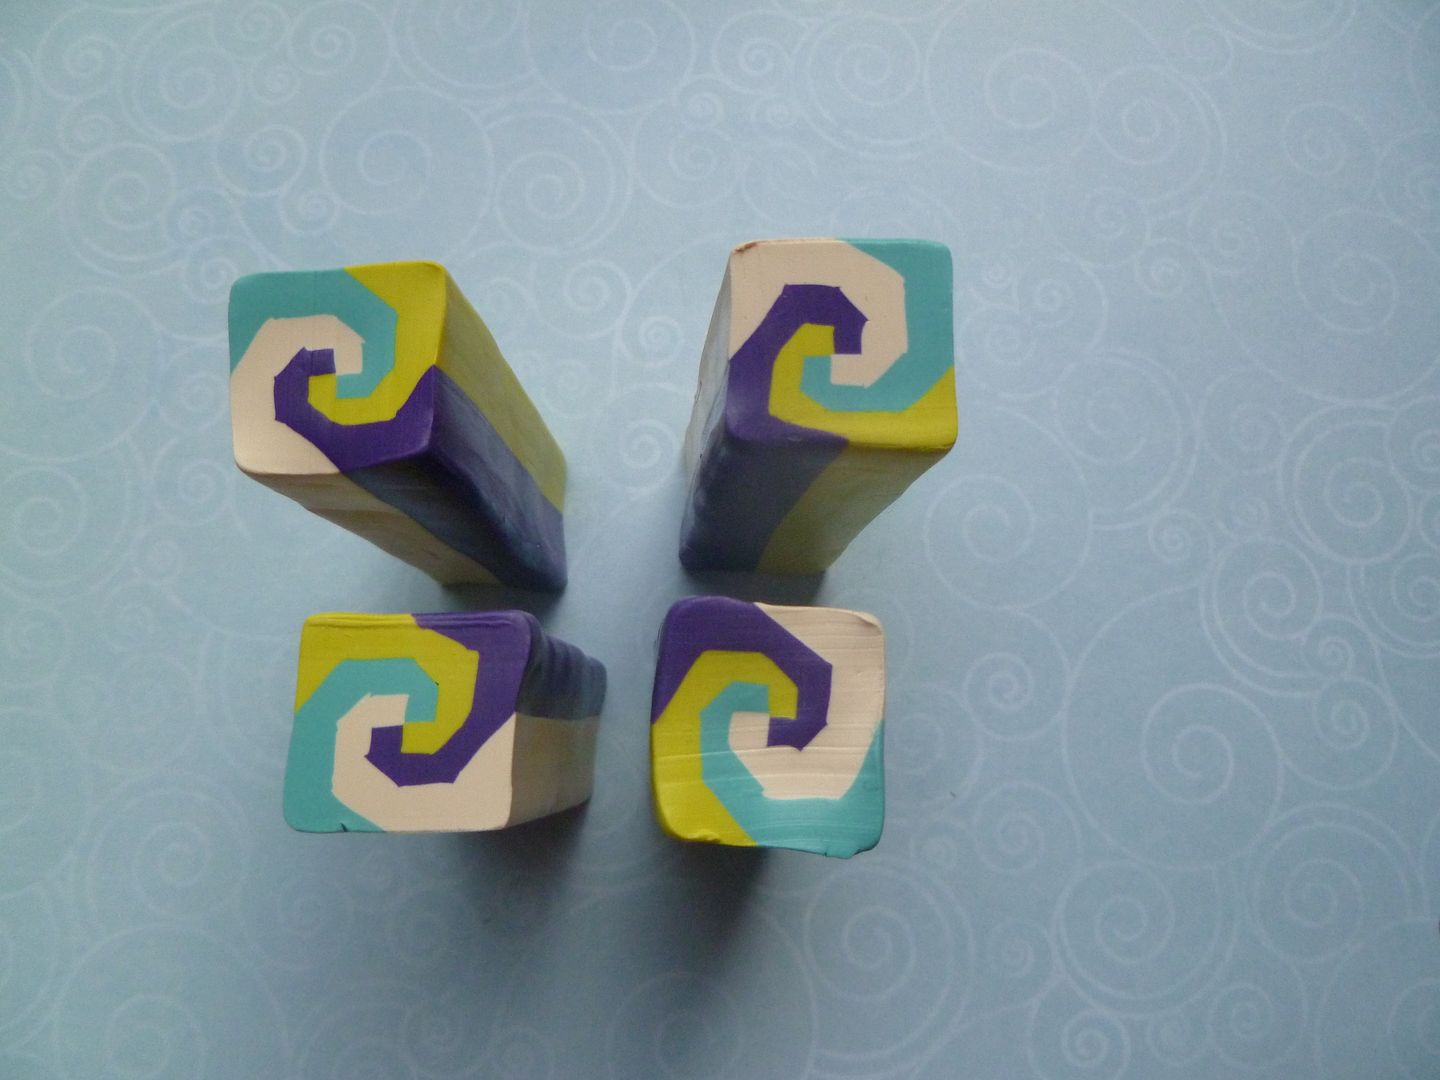
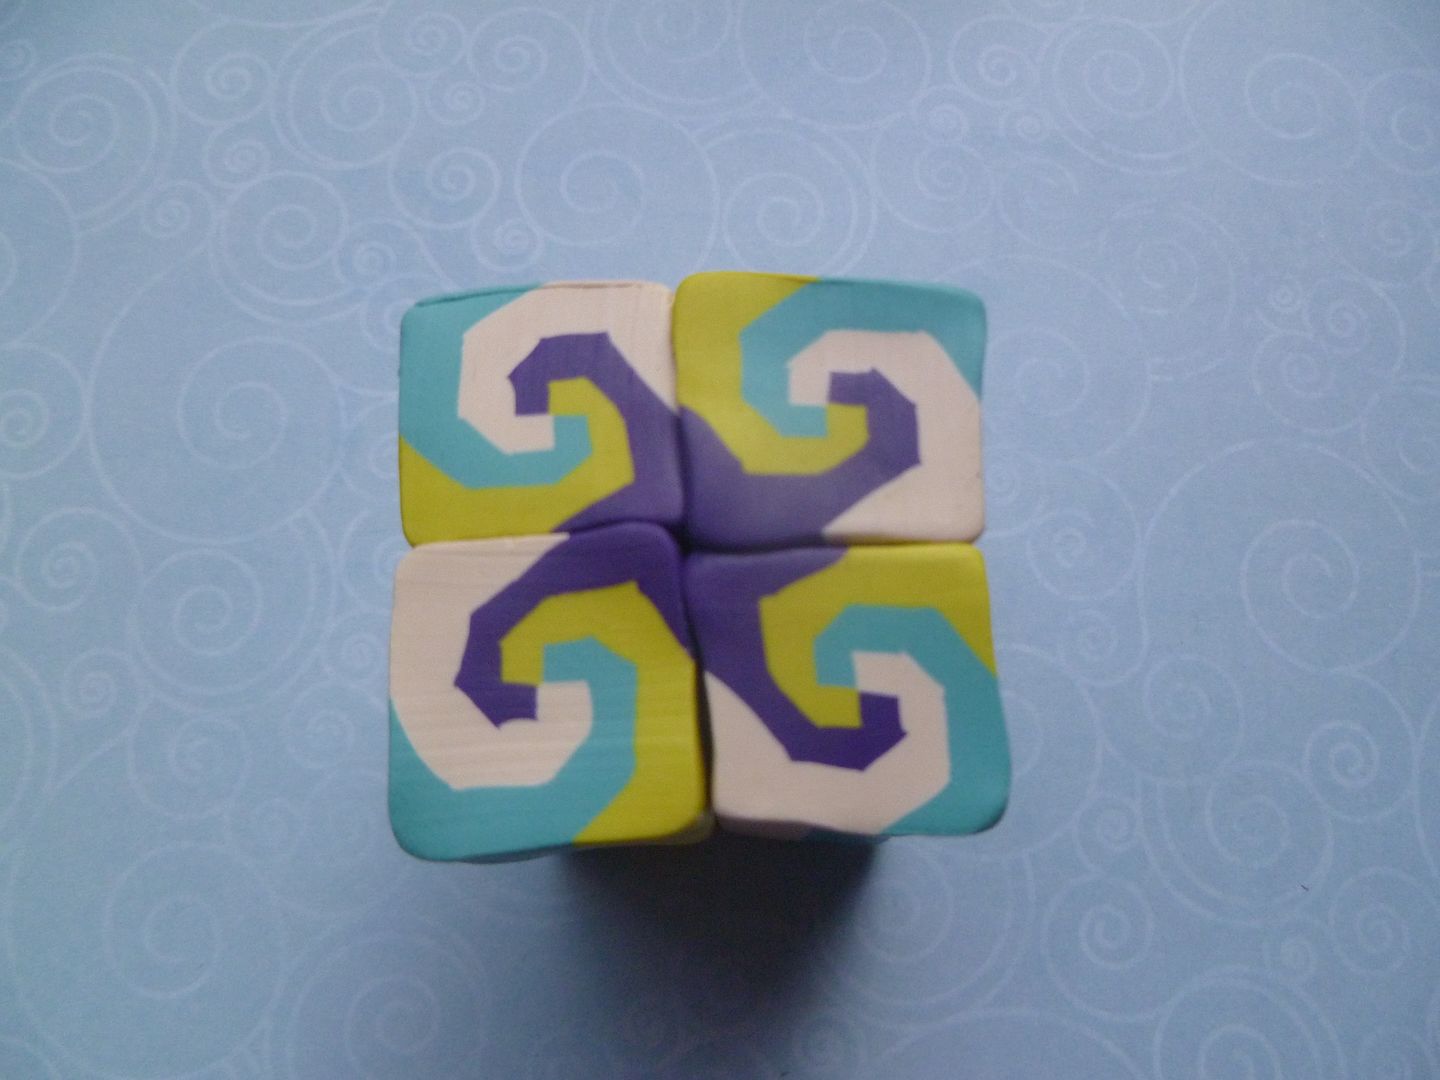
Take the cane from the first part and reduce it down to around 1" square; trim off the ends until the distorted part is gone (hang on to those pieces--you'd be surprised what you can make with them); cut into four equal pieces:
Stand the pieces on end and orient as shown below (each piece is rotated one quarter turn from the one before):
Push the pieces together:
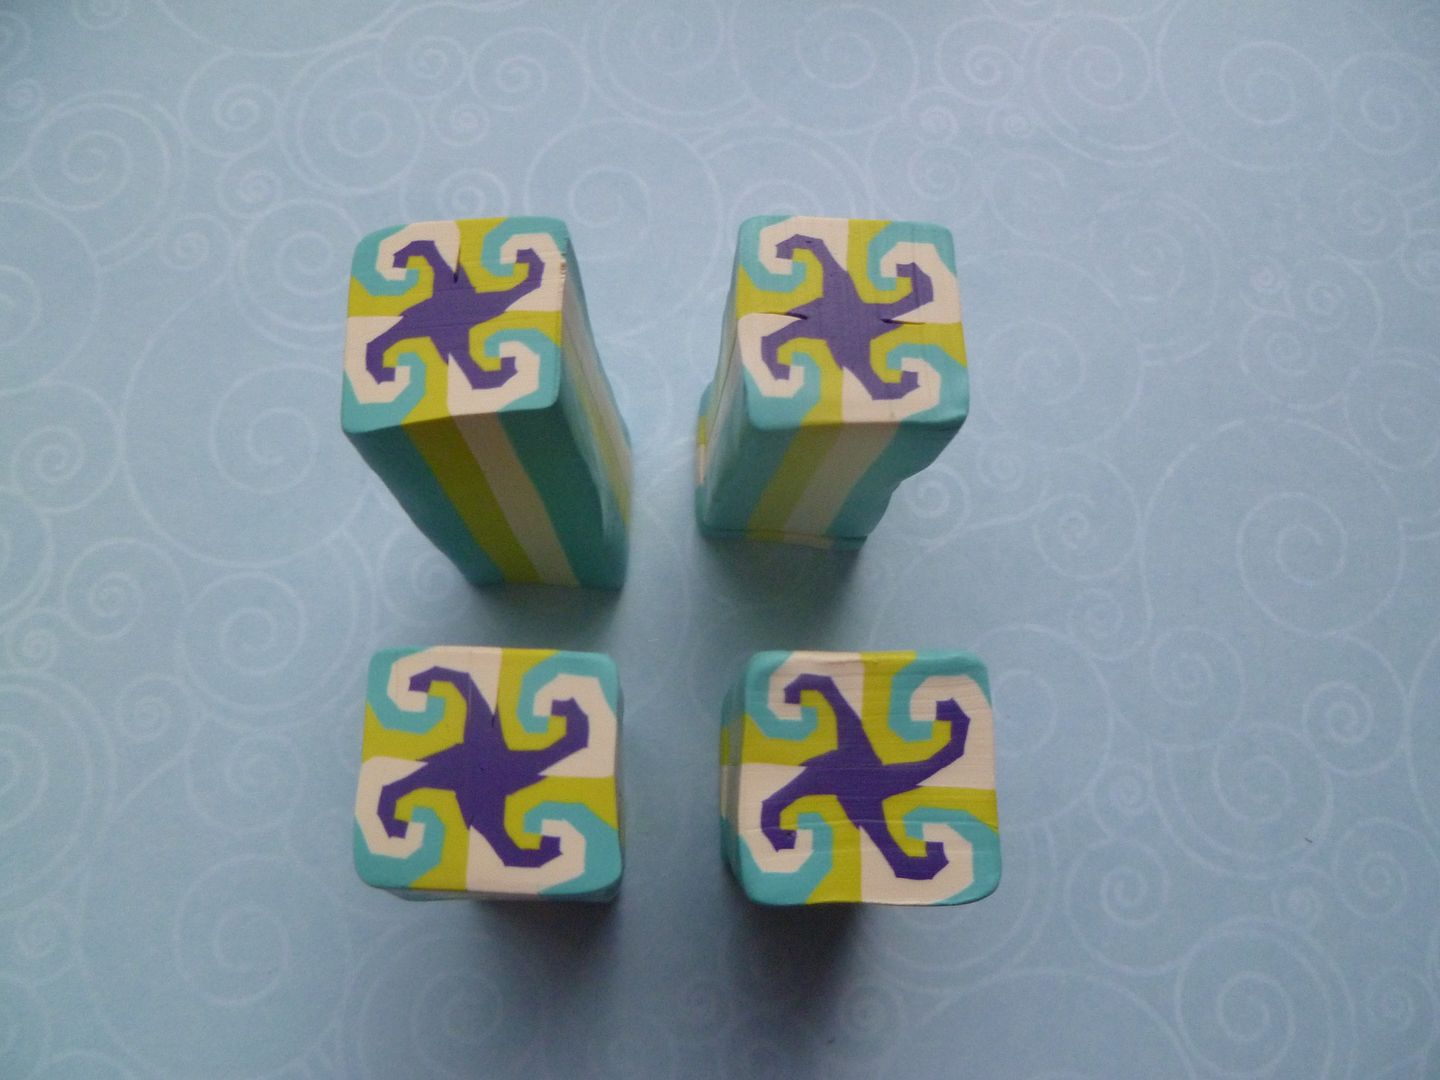
*sigh* Right away I'm disappointed. I can see that two of the swirls are not going to work. I fiddled and rotated and walked away. Then I came back. It's still pretty, just not quite what I wanted. At this point, try the different combinations to see which one pleases you best. Then put them together, compress and reduce, then cut off the distorted parts as before and cut into four equal pieces:
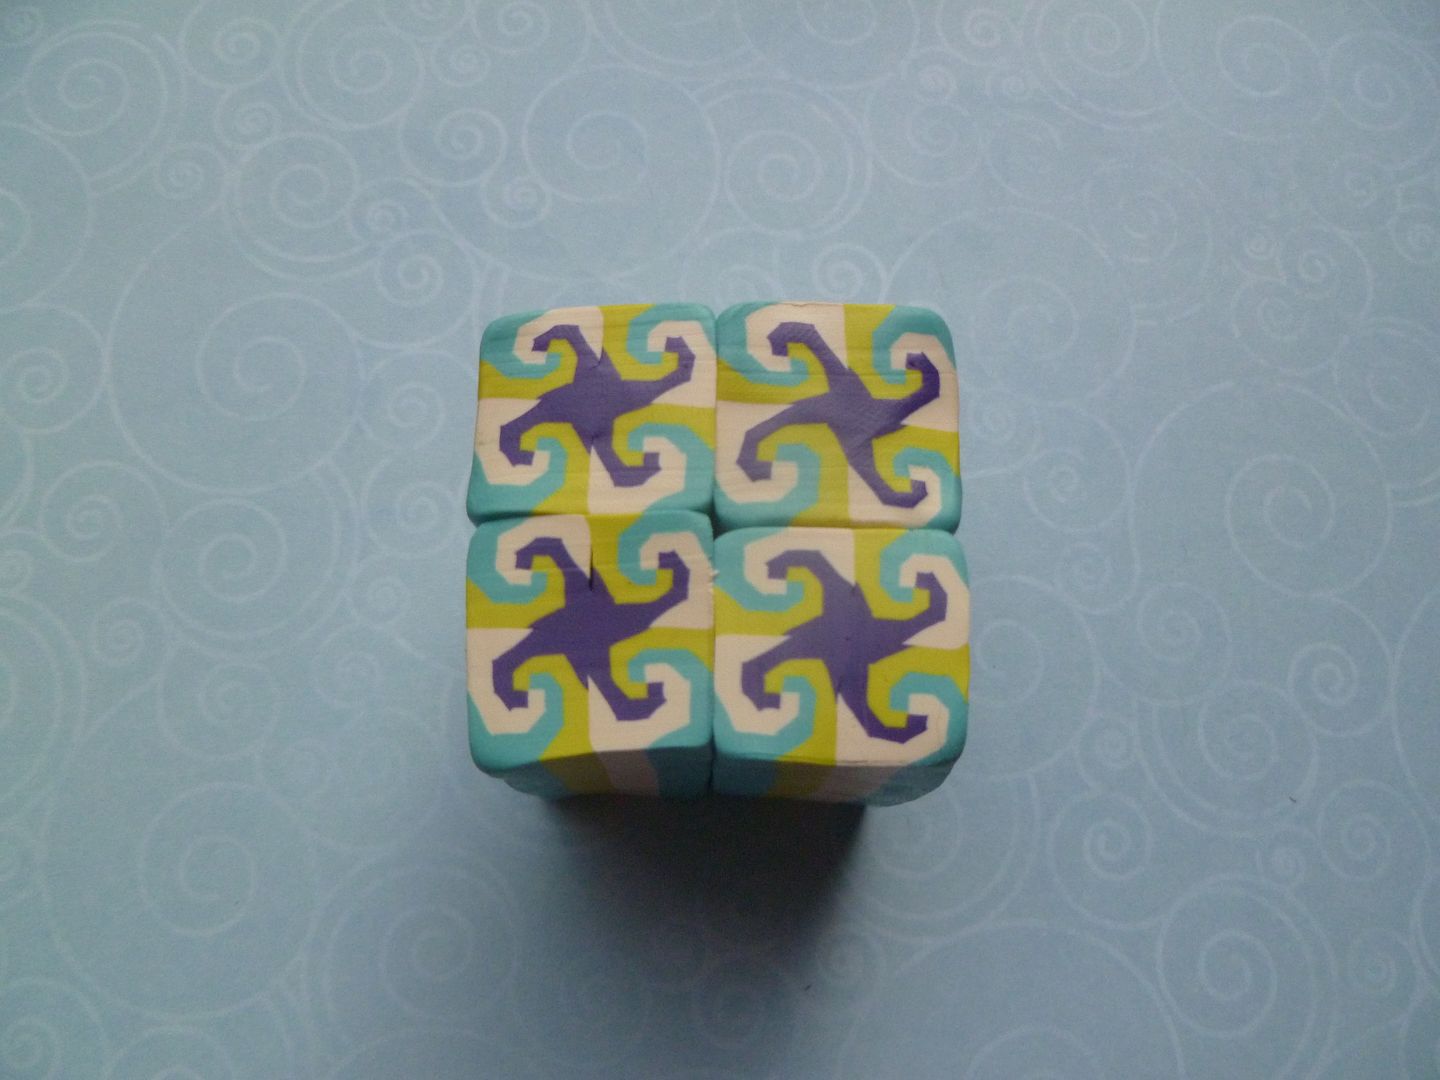
Orient them as shown and press together. Compress and reduce one more time:
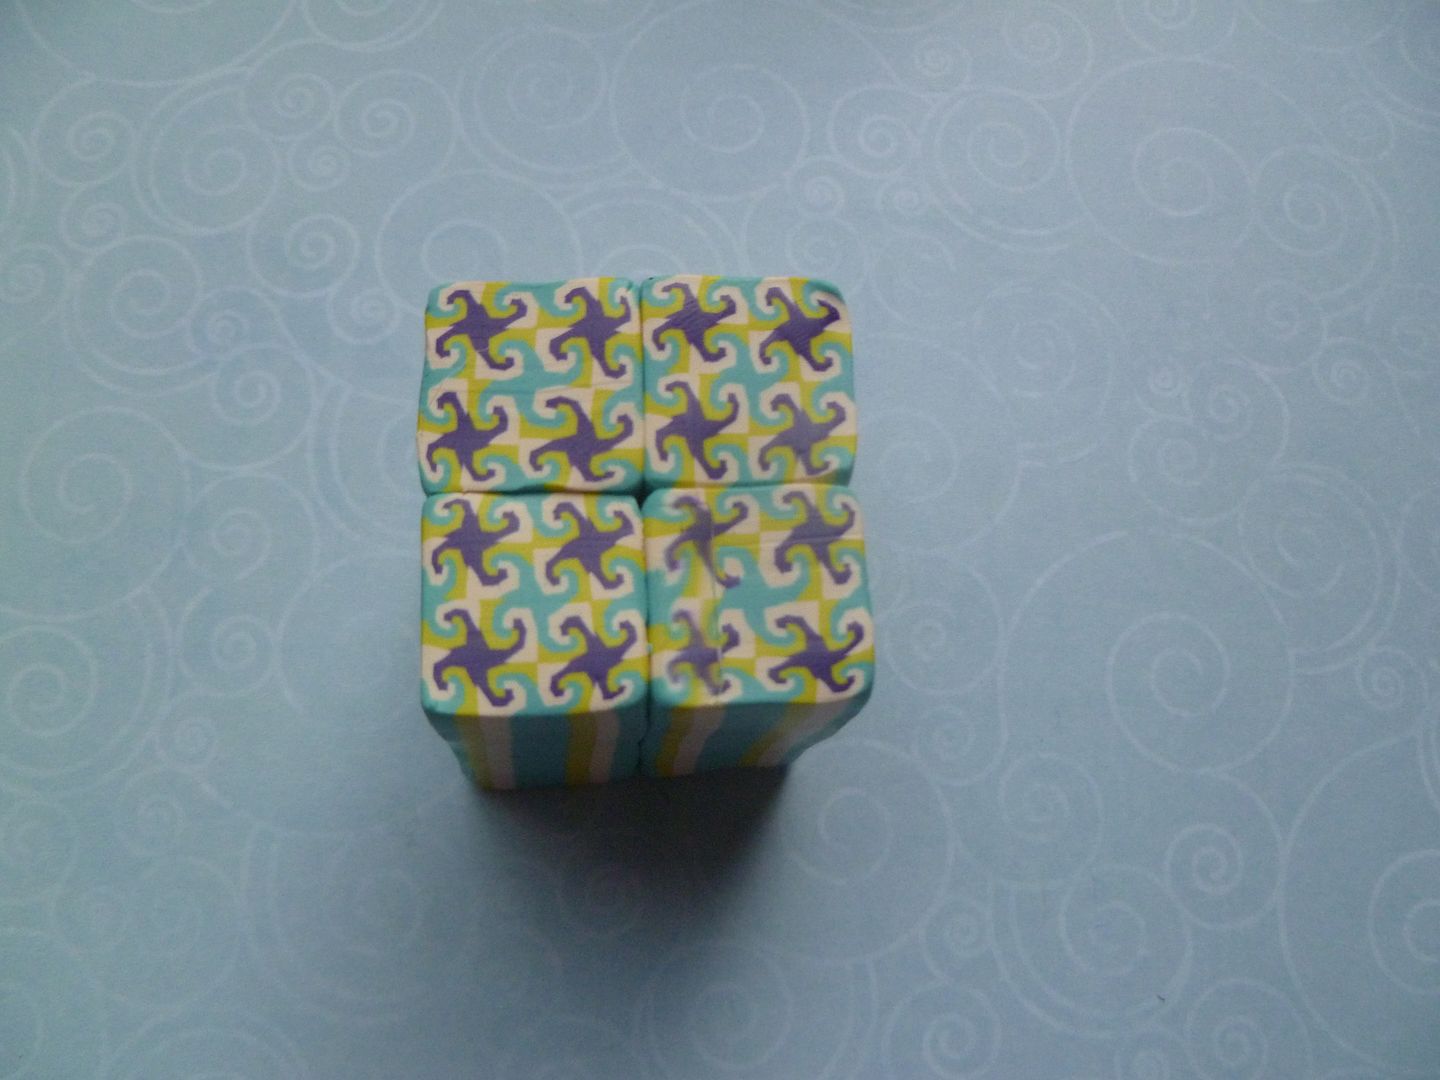
You can leave it as is, or repeat the cutting and reducing process a time or two more (depends on how fine you want the pattern):
Ta-da! Finished again!
Four-color Snail's Trail Quilt Pattern, part one
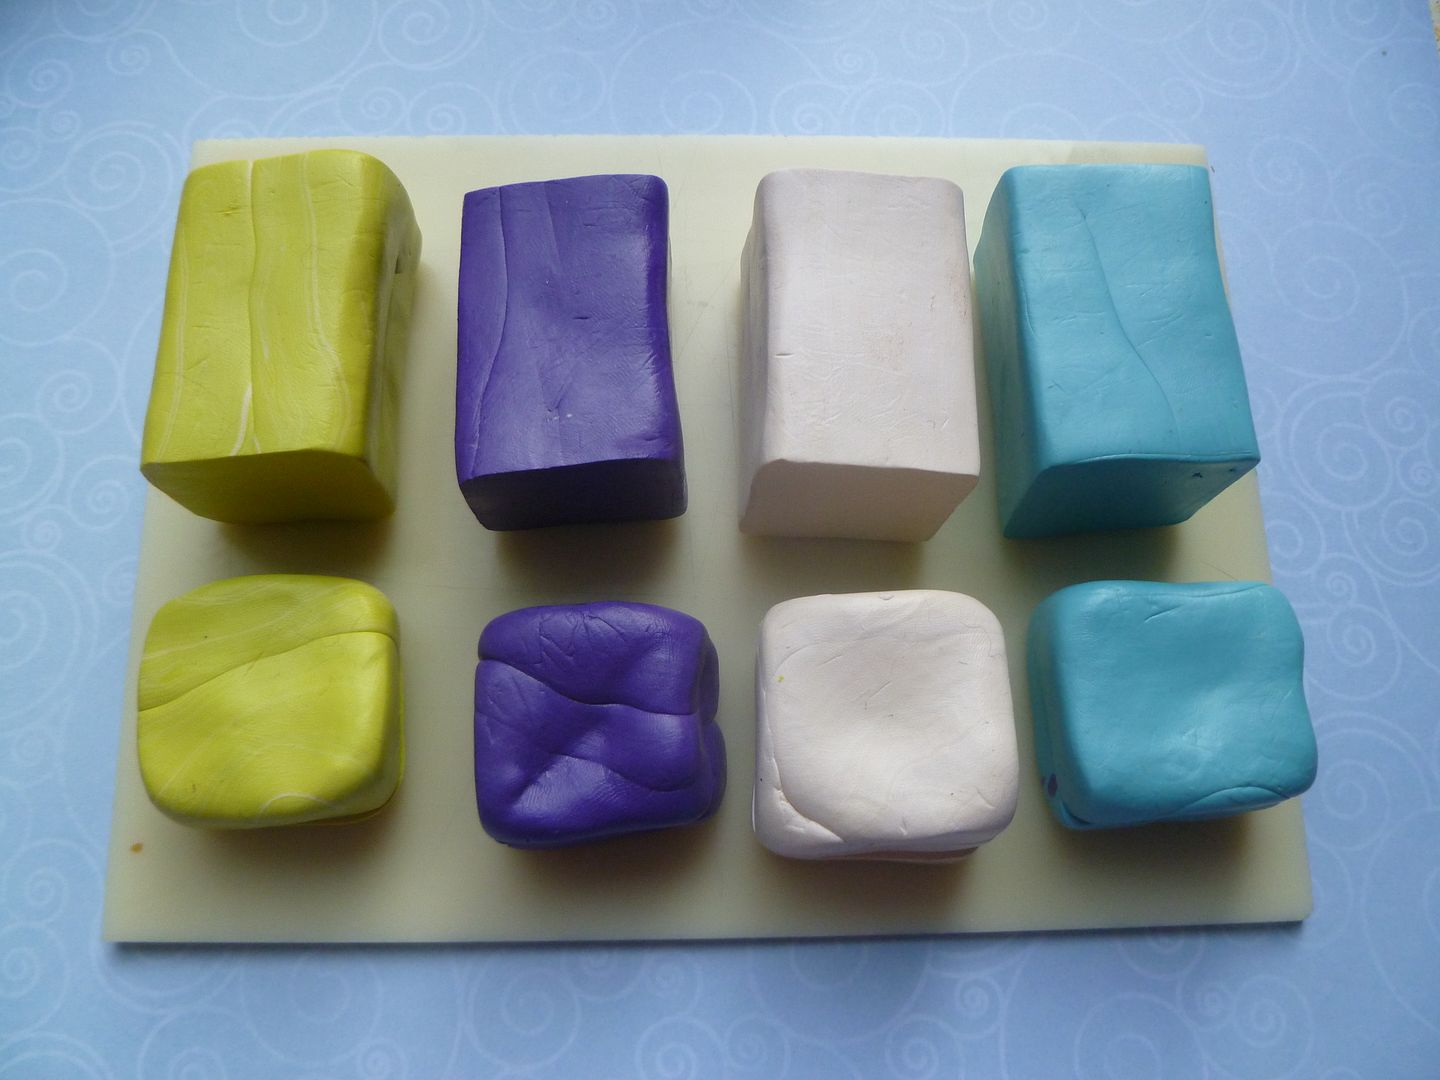
Okay, now that thing a day is over, I can move on to the four-color version. Here are the colors I'm using this time:
I should have mentioned whacking off a little bit of each color for borders and/or embellishments before building the cane...but half the time I forget to do it my self. It's not a big deal if you're using colors straight out of the package--you can always condition more. But if you've mixed your colors, that's not so easy. Anyway, I've cut some off as you can see in the picture.
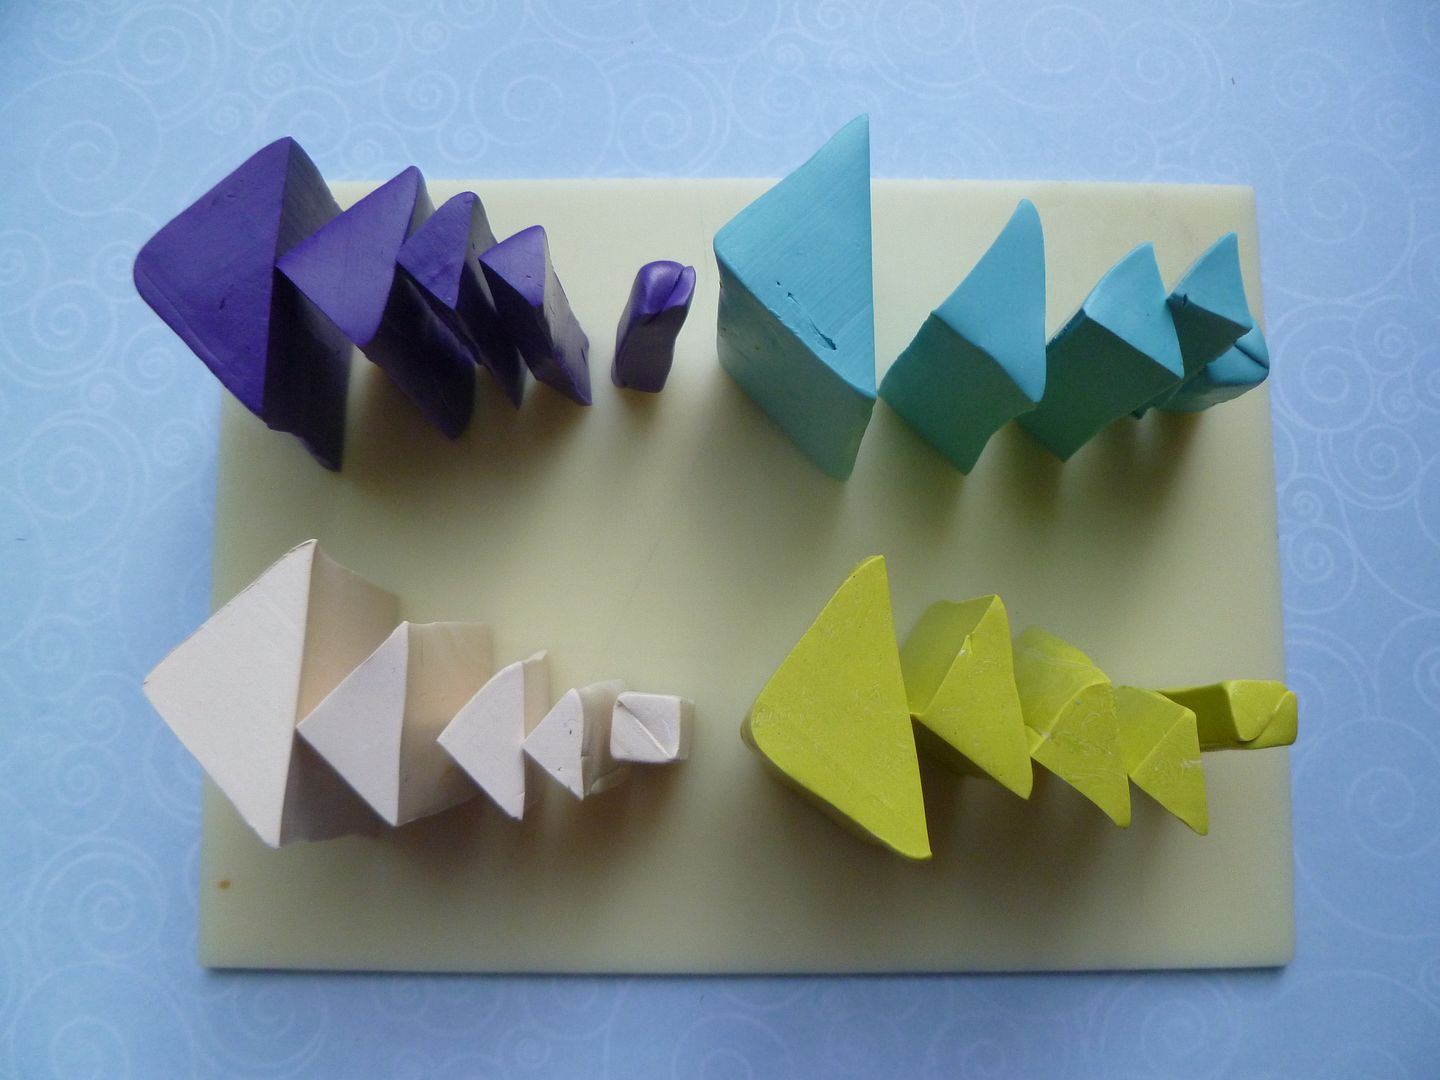
Here's the components. You'll notice I cut four triangles instead of three. I wanted to see if it made a difference in the final cane:
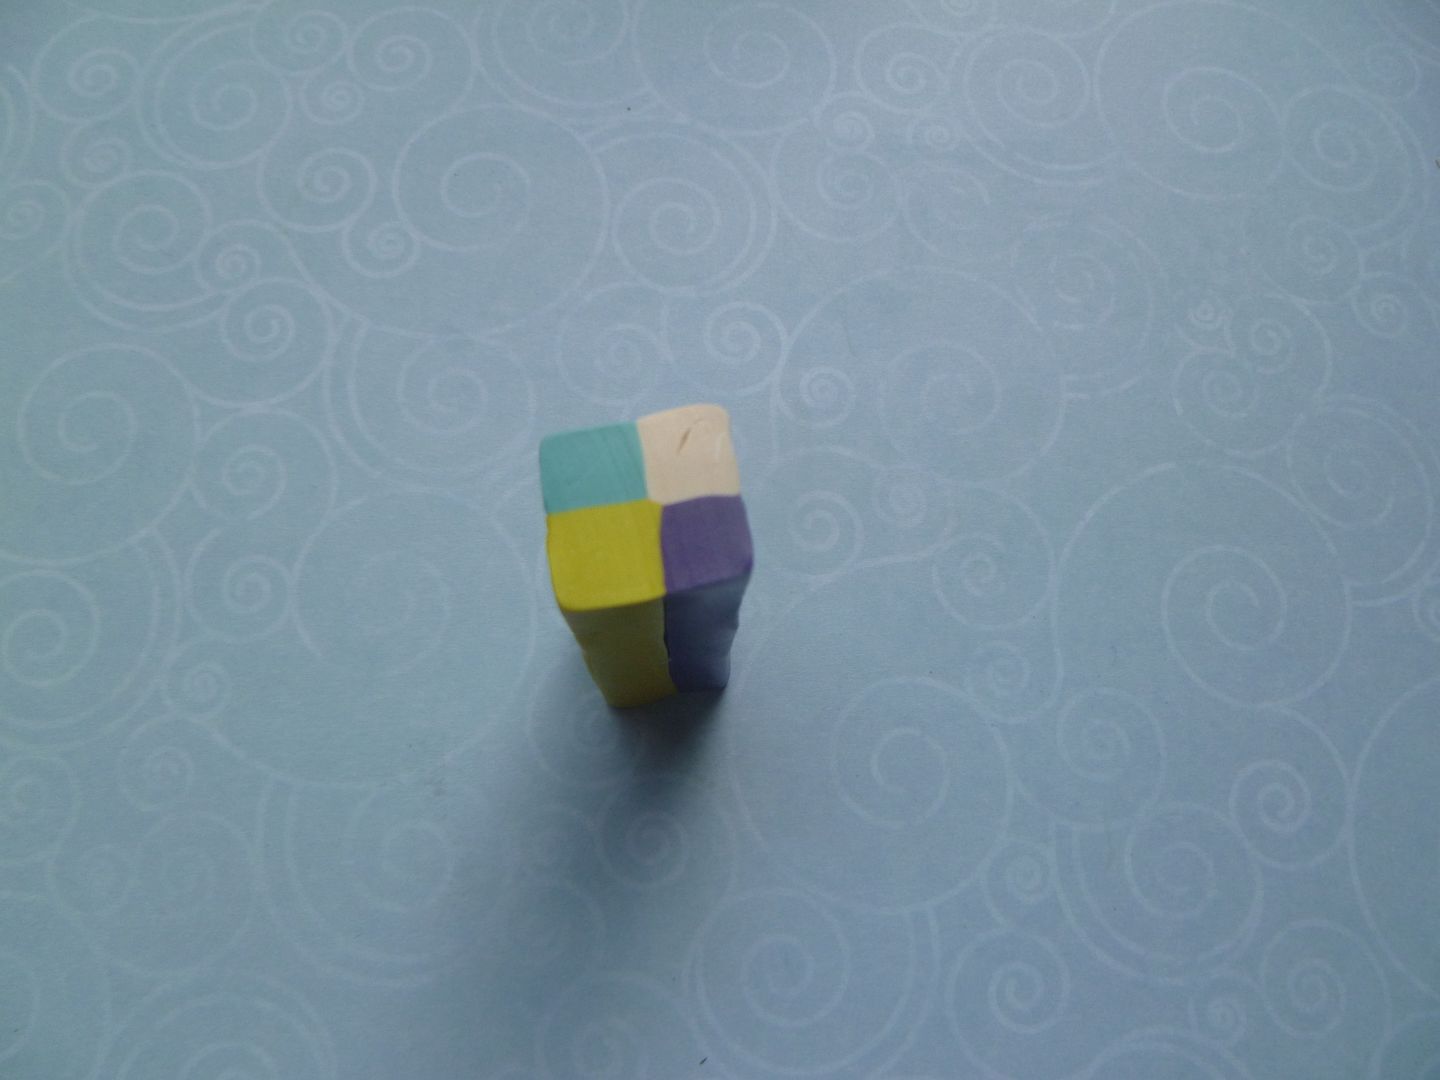
For the center checkerboard, I put the two lighter colors diagonal of each other and the two darker colors on the diagonal of each other:
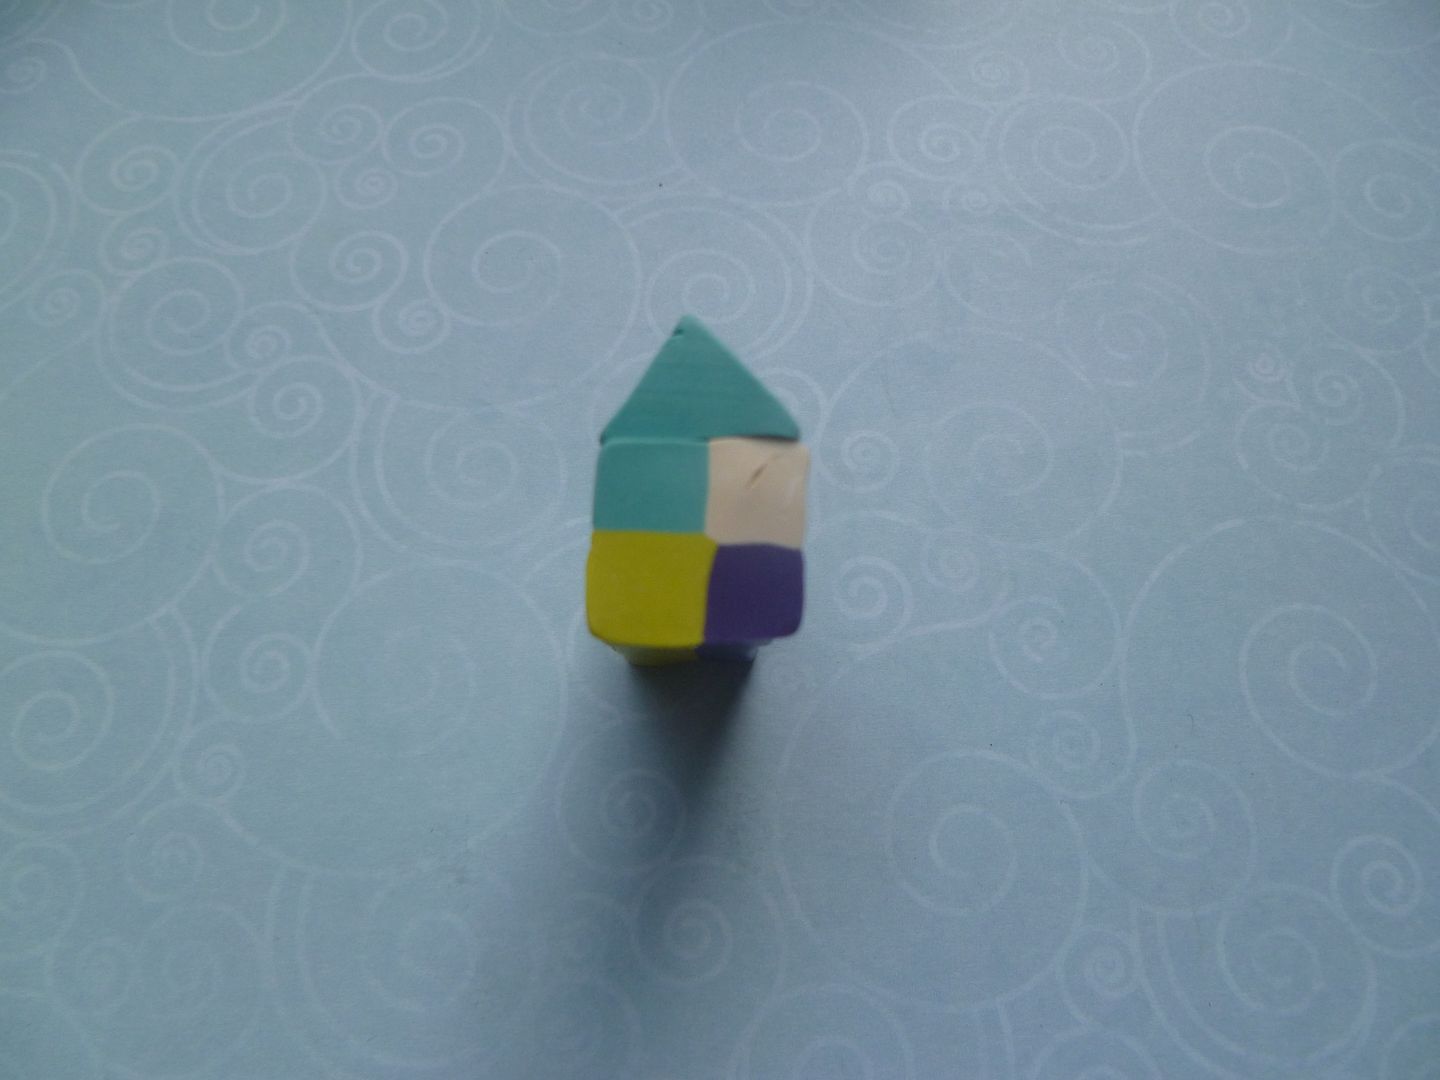
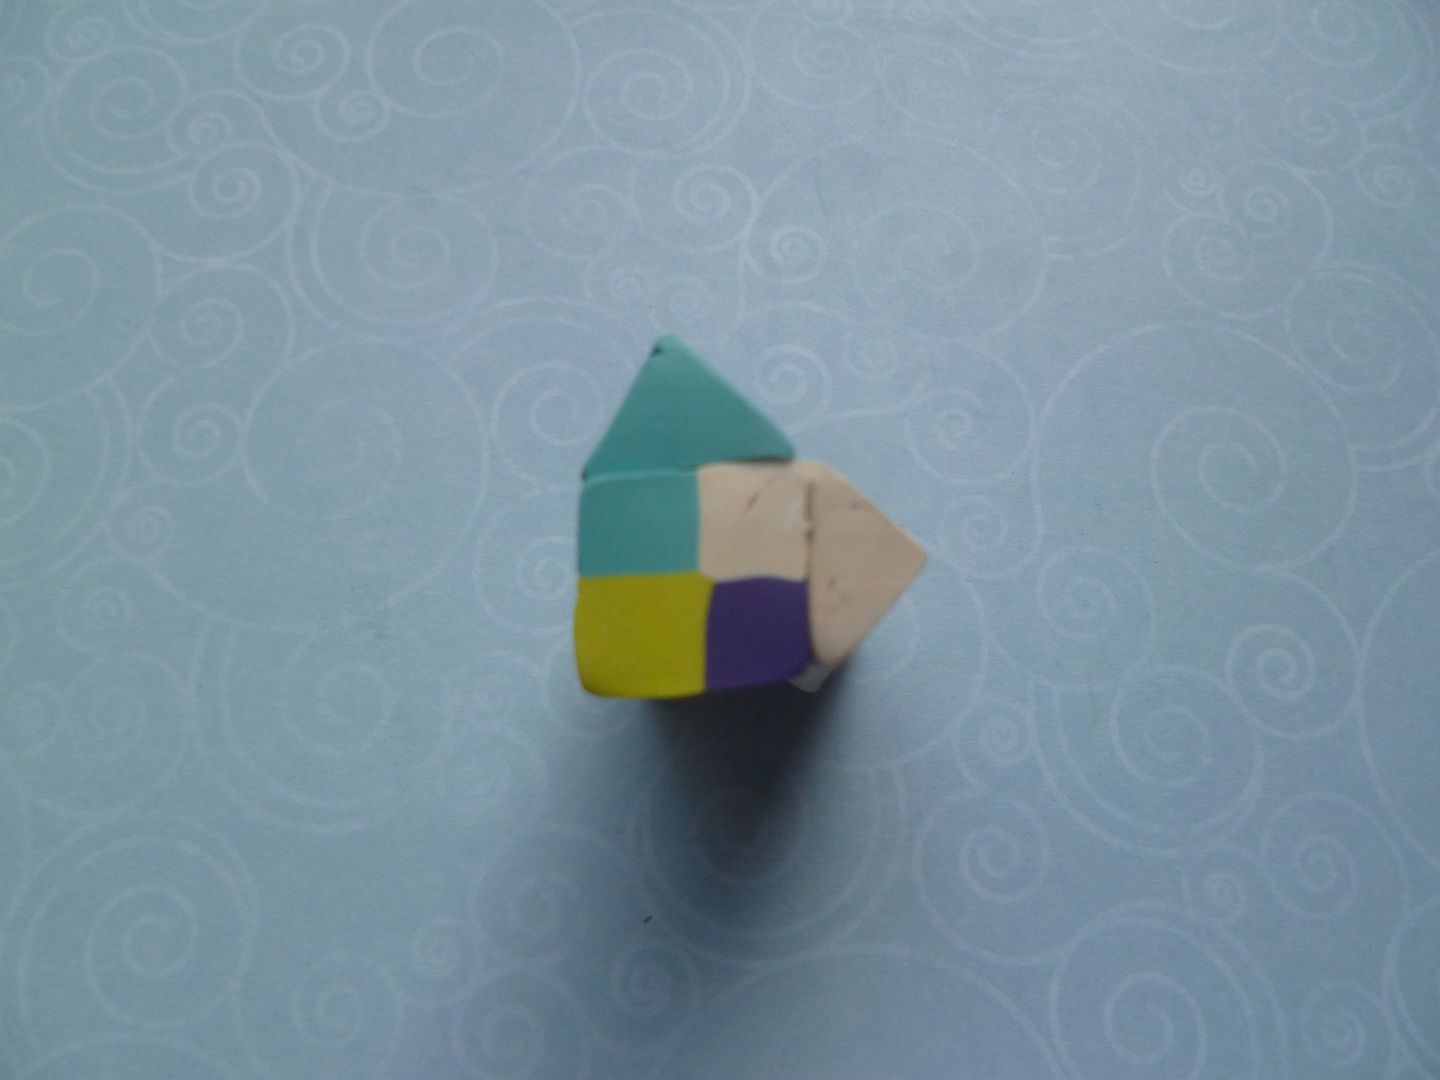
I'm going to keep this checkerboard oriented the same direction for the following steps, in hopes that it will be easy to see how to put it together. Put the smallest turquoise (or whatever color you're using) triangle on the top of the checkerboard:
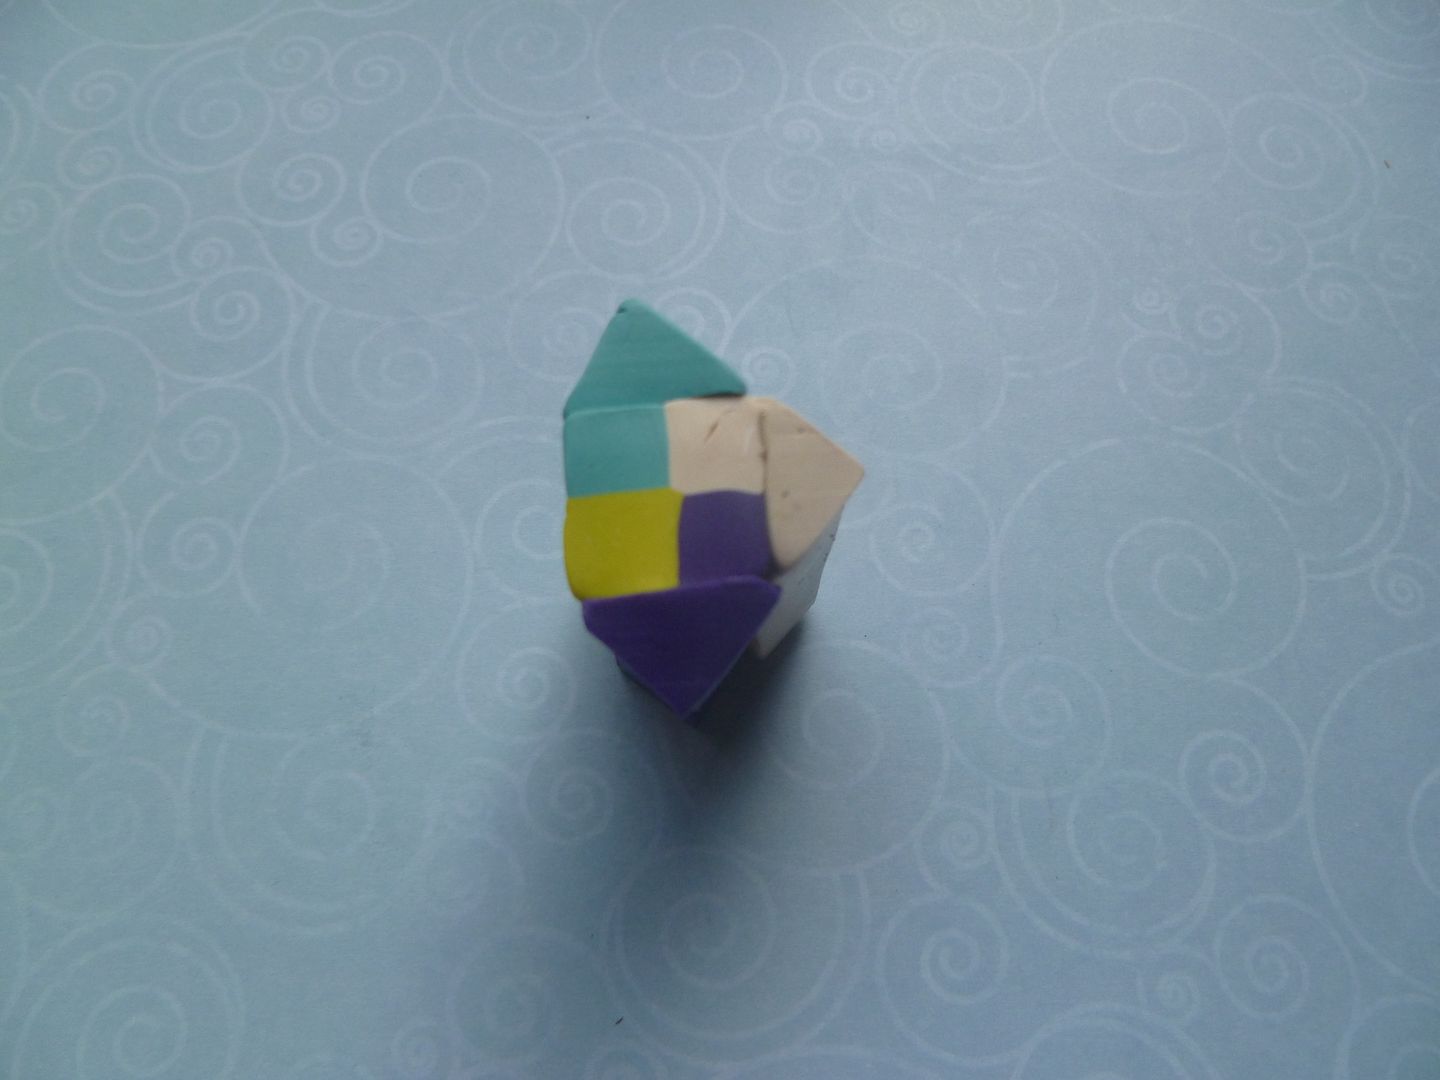
Next the white goes on the right side...the purple on the bottom...the lime green on the left side:
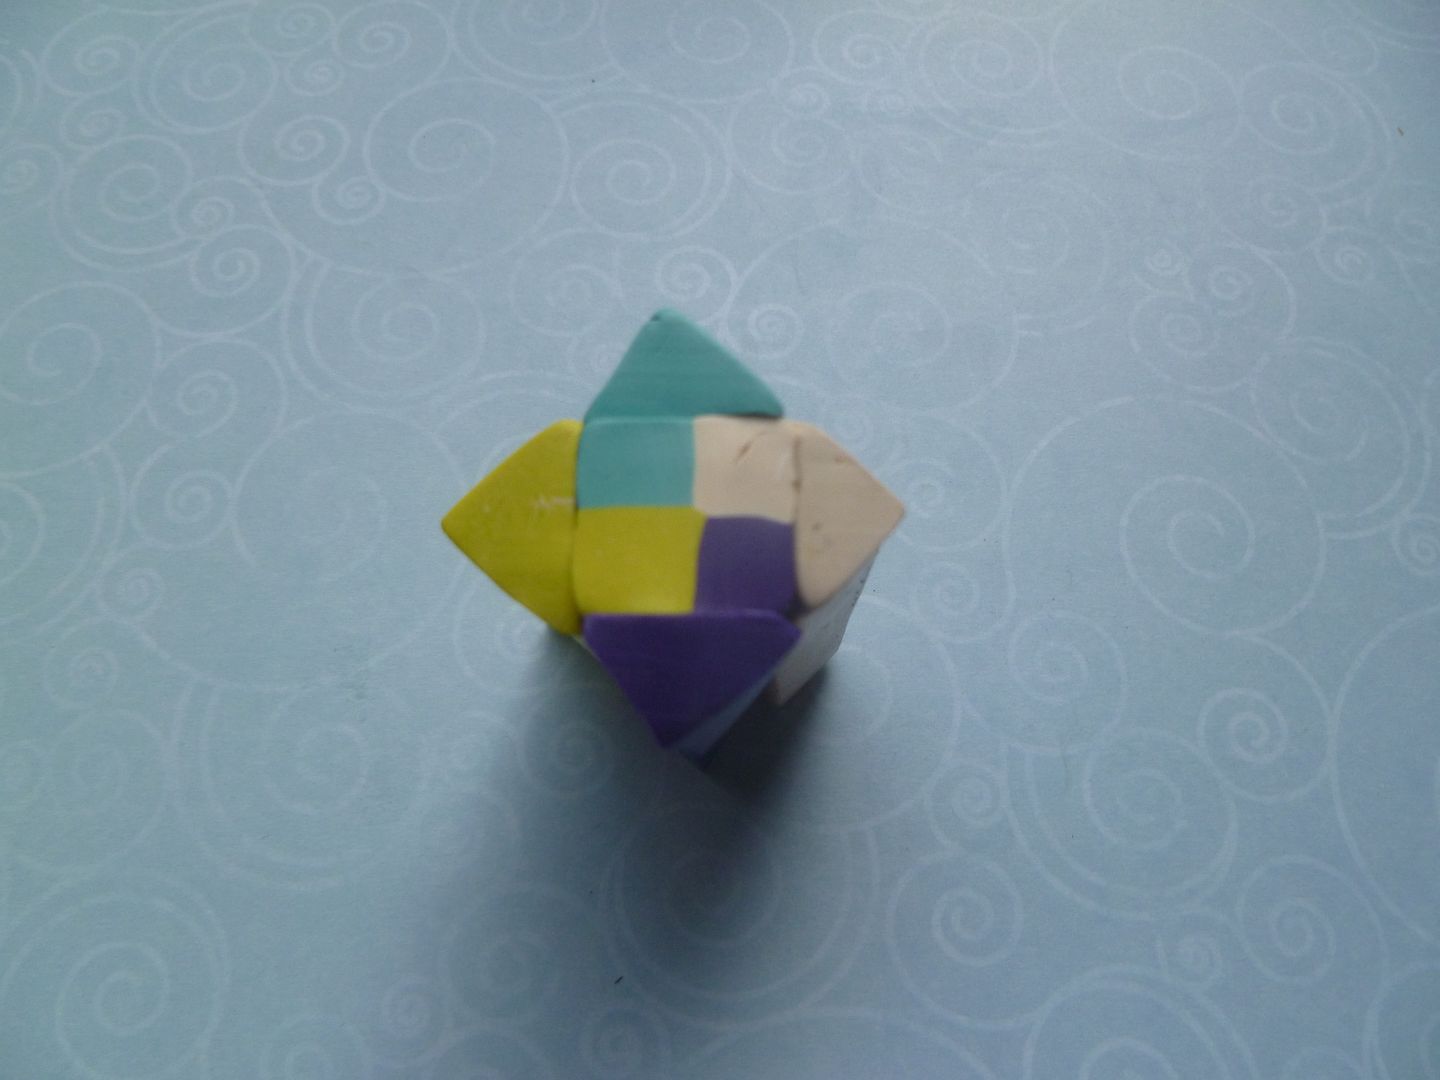
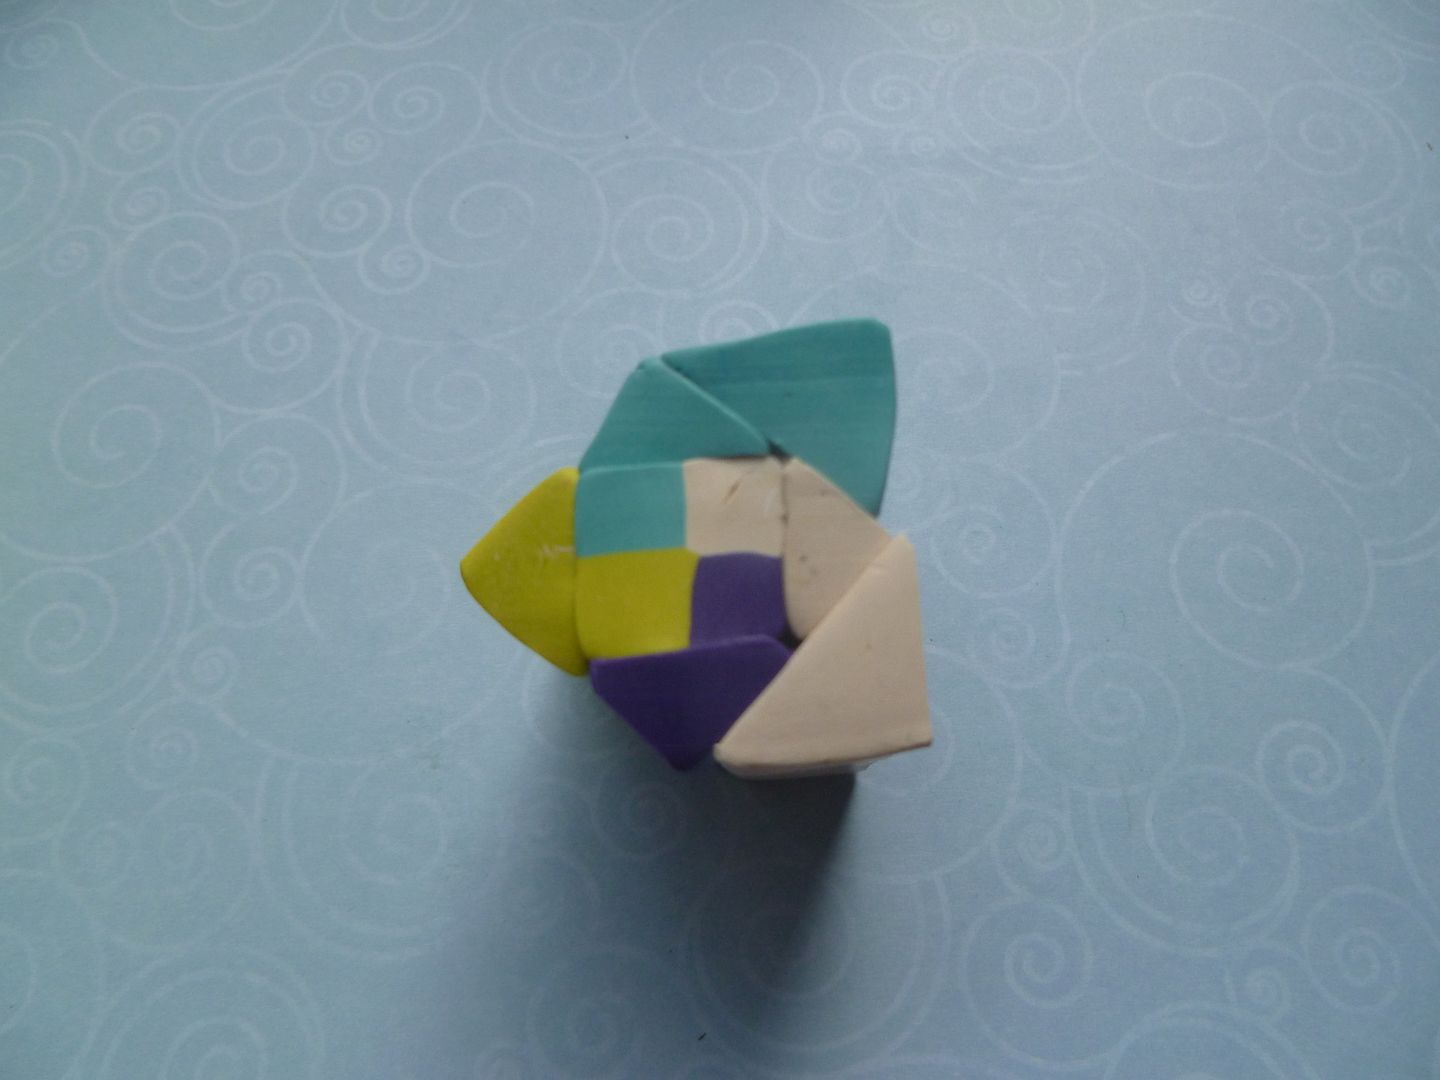
Okay, the first round is done. On to the second round, using the next size triangles:
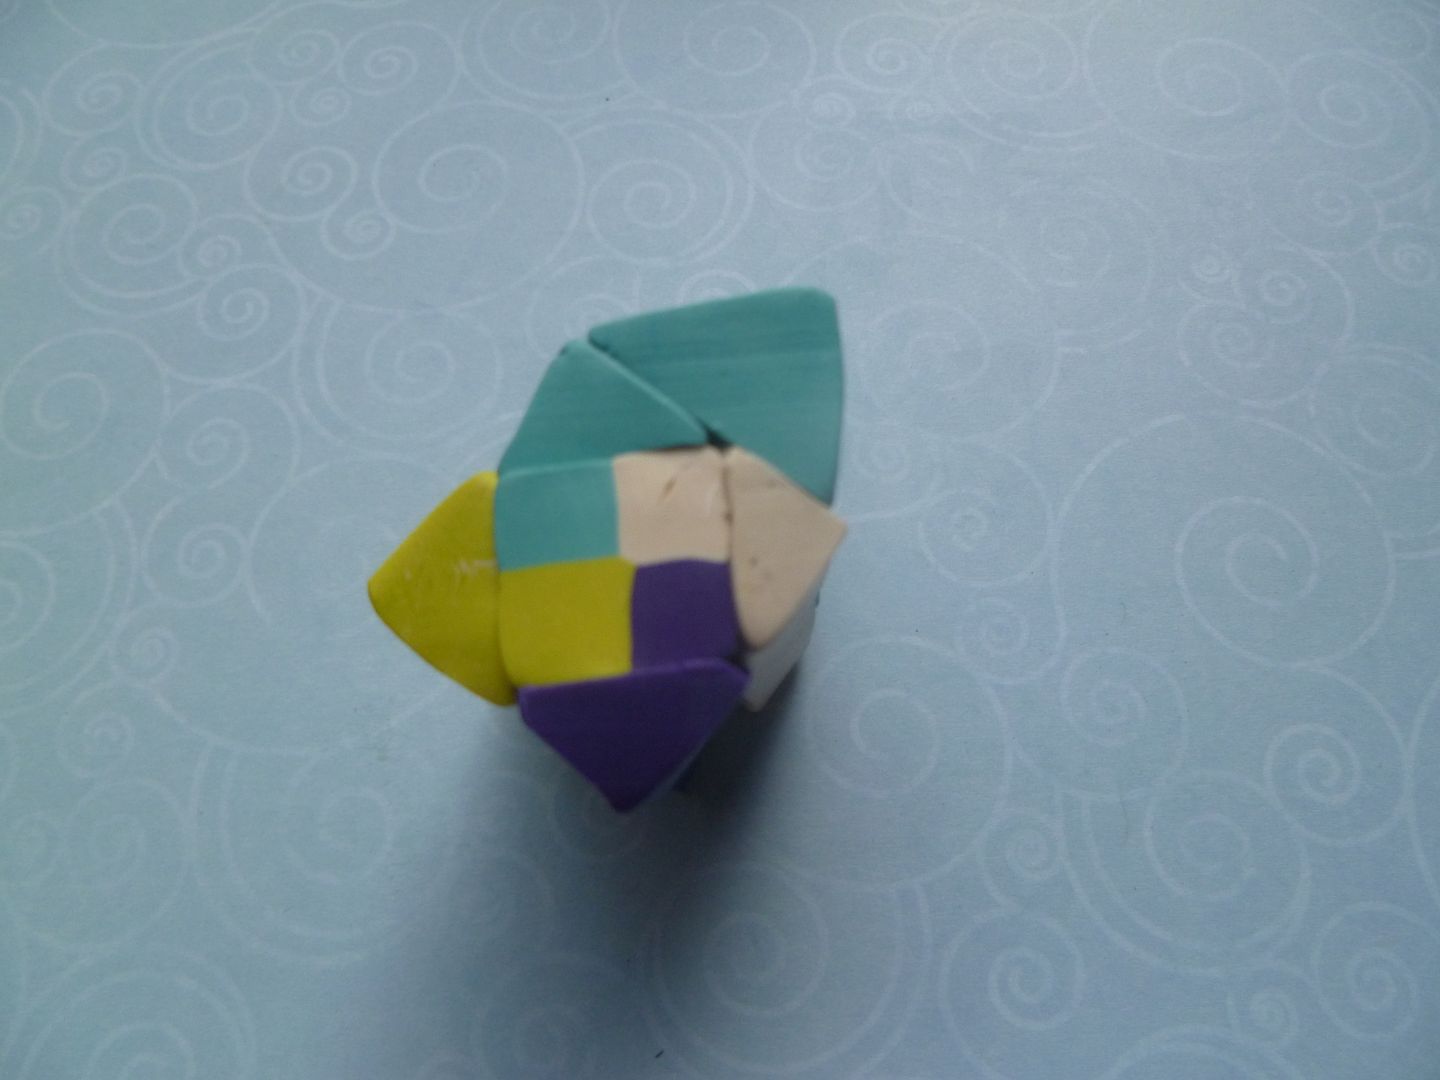
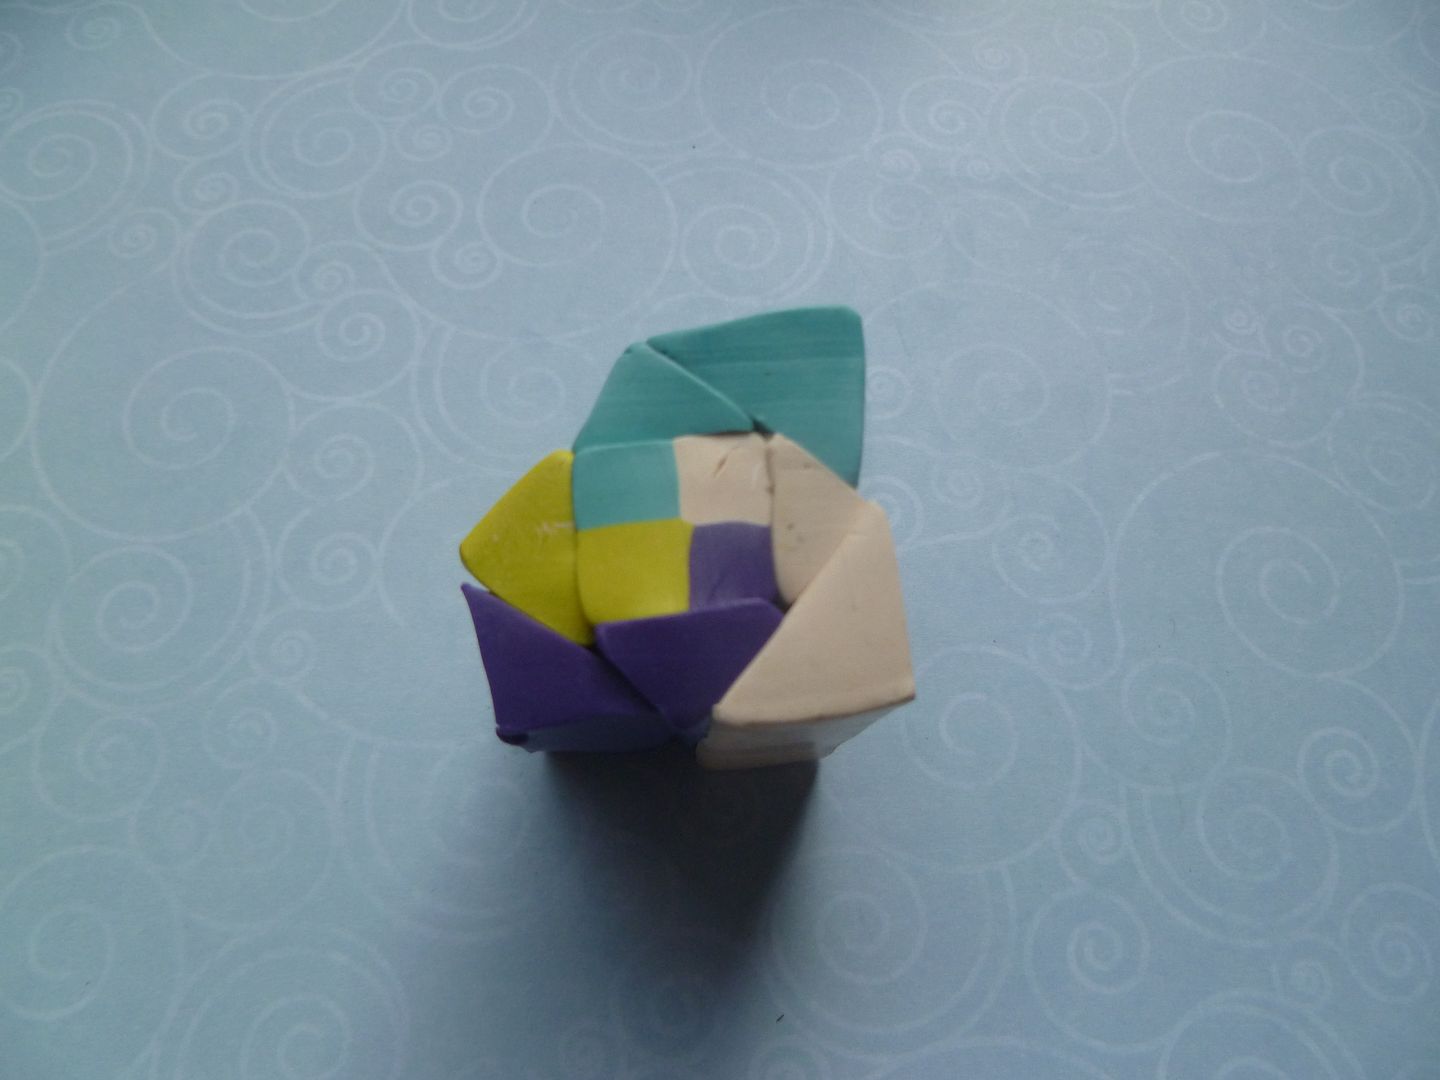
Third round:
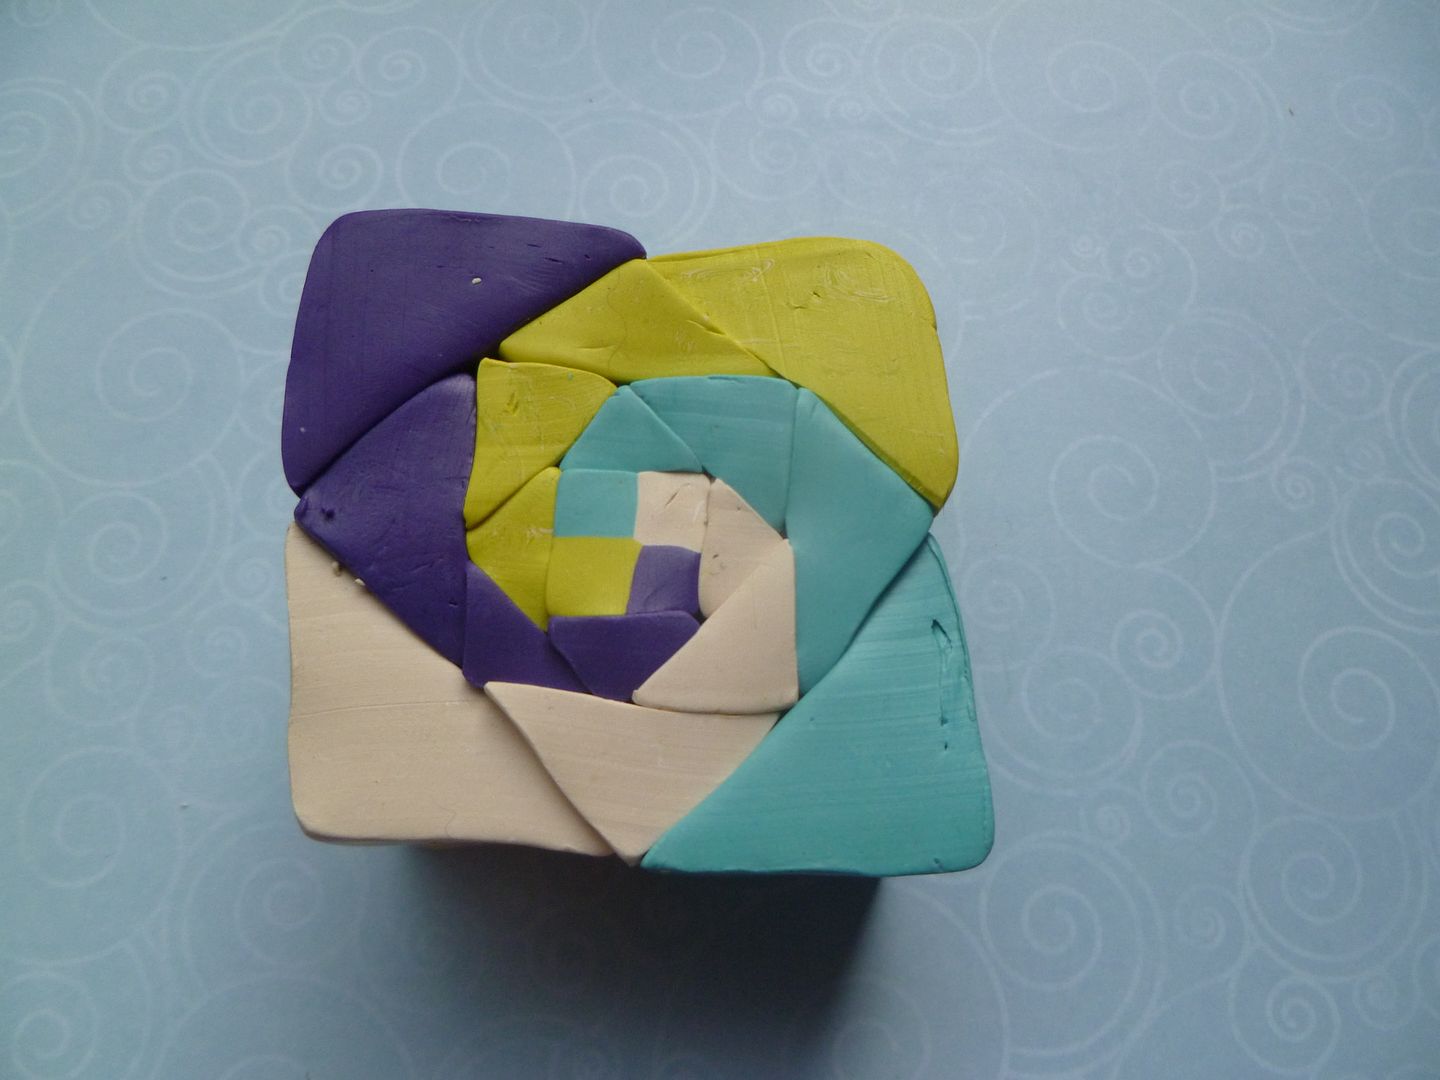
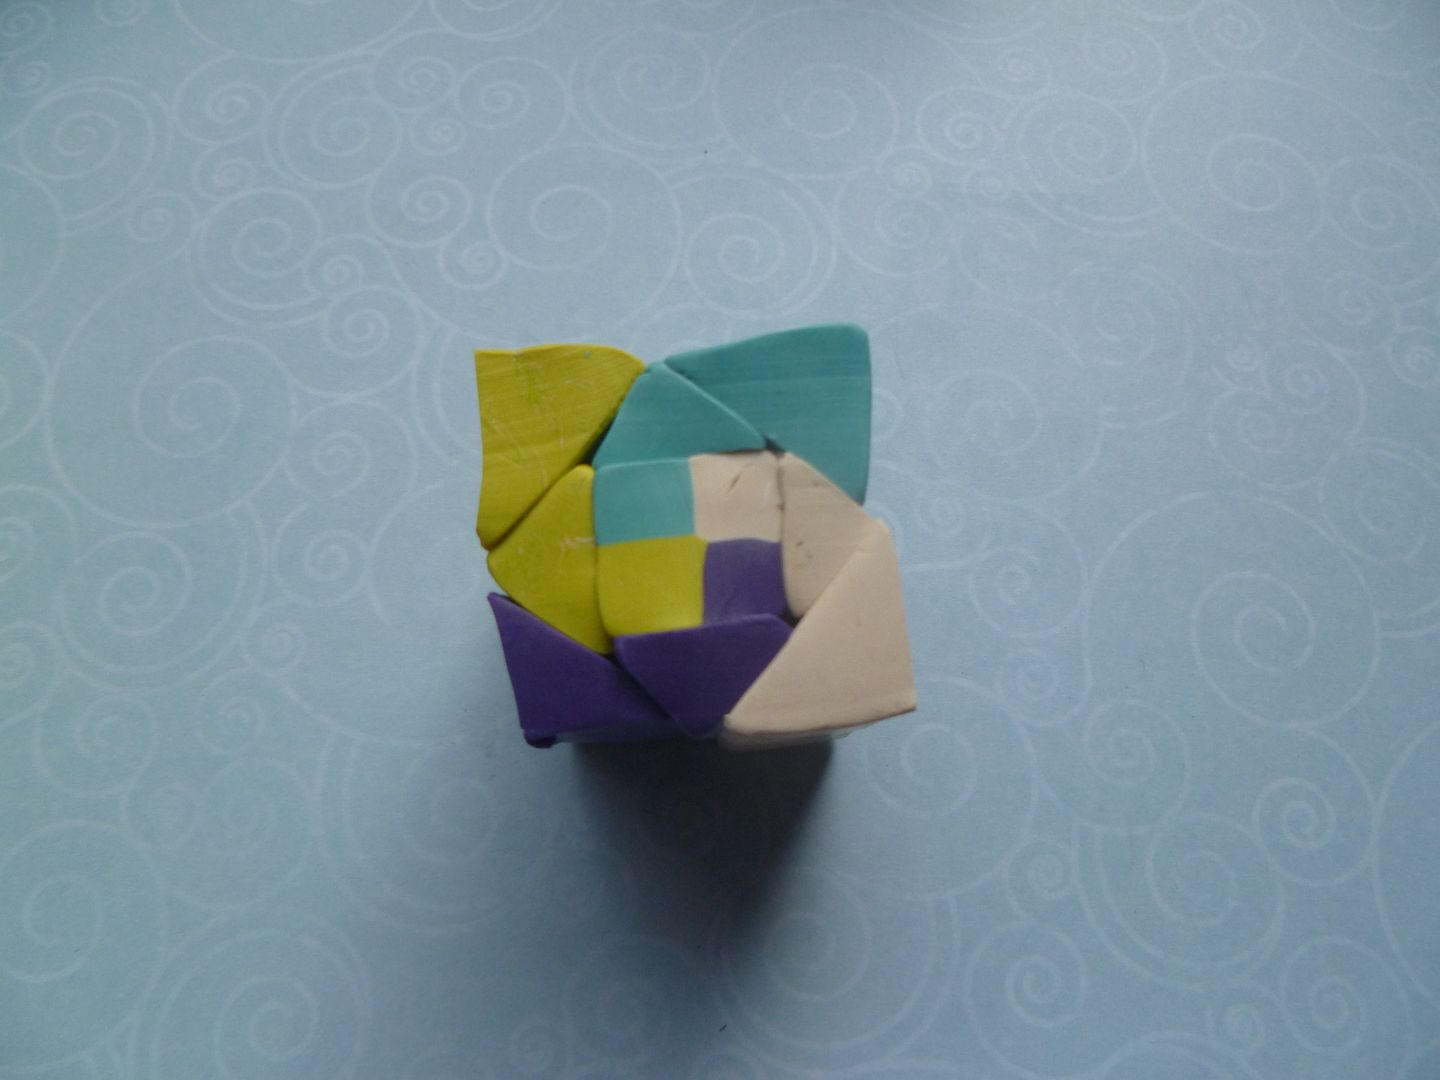
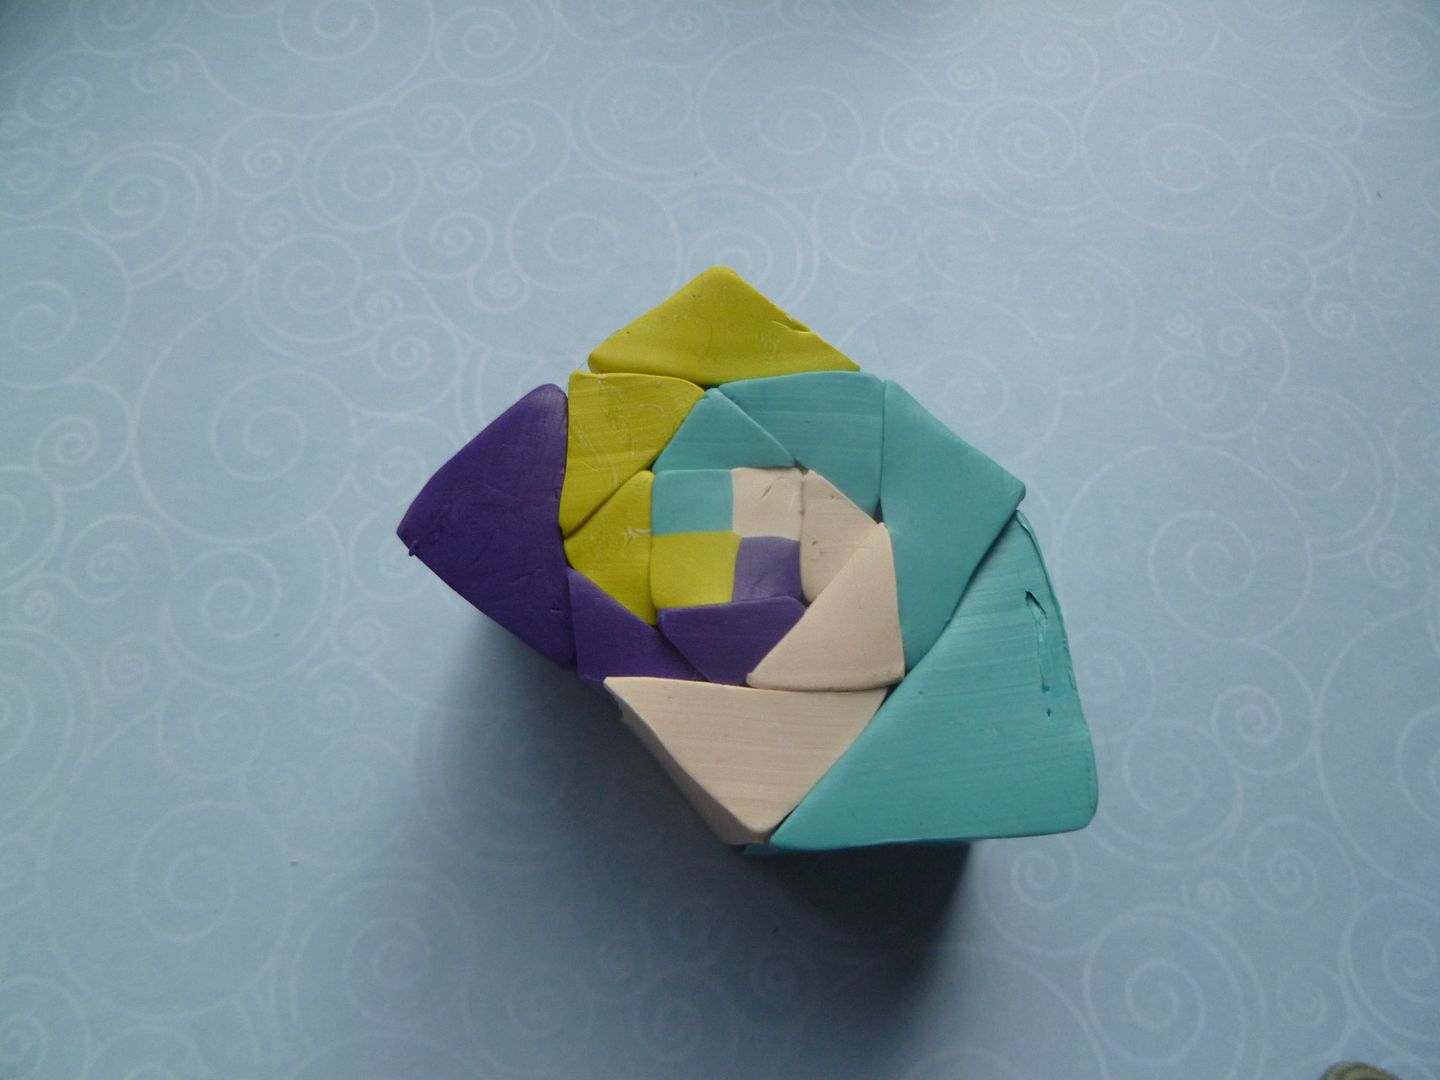
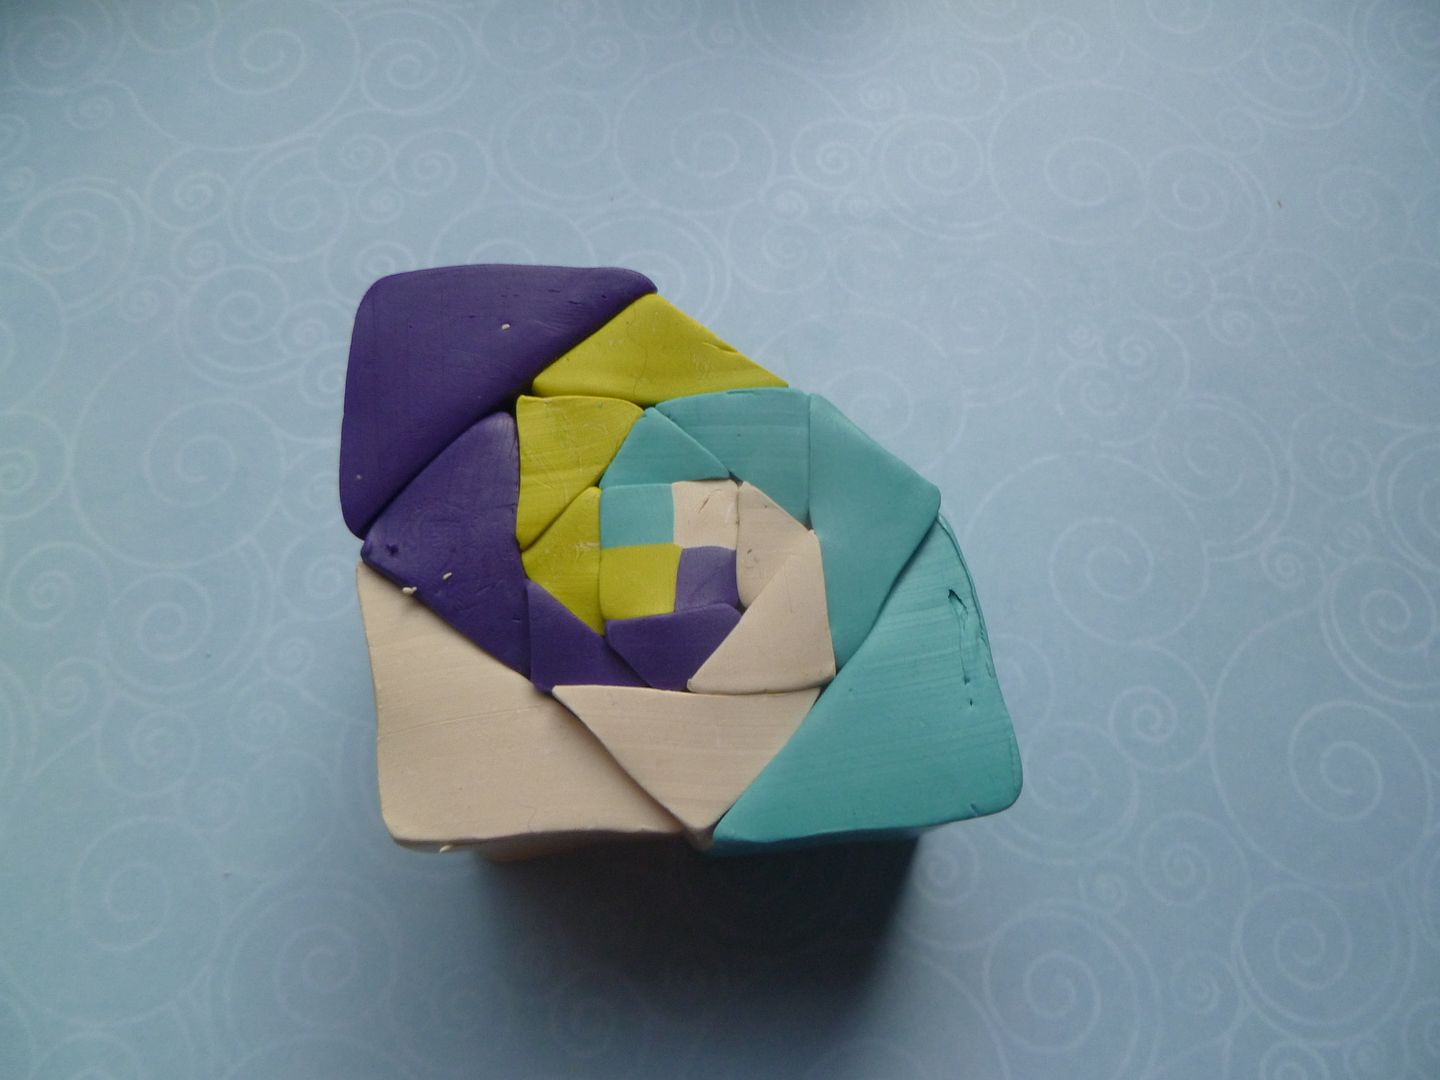
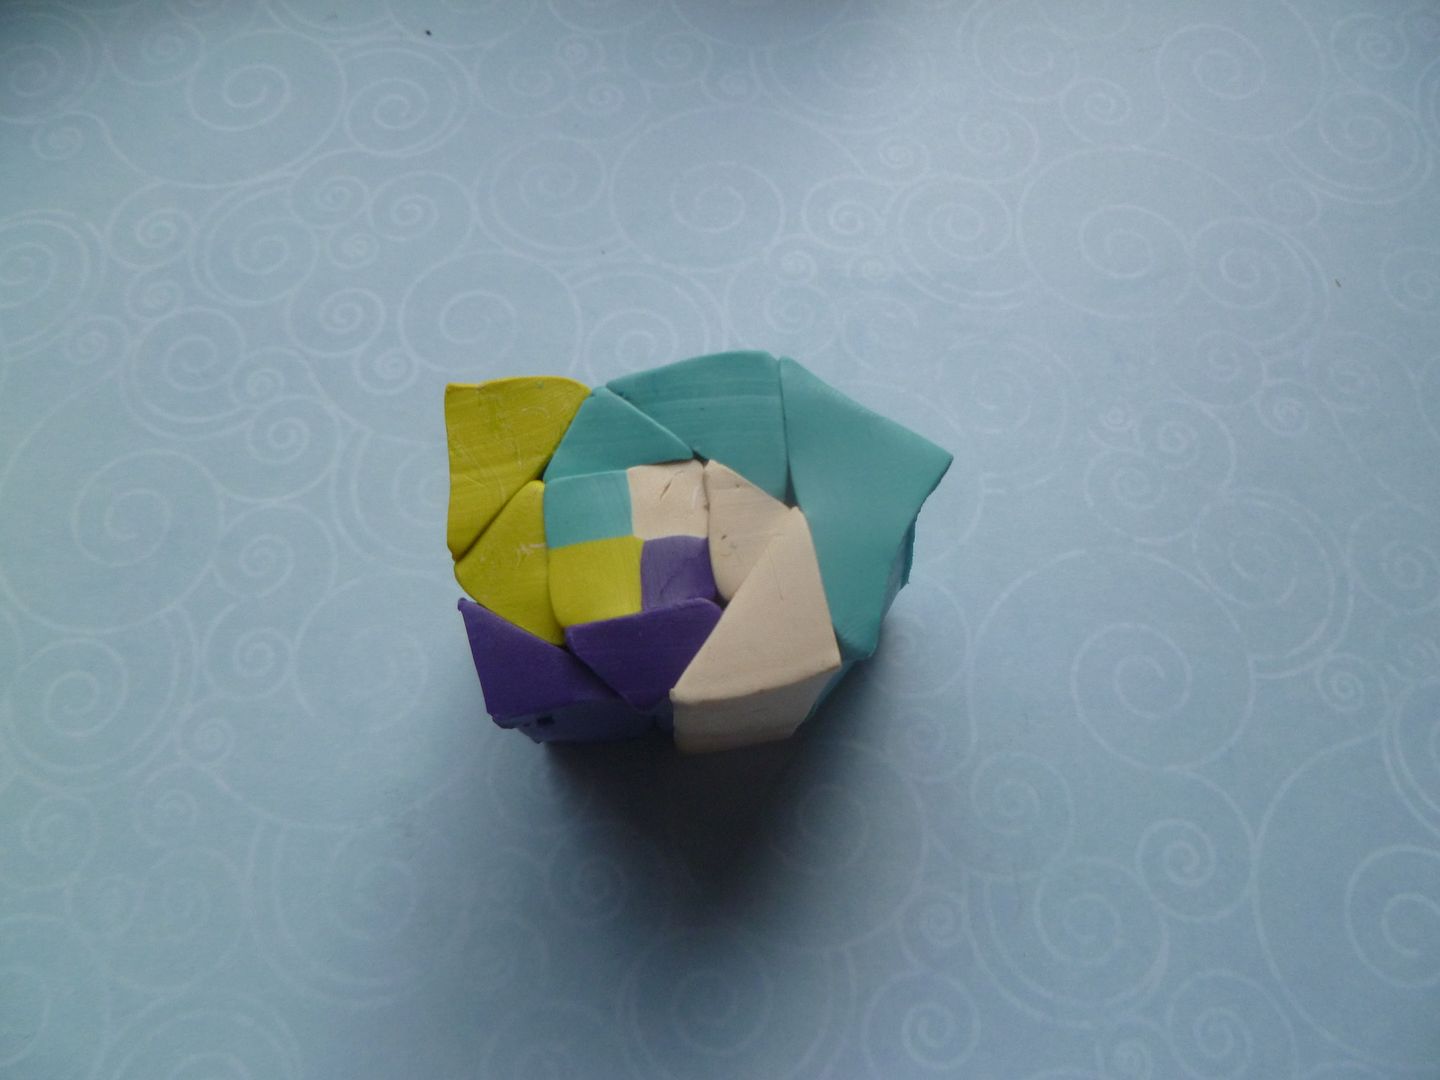
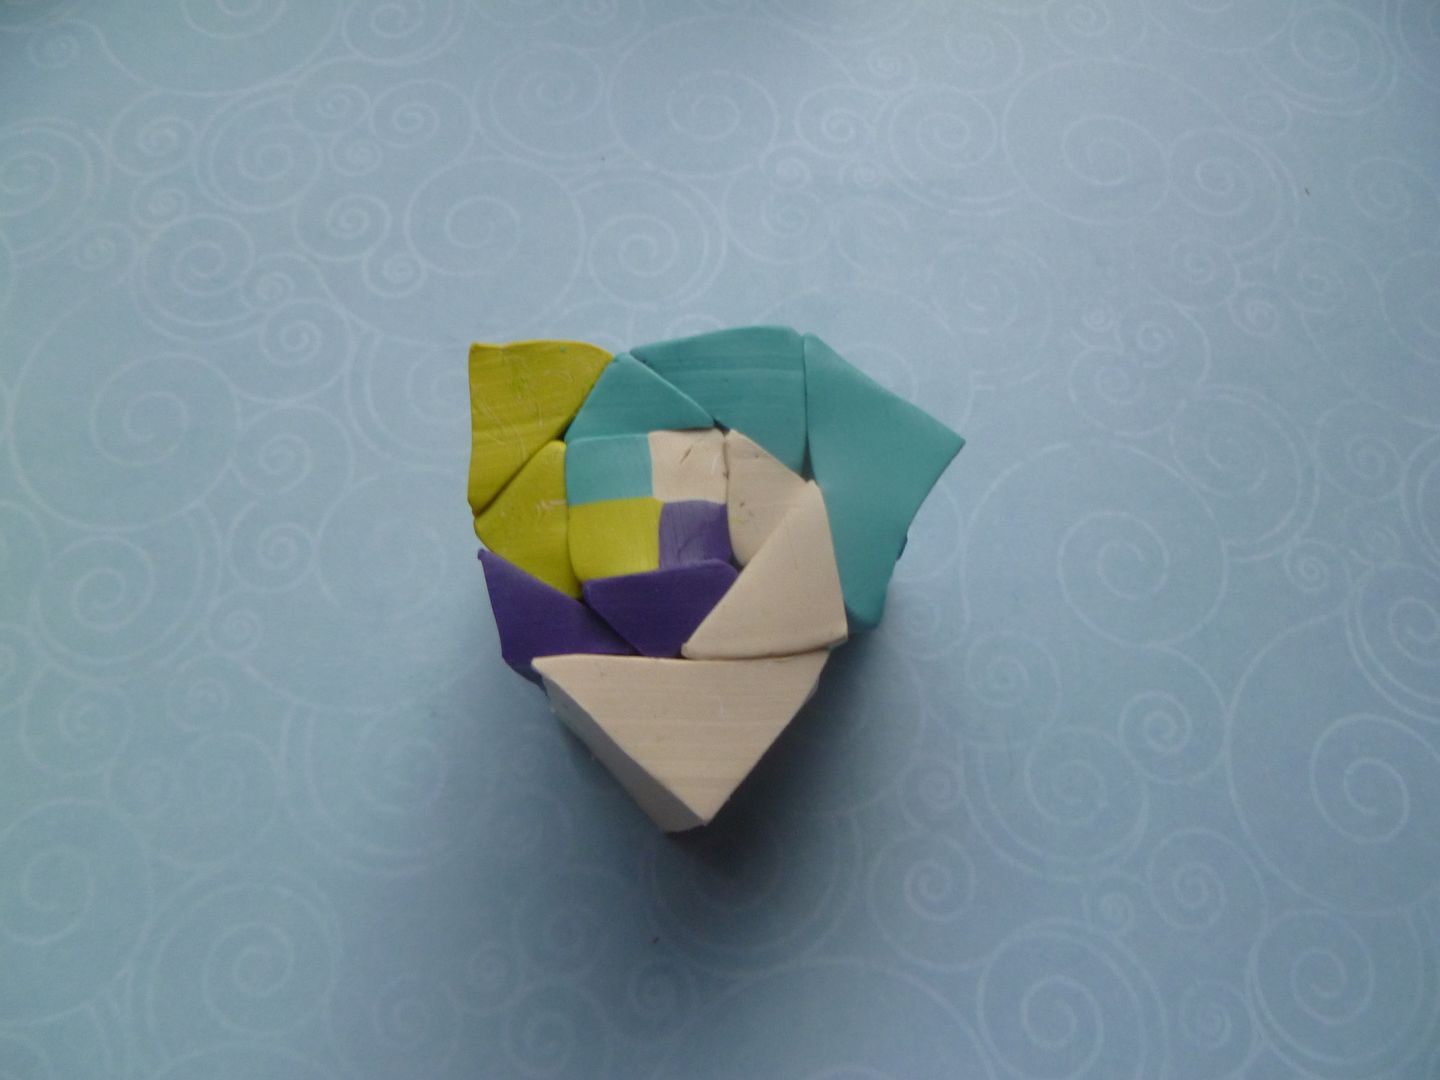
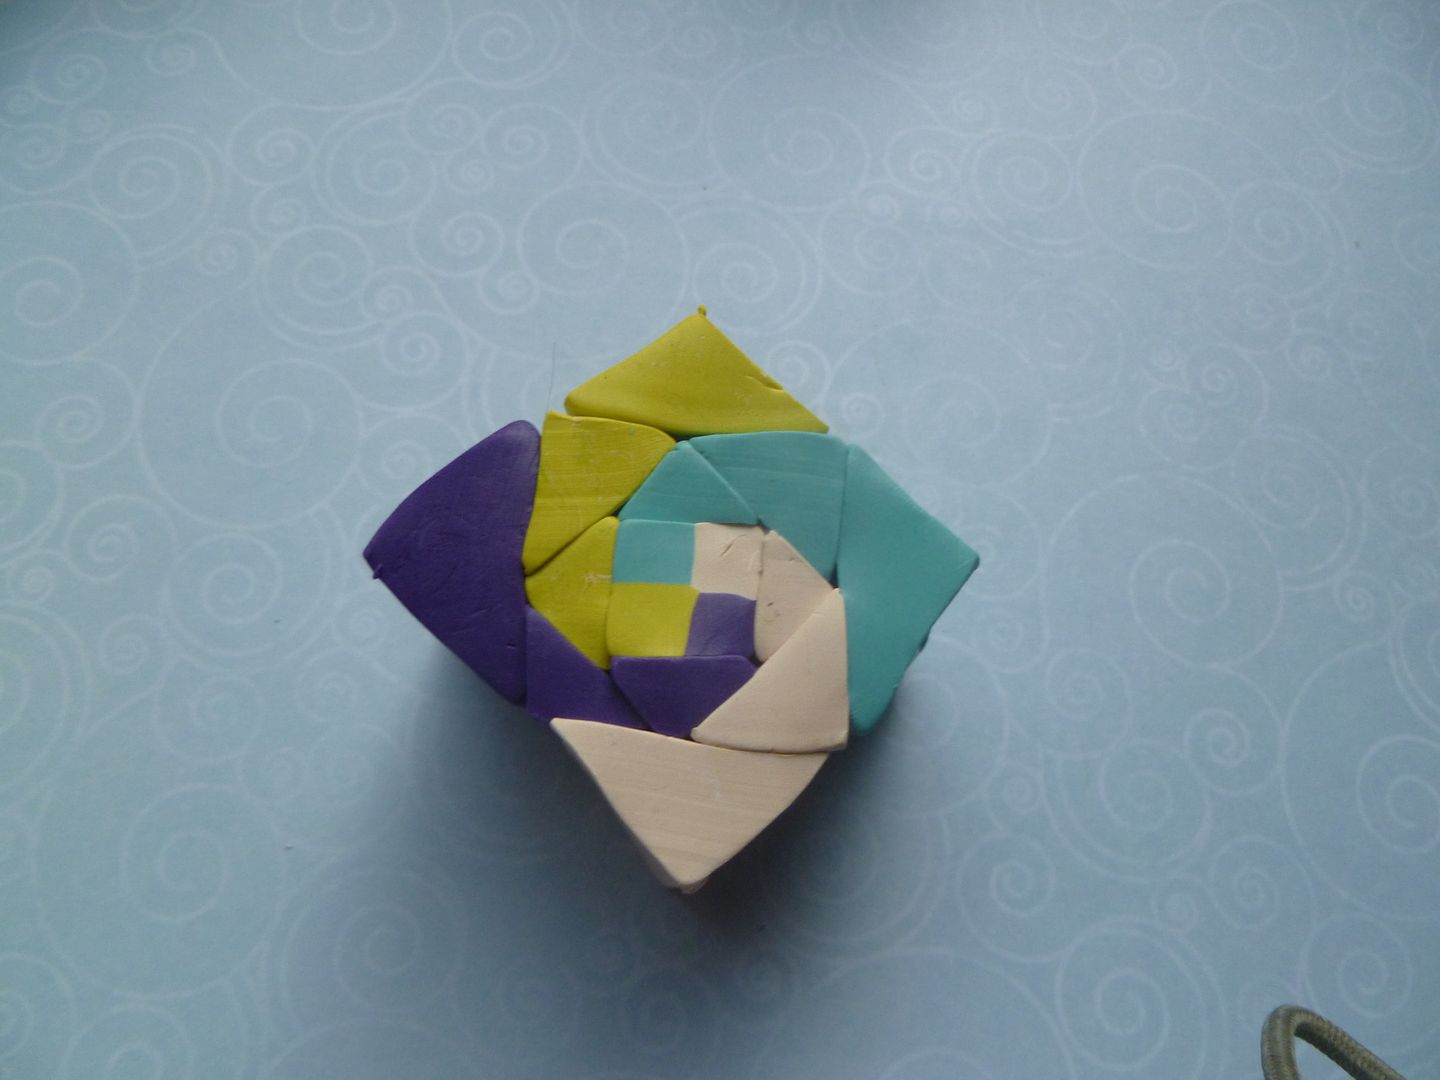
Okay, now for the final round (if you cut four triangles like I did...otherwise, you're done!):
The basic cane is done. I'll show the rest in the next post....
I should have mentioned whacking off a little bit of each color for borders and/or embellishments before building the cane...but half the time I forget to do it my self. It's not a big deal if you're using colors straight out of the package--you can always condition more. But if you've mixed your colors, that's not so easy. Anyway, I've cut some off as you can see in the picture.
Here's the components. You'll notice I cut four triangles instead of three. I wanted to see if it made a difference in the final cane:
For the center checkerboard, I put the two lighter colors diagonal of each other and the two darker colors on the diagonal of each other:
I'm going to keep this checkerboard oriented the same direction for the following steps, in hopes that it will be easy to see how to put it together. Put the smallest turquoise (or whatever color you're using) triangle on the top of the checkerboard:
Next the white goes on the right side...the purple on the bottom...the lime green on the left side:
Okay, the first round is done. On to the second round, using the next size triangles:
Third round:
Okay, now for the final round (if you cut four triangles like I did...otherwise, you're done!):
The basic cane is done. I'll show the rest in the next post....
Subscribe to:
Posts (Atom)